Uncategorized

DIY Earring Display

Hello World.

Earrings are my go-to accessory. I have 3 holders for hook earrings, but had all my post earrings sitting on a plate. This made finding a matching pair in a hurry a little difficult. So, I made a new display for better organization. I made an earring display 4 years ago similar to this, just smaller.
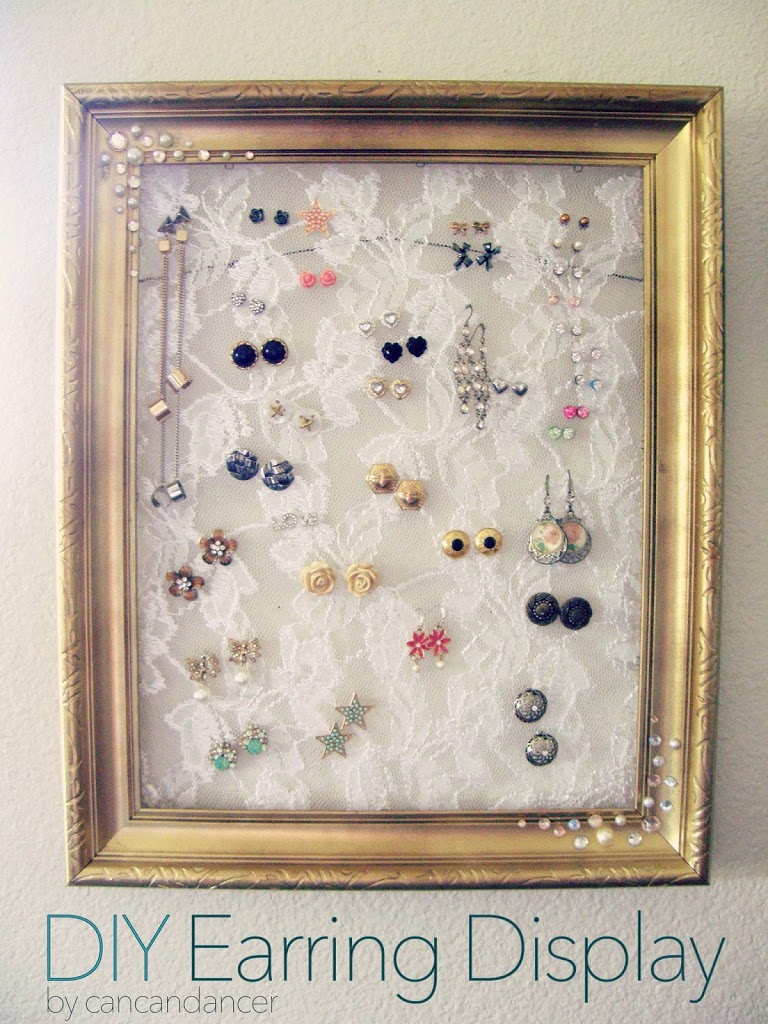
P5080003-copy-copy

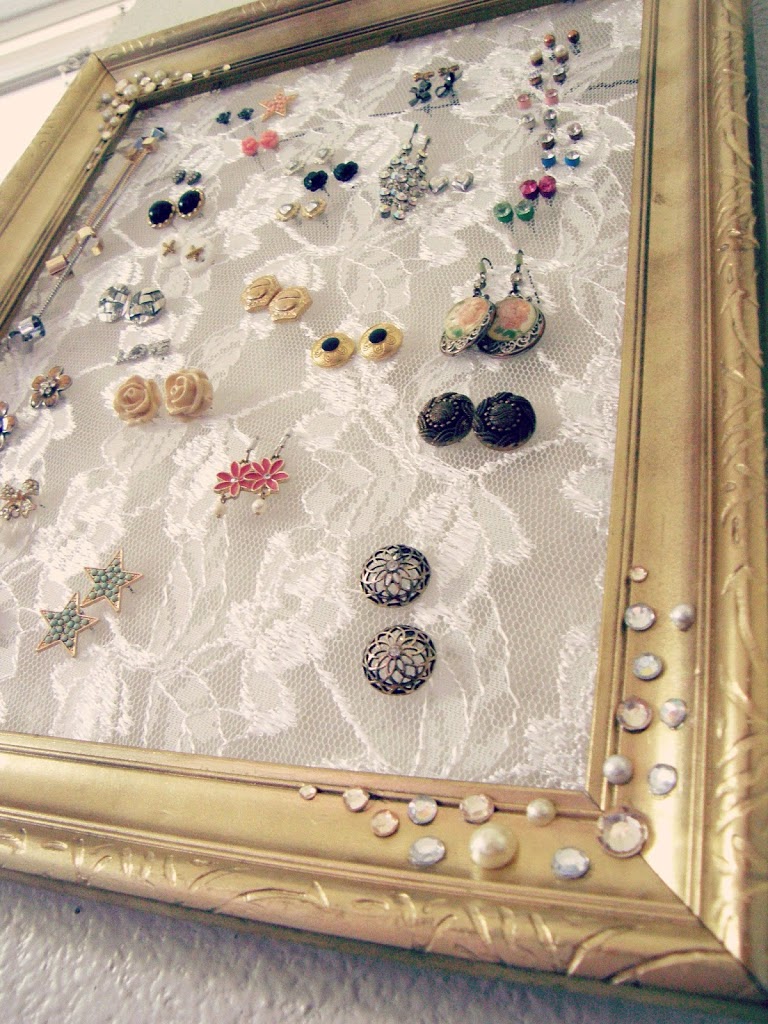
Continue below for instructions on making this super easy craft!
P5080005-copy

1.  Gather your supplies: a wooden frame, fabric (lace, mesh, tulle, netting, ect), stapler, staples and embellishments.

2.  Remove the glass and cardboard backing from your frame. Spray paint your frame now if you want a new color. Mine was originally brown, and I painted it gold.

3.  Starting at one corner, staple the fabric to the back of your frame. It is okay if you have extra fabric around the edges.

4.  Pull tightly and staple to the next corner, working clockwise.

5.  Once your four corners are secured, staple the rest of your fabric onto the frame, about every inch or so.

6.  Trim excess fabric. You can add glue around the entire edge if you are worried about it coming undone.

7.  Embellish! I bought the rhinestones in the dollar section at Michael’s and used e-6000 glue to attach them.
P5080012-copy

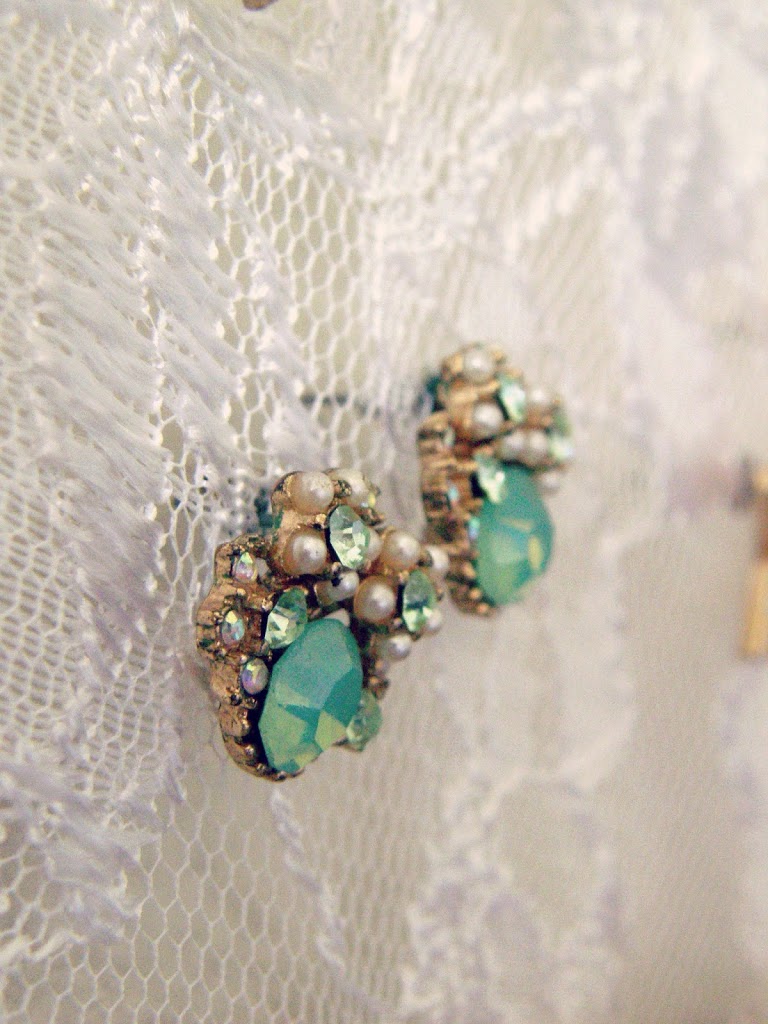
These are my favorites! I call them my “mermaid earrings.” I got them at Rue21.
P5080017-copy

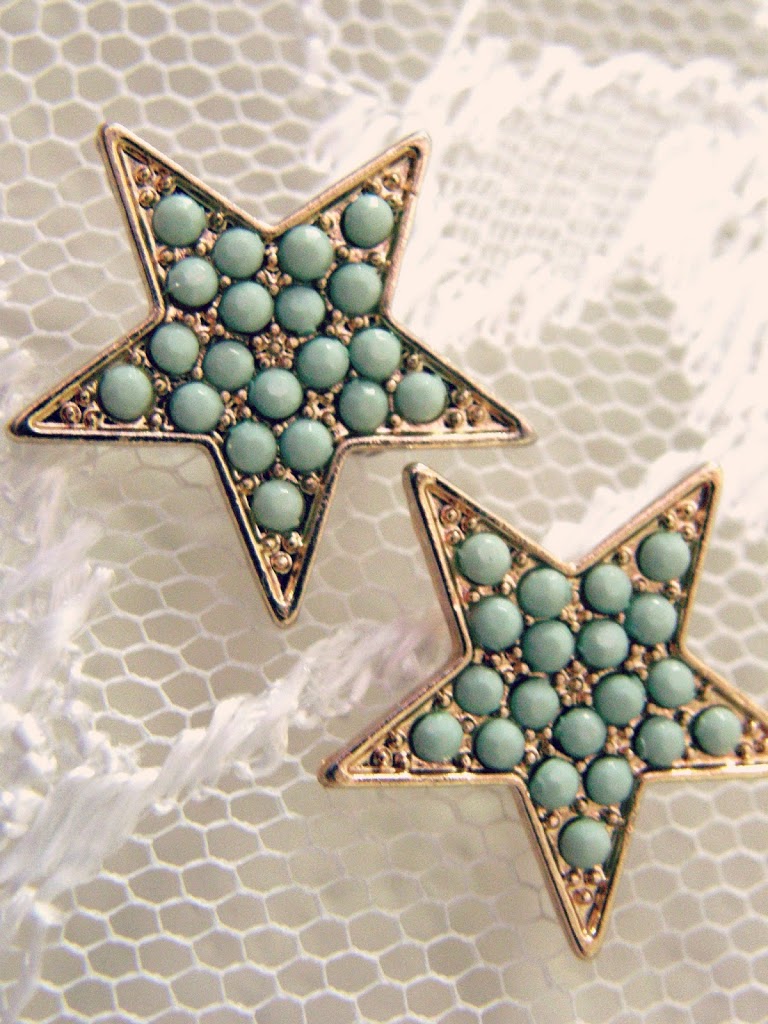
These are my other go-to earrings recently. Can you tell I have an ocean obsession?

Happy Crafting!

Graduated!

Hello World!

I apologize for now the lack of posts these last few months. I felt like I was constantly busy with school, my two jobs, and teaching an art lab. But now, I’m all done! I officially am a first generation college graduate!

And now I have the free time to actually craft! (and blog about it!) 🙂

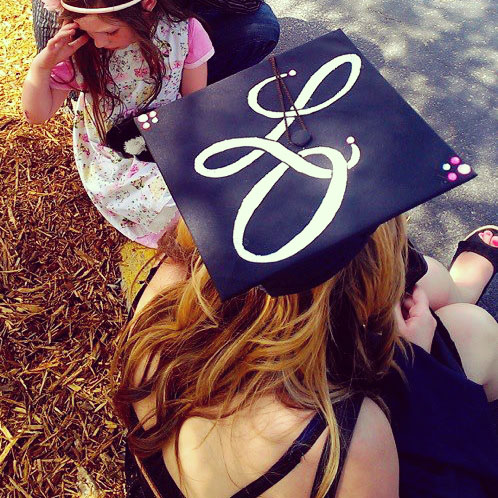
I decorated my graduation cap. Tutorial coming soon.

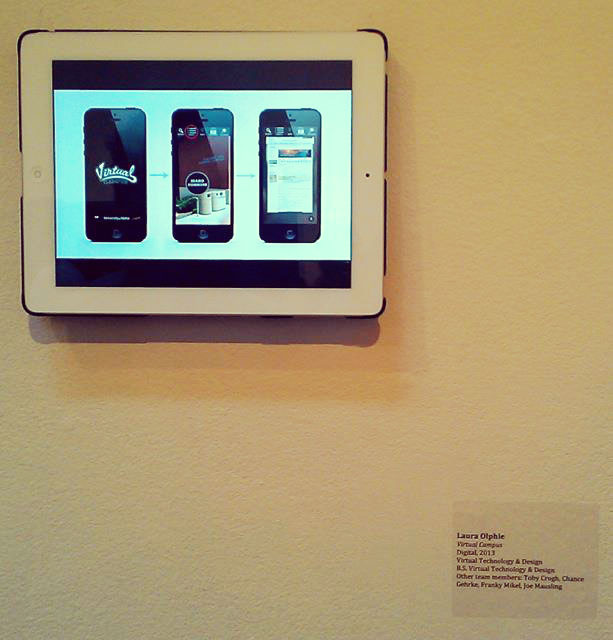
My groups iPhone application on display at the Prichard Art Gallery. This was our year long, capstone project. It creates an augmented reality experience at the University of Idaho with way-finding, class schedules, virtual landmarks, and many other features.

Finally all done! I think these are the first dozen roses I have ever received.

Tutorials coming soon!

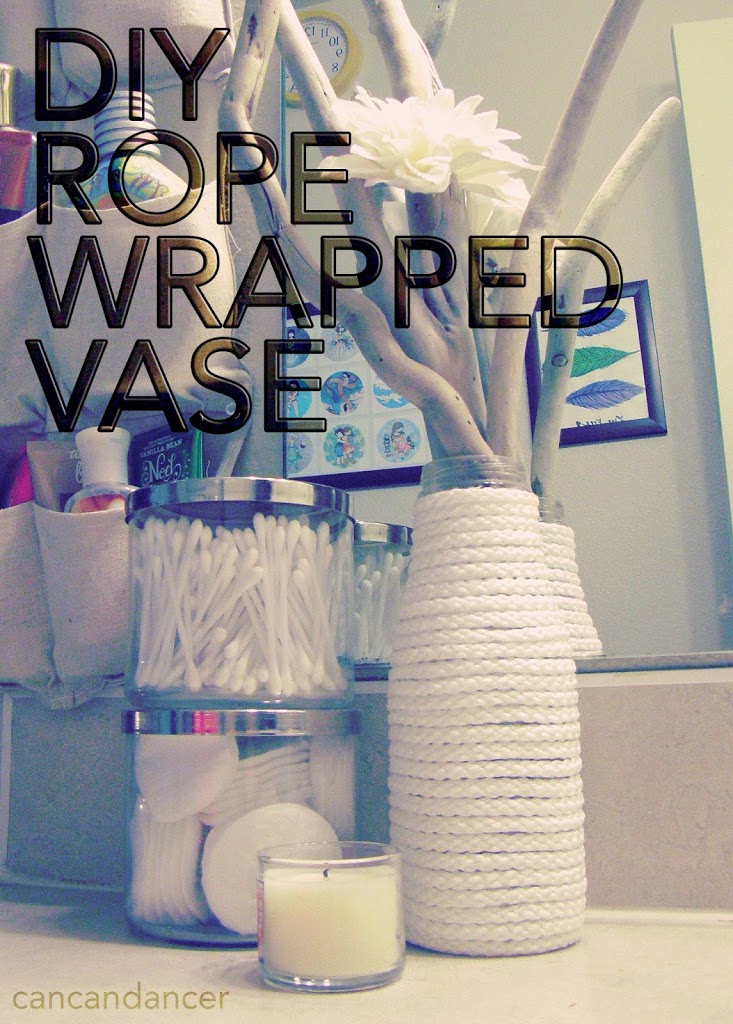
DIY Rope Wrapped Vase

I have had a few empty Starbucks bottles in my stash. I really liked the stream lined shape of the bottles and I always wanted to repurpose them into some sort of home decor. Here is a way to recycle any old bottle into a nautical-inspired vase.

april52013-intro2

Check out the full tutorial below:

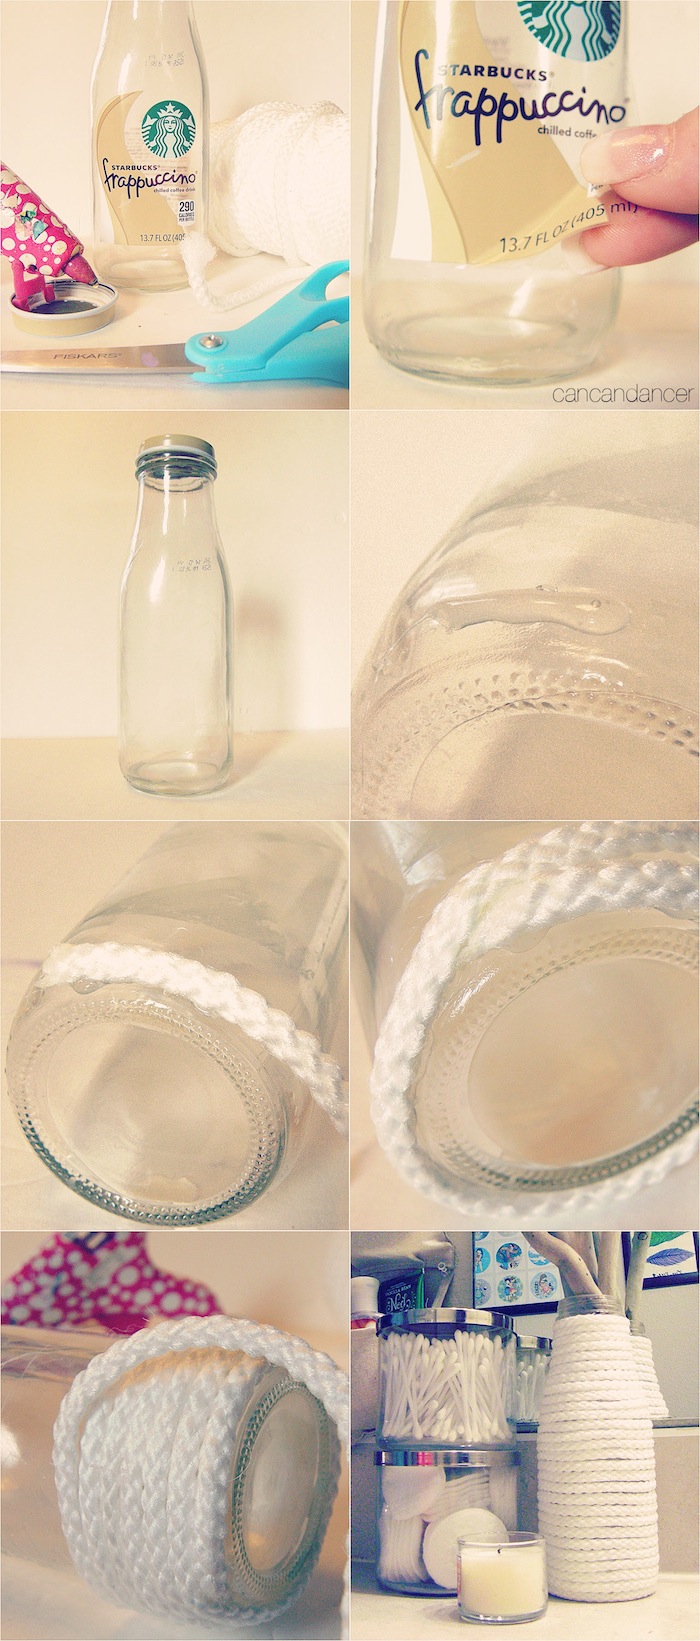
april52013-21

1.  Gather your supplies: a clean bottle, rope, scissors, hot glue sticks and a hot glue gun.

2.  Peel the labels off of your bottle. (Mine came off very easily.)

3.  Remove any leftover residue with soap and a sponge, and then dry your bottle.

4.  Apply a stream of hot glue to the bottom edge of your bottle.

5.  Press rope against glue until set.

6.  Rotate bottle 90° and apply another short stream of glue and press rope down again. Continue all the way around the bottle in increments of 90°. When you reach your original starting point, guide rope over the visible tail to hide it.

7.  Continue this process all the way up and around the bottle until completely covered.

8.  Once you reach the top of the bottle, cut the rope free from your skein. Secure the tail end with hot glue. If you have hot glue strings everywhere, simply blast your vase with a blow dryer and watch them disappear!

Tada! Enjoy your new vase! Fill with flowers, twigs, ect. In my case, I used driftwood.

Happy Crafting!