Uncategorized

Tutorial sneak peek

Hello World!

I recently moved and started an internship in North Idaho. Because I moved, I lost access to the camera I always used to take blog images. I have been saving up though and now have enough to buy my own DSLR. 🙂 I’ve been researching different models and brands in my price range, and probably will get a Nikon d5100 (and buy a separate prime lens). If you have any advice or camera tips, please leave a comment below.

Upcoming no-sew tutorials include:

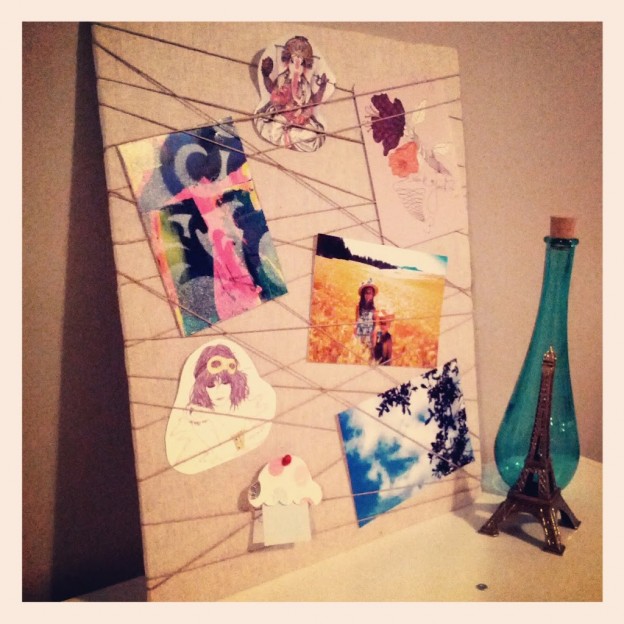
IMG_20130611_211241-624x624

Twine wrapped photo display

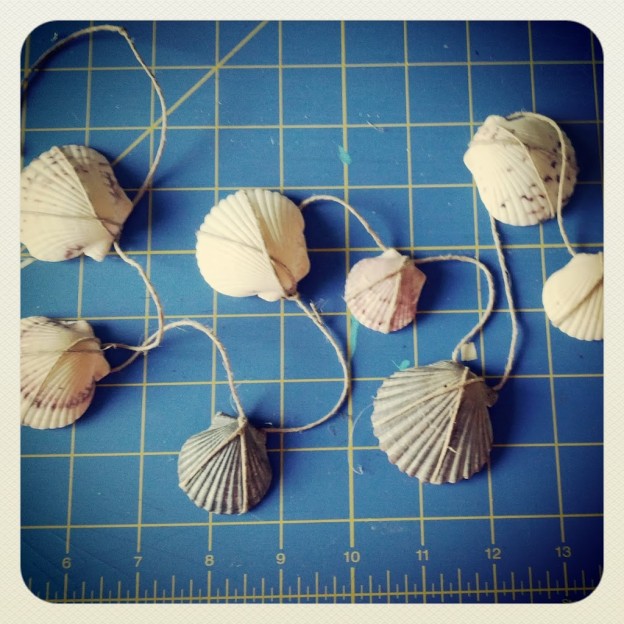
IMG_20130602_190543-624x624

Power-tool-free seashell garland

Stay tuned, and happy crafting!

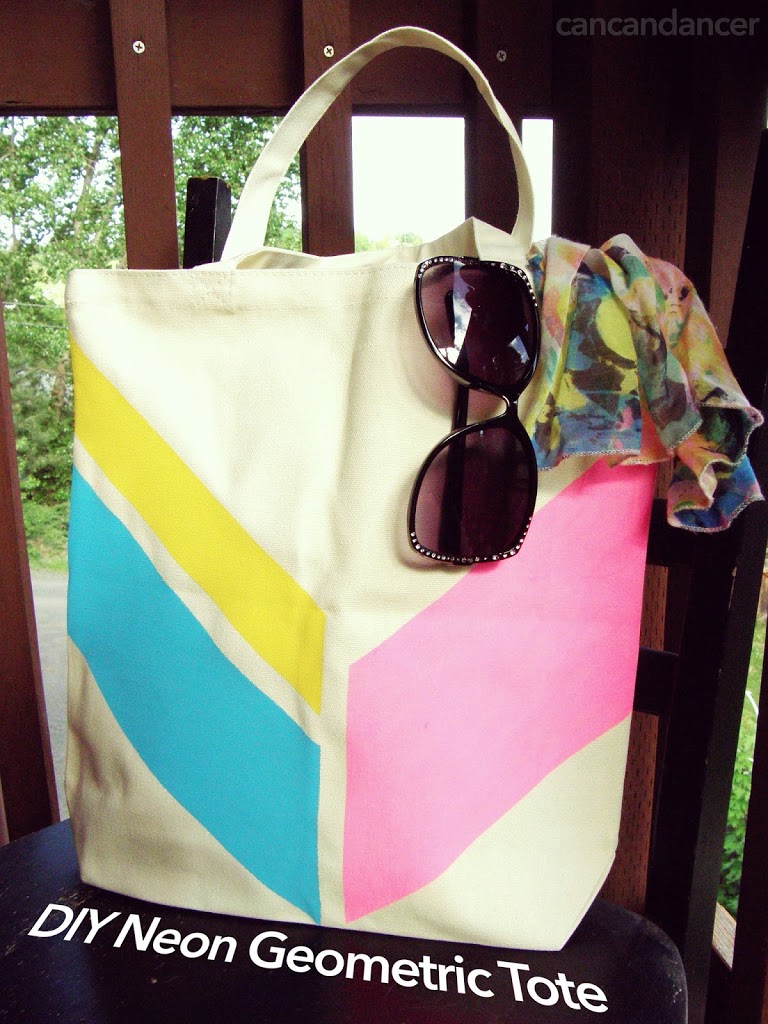
DIY Neon Geometric Tote

Hello World!
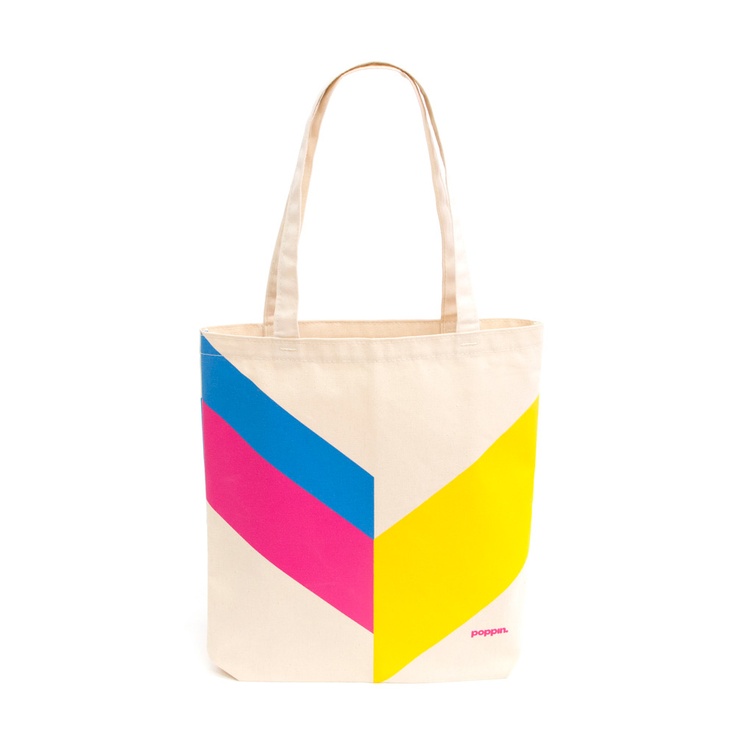
I recently subscribed to iheartluxe. It’s a free service that sends out “luxury curated lists” weekly. I actually really enjoy opening their emails, and am inspired by many of the goodies they link to. Below is a tote that was featured in one of their emails a few weeks ago.  It sells for $28. I loved how simple and bright it was, so I created my own DIY version instead.
I also received a package from My Next Style last month full of complimentary crafting goodies to test and review. This package included a 3-pack of canvas totes and this project seemed perfect to test them out! 
Continue below for more instructions. 
source: poppin
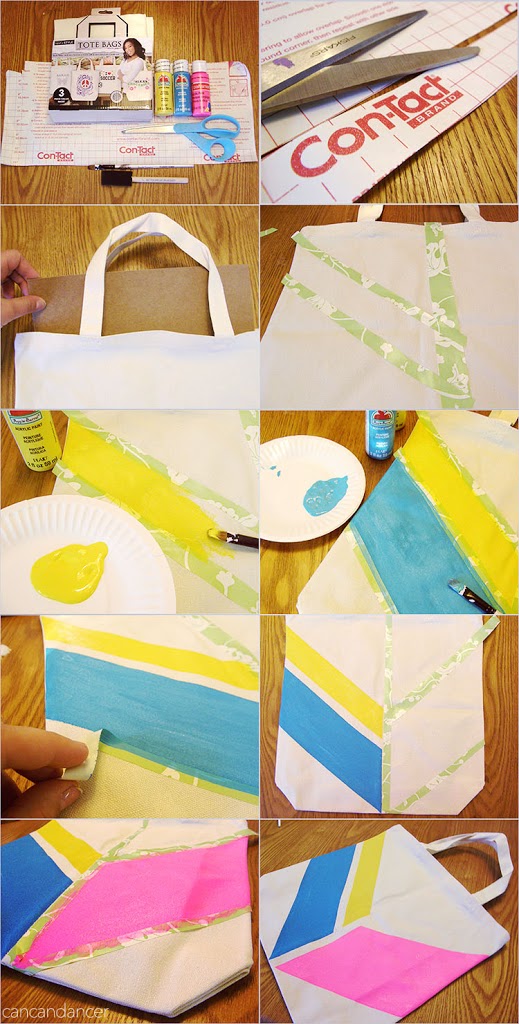
1.   Gather your materials. You will need: a canvas tote (My Next Style 3-packs are sold at Walmart), Contact paper, scissors, acrylic or fabric paint, paint brushes and cardboard to fit inside your tote.

2.   Cut out long, straight strips of contact paper.

3.   Insert the cardboard into your tote if you are worried about it bleeding through. I did this as a precaution, and then found that the My Next Style totes are thick enough that the paint didn’t bleed through.

4.   Remove the backing from your contact paper strips, and press the contact paper down onto your tote to create your design. Use a coin or your fingernail to be sure the edges are completely sealed.

5.  Paint inside your first design area and allow to dry. I switched up my color locations because I wanted predominately pink.

6.  Paint your second area while the first is drying. I needed two coats of the yellow and the blue. Allow to dry.

7.  Peel away your contact paper.

8.  Now, I did my two sides at different times to test my contact paper on the tote. But I would recommend laying out your entire design and then painting it all  at once, to save yourself some time.

9.  Once all your areas are painted, allow it to completely dry and peel off all of your contact paper. Repeat process on other side if you would like.

10. Tada! Enjoy your new tote!

Happy Crafting!
Disclosure: I received complimentary supplies from My Next Style, but all opinions are my own.

Decorate your Graduation Cap (using freezer paper)

Hello World.

I recently graduated from college! I decided to spruce up my cap to better show my personality (also because I graduated from the College of Art and Architecture).

It was so easy to do! (Please excuse my terrible white balance.  I decorated my cap at 2 AM the day of graduation…lol) Check out below for instructions:
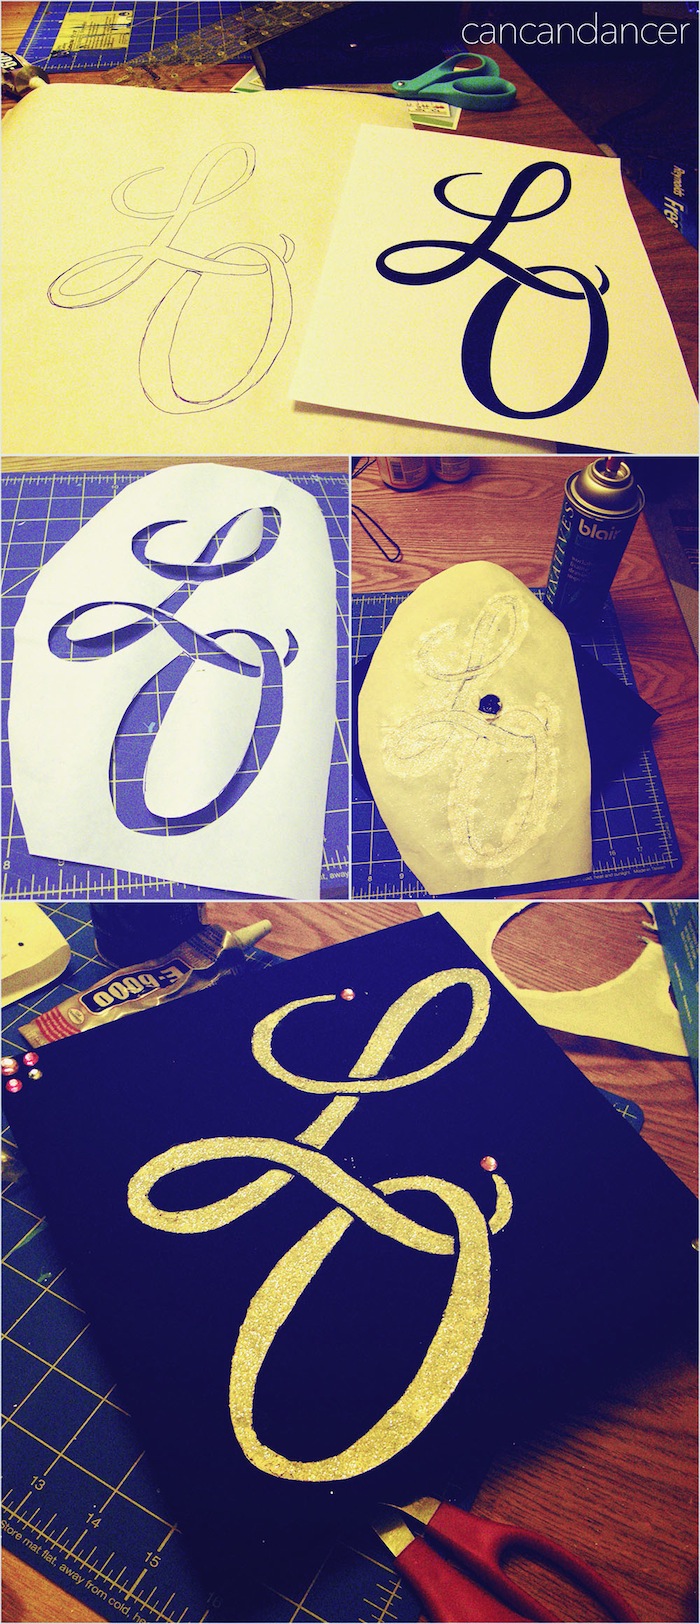
cap-tutorial1

1.  Print out your desired image. Choose an image that would make an appropriate stencil (no orphan pieces after cutting it out).

2.  Place your freezer paper waxy side down, on top of your image. Trace with a writing utensil.

3.  Cut out your image with an exacto blade or carefully with scissors.

4.  Iron your freezer paper waxy side down, onto your cap. My cap was made with a plastic-blend fabric so I put my iron on the lowest setting.  I also placed a piece of scrap fabric in-between my freezer paper and iron. (To prevent my cap from melting.)

5.  Paint your cap with acrylic or fabric paint. Allow to dry and repeat with a second coat.

6.  Add glitter if you wish while your second layer of paint is still wet.

7.  Spray down your glitter with fixative or hair spray to prevent fall off.

8.  Carefully peel off your freezer paper once everything is dry and marvel at your unique cap!

copy-of-cap

I added some rhinestones to mine as well.

Happy crafting!