Uncategorized

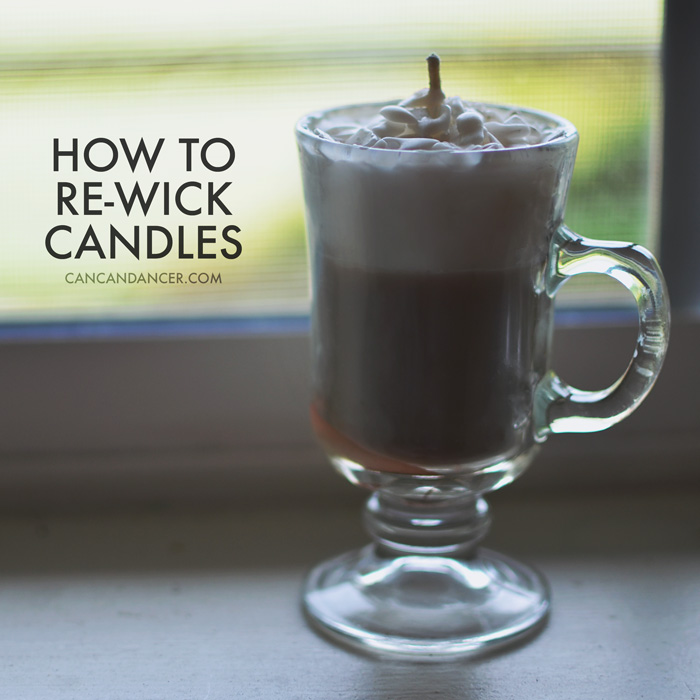
How to Re-Wick Candles

How to Re-Wick Candles

Hello World,

I love buying candles, but I dislike how there is always unused wax in the bottom of the containers. In the past, I have melted the wax and used it in a wax warmer, but lately I have instead been re-wicking my candles, so I can light them again. Check out the simple tutorial below:
How to Re-Wick Candles

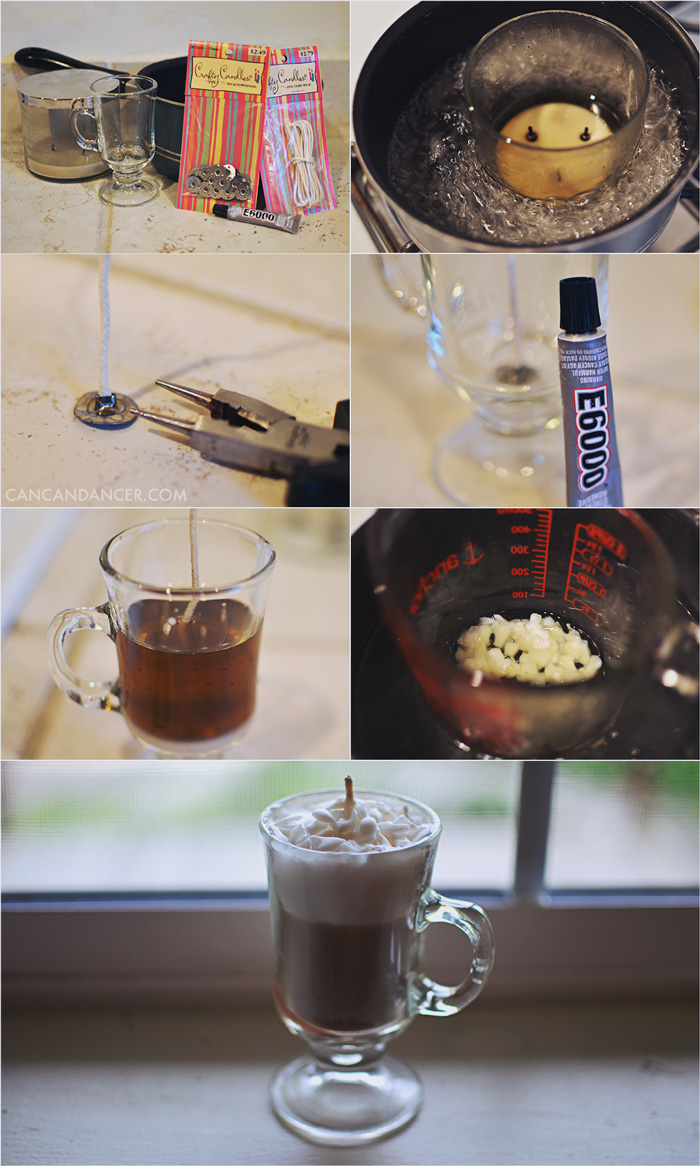
1. Gather your supplies: a burned down candle, wicks, wick bases, pliers, strong glue (I used e6000), a glass container, and a pot partially filled with water, and an oven mitt.

2. Place your burned down candle in the partially filled pot of water. Allow water to boil and wax to completely melt.

3. Crimp your wick base to your wick threading with pliers. (Use the appropriate thickness of wick, if you use on e that is too thick, you risk the chance of your glass container cracking while the candle is burning).

4. Glue this wick to the base of your glass container. Allow to set.

5. Carefully pour your melted wax into your glass container. Wipe out your old container with a paper towel if you want to repurpose it.

6. Steady your wick if it has shifted crooked. You can tape the tip to a pencil if you are worried it will shift as the wax cools.

7. Optional: I bought soy wax flakes, and partially melted some of them and scooped them on top of my cooled, re-wicked candle, to create a candle that resembled an irish cream drink.

I also recently went thrifting, and picked up a few glass containers for $0.10 each and made some of my own candles with them. Making candles is so much cheaper than paying $20 each for them in the mall!
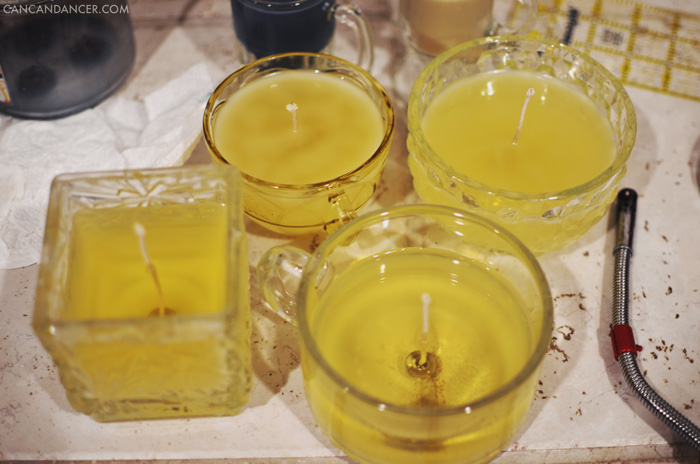
candles

Happy Crafting!

Chevron Friendship Bracelets

Hello World,

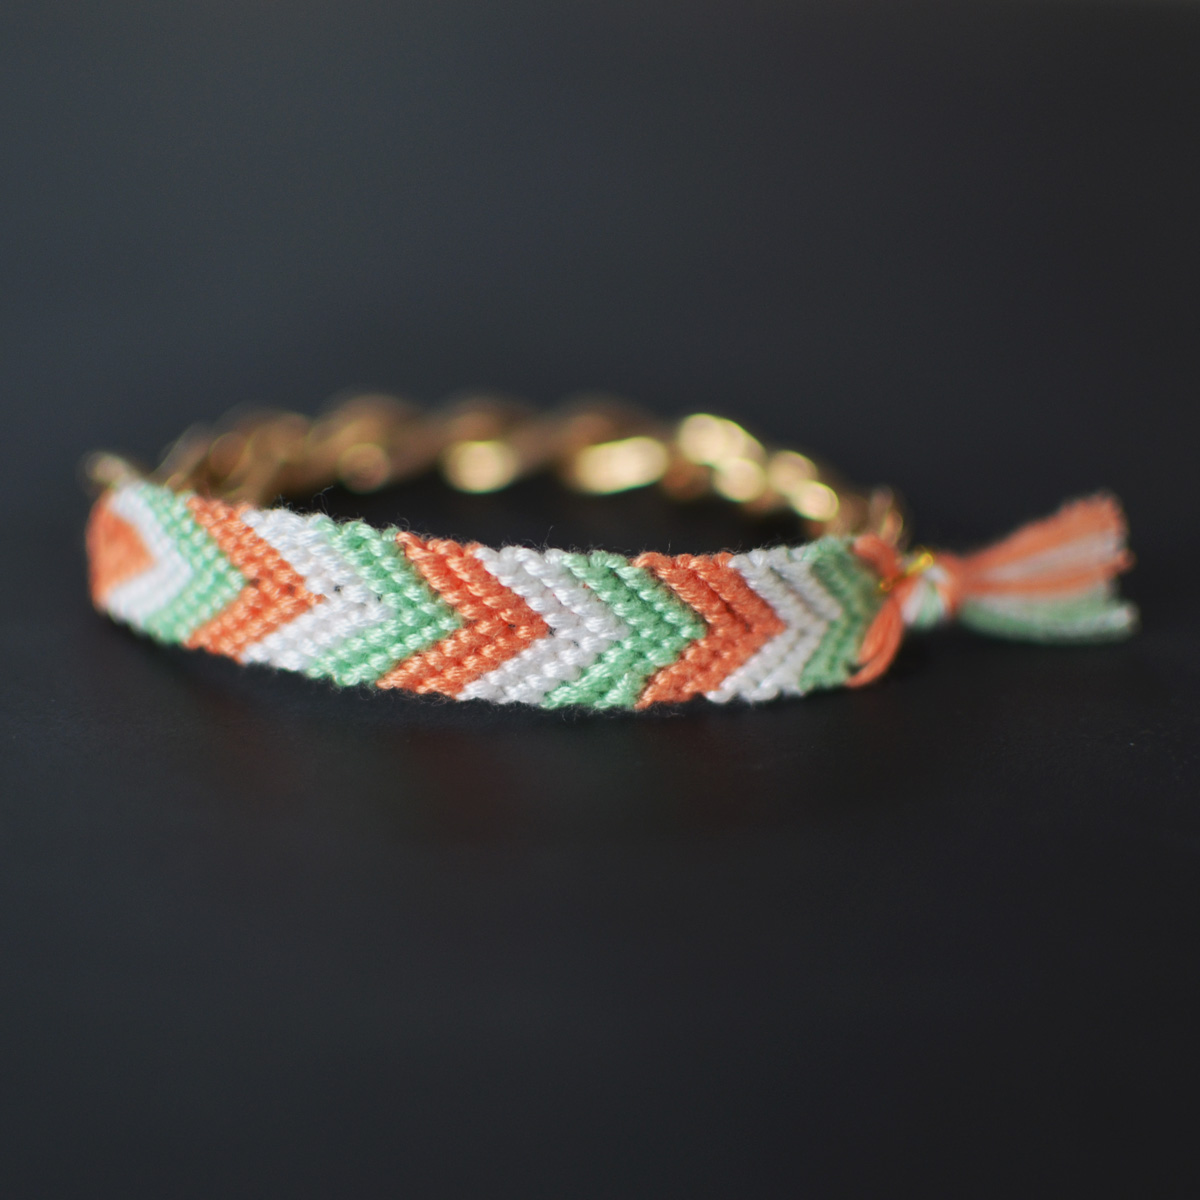
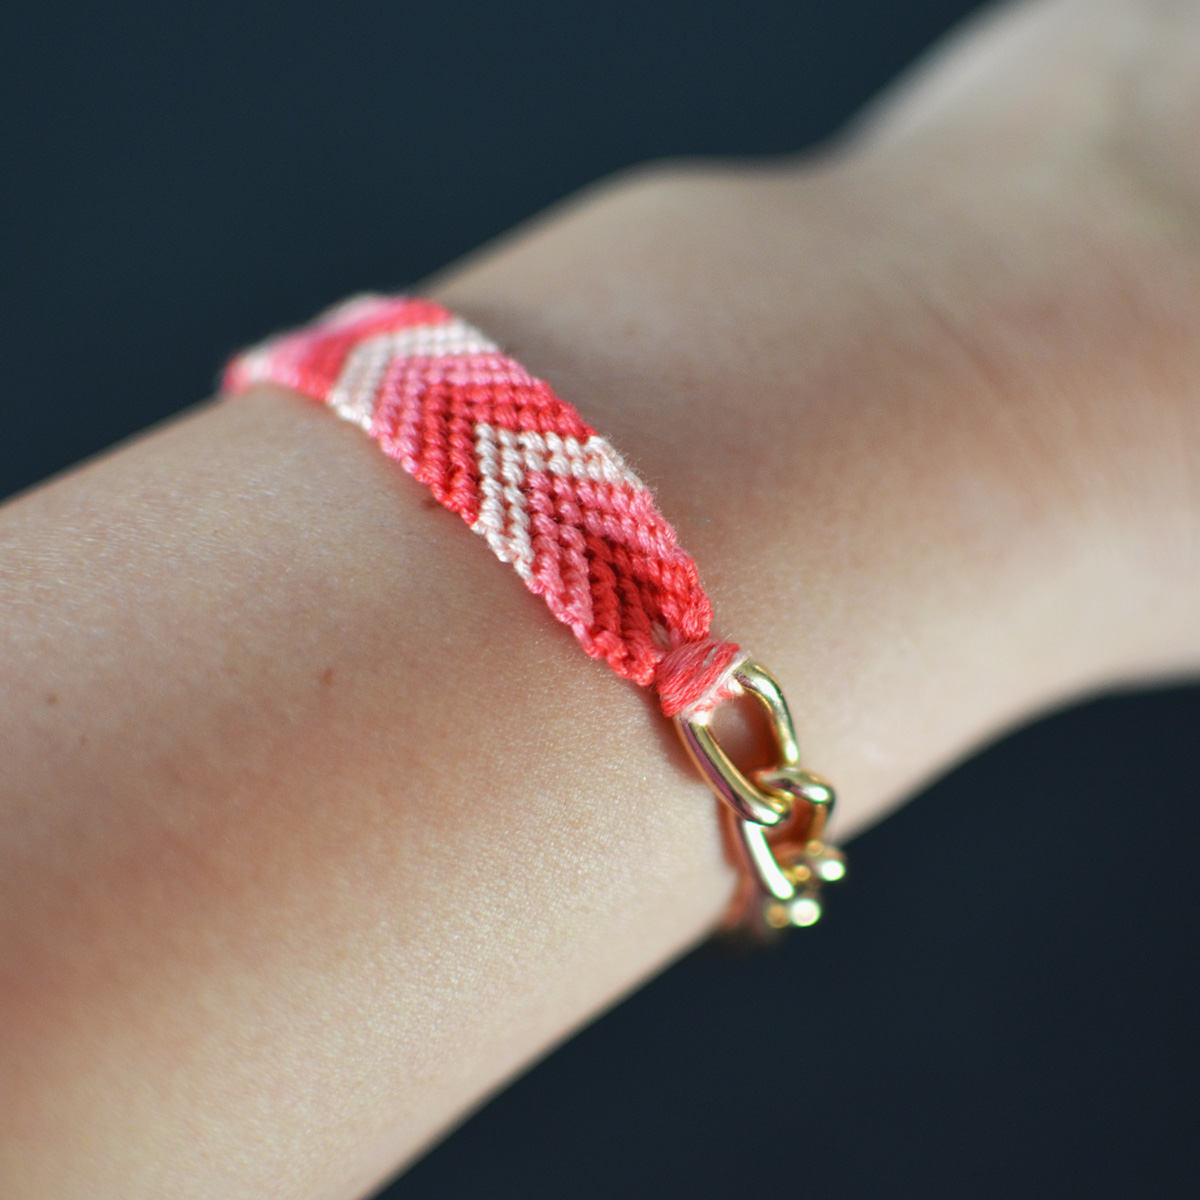
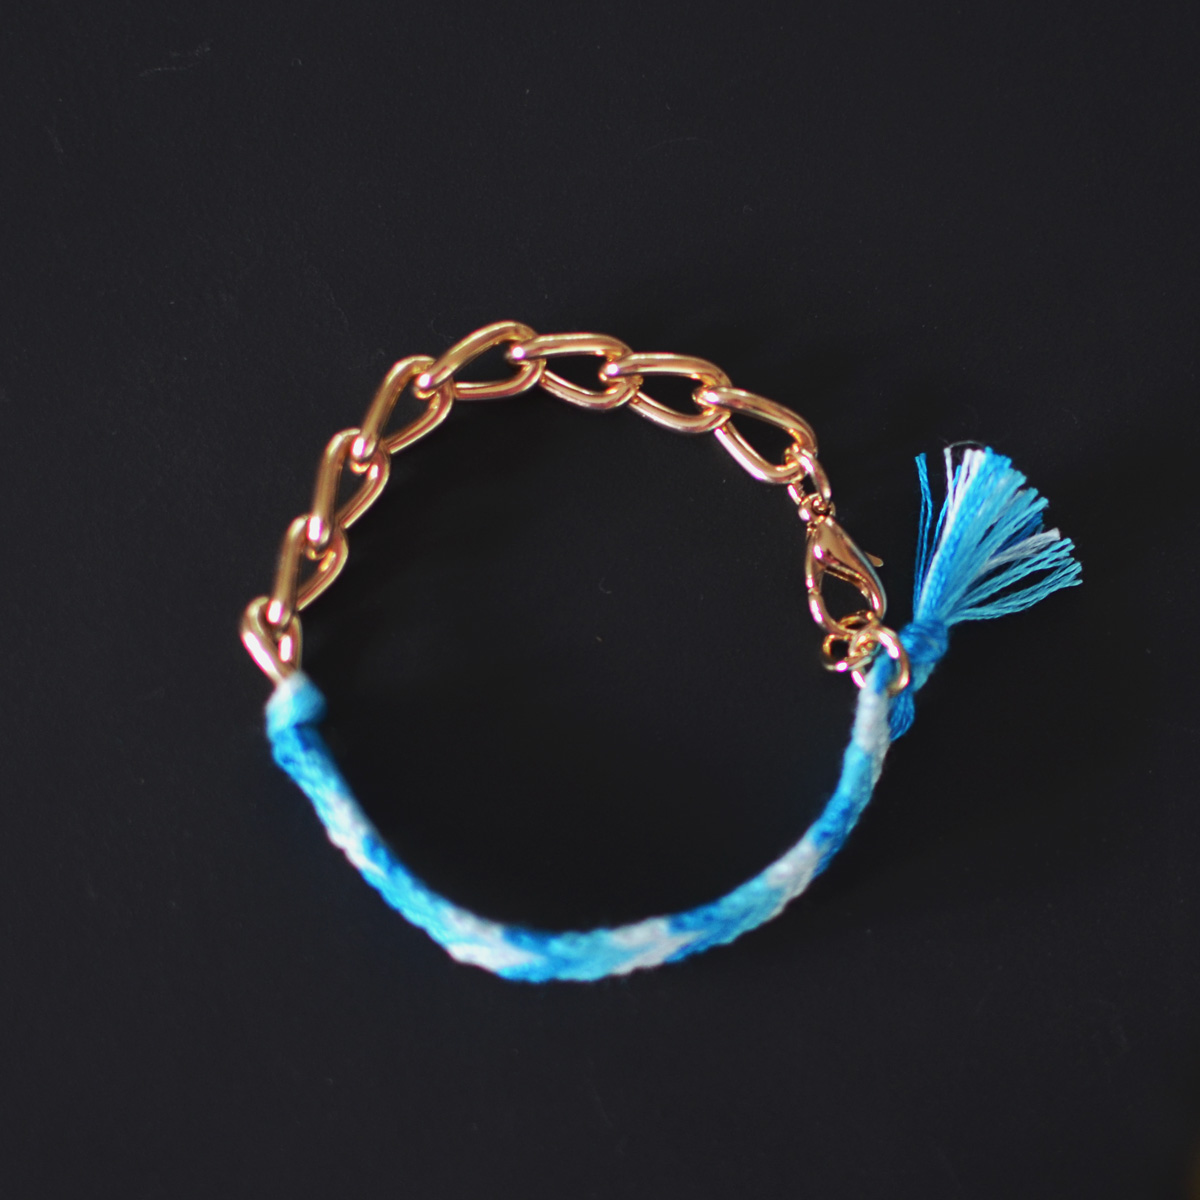
I’m back! I was having server issues for the last week, and finally have my blog back up again. Not going to lie, I was feeling a little sad last week as I had so many DIY ideas, and didn’t have my blog to post them on. While my DIY ideas were homeless, I did make some fun friendship-style bracelets, and they are now for sale on my Etsy shop.

DSC_0141

Summertime Chevron Chain Friendship Bracelet

DSC_0152

Pink Ombre Chevron Chain Friendship Bracelet

DSC_0156

Blue Ombre Chevron Chain Friendship Bracelet

DSC_0162

I think they are so fun! Now that I have made a few of them, I am getting so much faster at weaving. At first, I had to dig into my preteen brain to remember how to make a friendship bracelet. And since they have chain and close with a lobster clasp, you don’t have to cut them off like a traditional friendship bracelet.


Sweet Irish Soda Bread

Hello World,

Welcome to my first post on my new layout! You probably notice that now I am on my own domain instead of a blogspot address. All past blog posts have been migrated over to this new site, and I am currently working on the “tutorials” page. Favorite part of this new design? The design is responsive! Responsive design is design that adapts to the device and browser width. So instead of chopping off the side of my site on a smartphone anymore, everything scales to size.

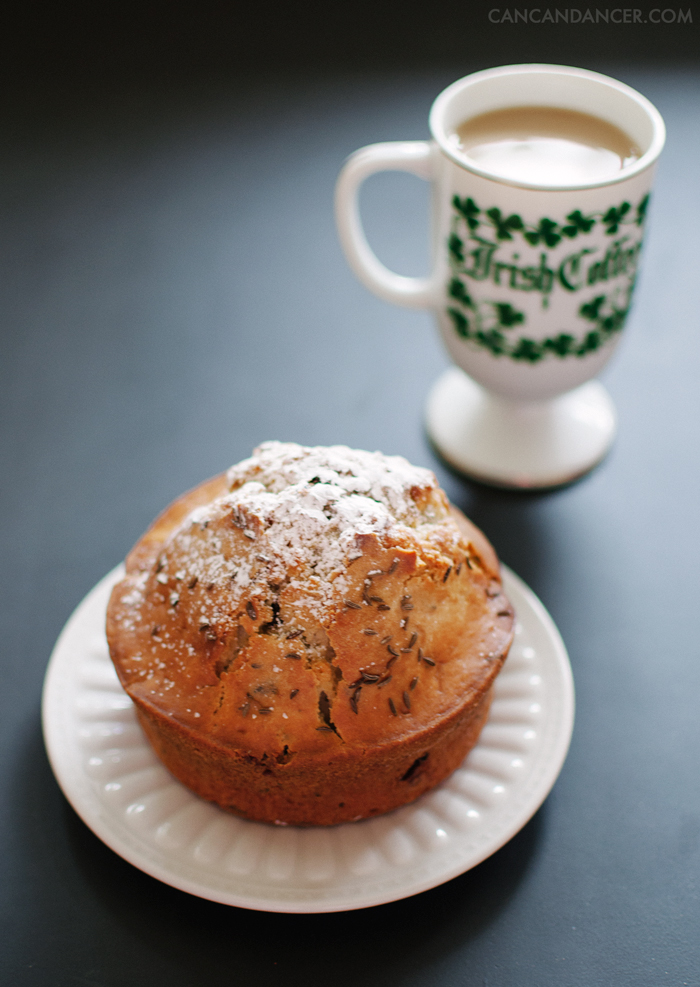
Now onto the title of this post, sweet irish soda bread! St. Patrick’s Day is tomorrow, and my heritage is mostly Irish and Italian. In celebration of my Irish roots, I wanted to share my family’s irish soda bread recipe:

irish_soda_bread2

Ingredients:

  • 4 cups flour
  • 1 cup white sugar
  • 1.5 teaspoons baking powder
  • 1 teaspoon baking soda
  • 1 teaspoon salt
  • 2 tablespoons caraway seeds
  • 4 tablespoons of softened butter
  • 2 eggs
  • 1 teaspoon lemon juice
  • 1.5 cups buttermilk (or make your own by adding 1 teaspoon vinegar to milk)
  • 2 cups raisins
  • Powdered sugar to sprinkle on top once cooled.
  • Optional add-ins: dried cranberries, grated lemon or orange rind, poppy seeds

Preheat oven to 350 degrees. Grease a ceramic casserole dish, or glass loaf pans. Mix all ingredients together in a large bowl. Spoon into greased baking dish(es). Bake for 45 minutes, or until knife comes out clean.

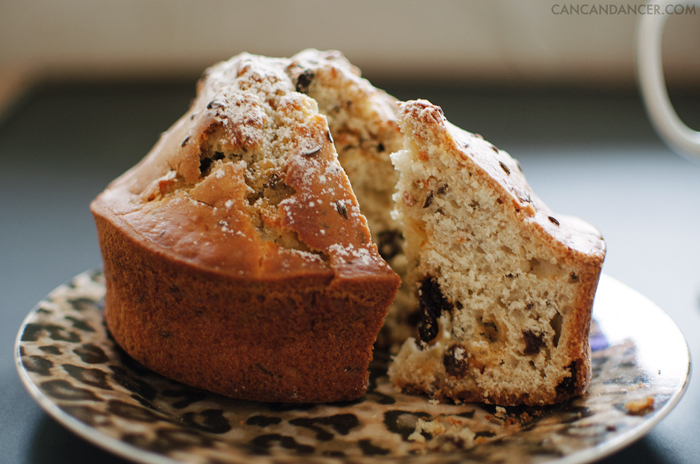
irish_soda_bread1

This sweet Irish soda bread is delicious all by itself, or you can do what I do and spread butter on it.

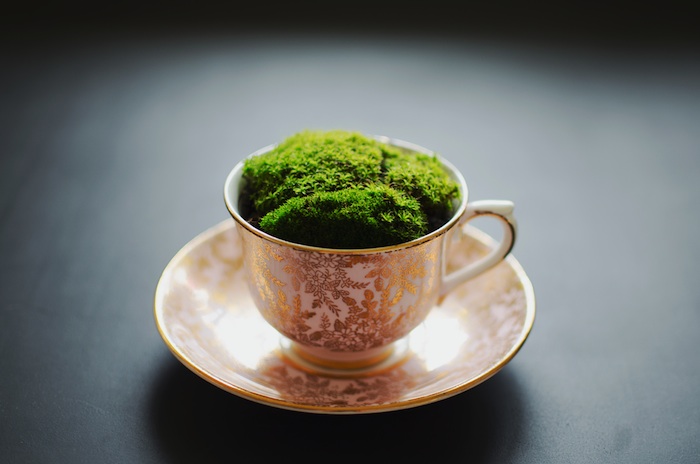
moss_in_a_teacup

I went strolling around my yard the other day, and found moss growing all over the back of my barn. I picked some off and repotted it in this cute thrift store tea cup. I think it looks like a little slice of Ireland.

Happy St. Patrick’s Day!