How to Re-Wick Candles
Hello World,
I love buying candles, but I dislike how there is always unused wax in the bottom of the containers. In the past, I have melted the wax and used it in a wax warmer, but lately I have instead been re-wicking my candles, so I can light them again. Check out the simple tutorial below:
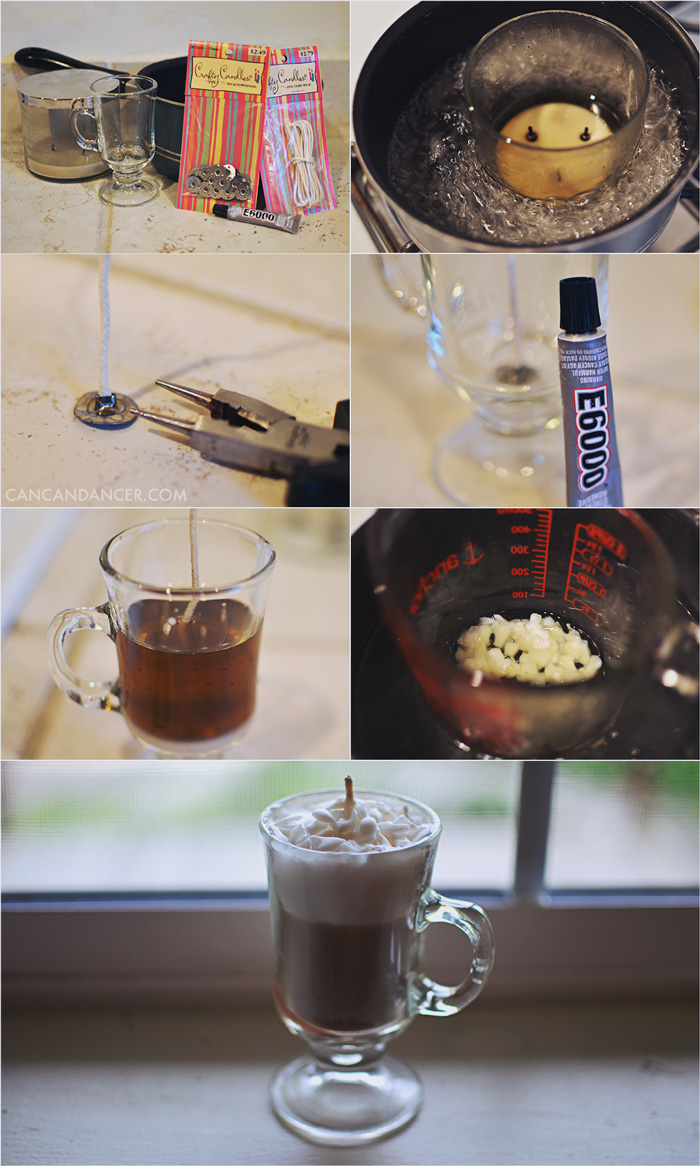
1. Gather your supplies: a burned down candle, wicks, wick bases, pliers, strong glue (I used e6000), a glass container, and a pot partially filled with water, and an oven mitt.
2. Place your burned down candle in the partially filled pot of water. Allow water to boil and wax to completely melt.
3. Crimp your wick base to your wick threading with pliers. (Use the appropriate thickness of wick, if you use on e that is too thick, you risk the chance of your glass container cracking while the candle is burning).
4. Glue this wick to the base of your glass container. Allow to set.
5. Carefully pour your melted wax into your glass container. Wipe out your old container with a paper towel if you want to repurpose it.
6. Steady your wick if it has shifted crooked. You can tape the tip to a pencil if you are worried it will shift as the wax cools.
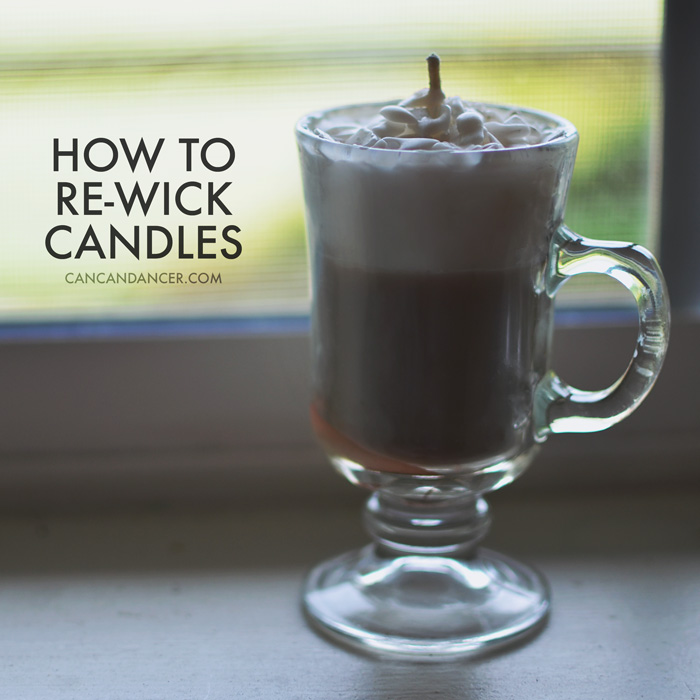
7. Optional: I bought soy wax flakes, and partially melted some of them and scooped them on top of my cooled, re-wicked candle, to create a candle that resembled an irish cream drink.
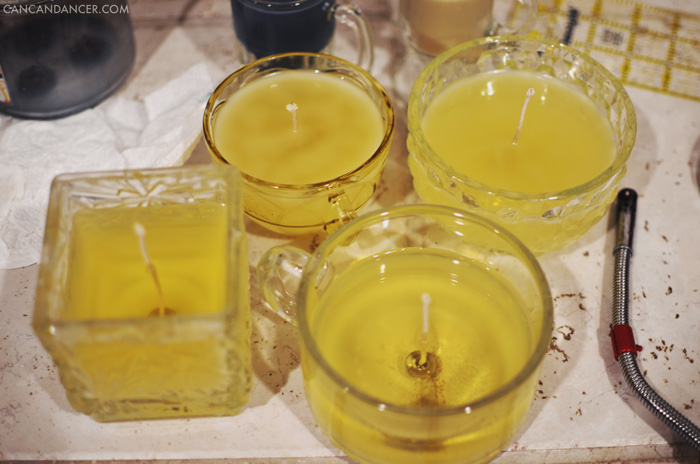
I also recently went thrifting, and picked up a few glass containers for $0.10 each and made some of my own candles with them. Making candles is so much cheaper than paying $20 each for them in the mall!
Happy Crafting!


