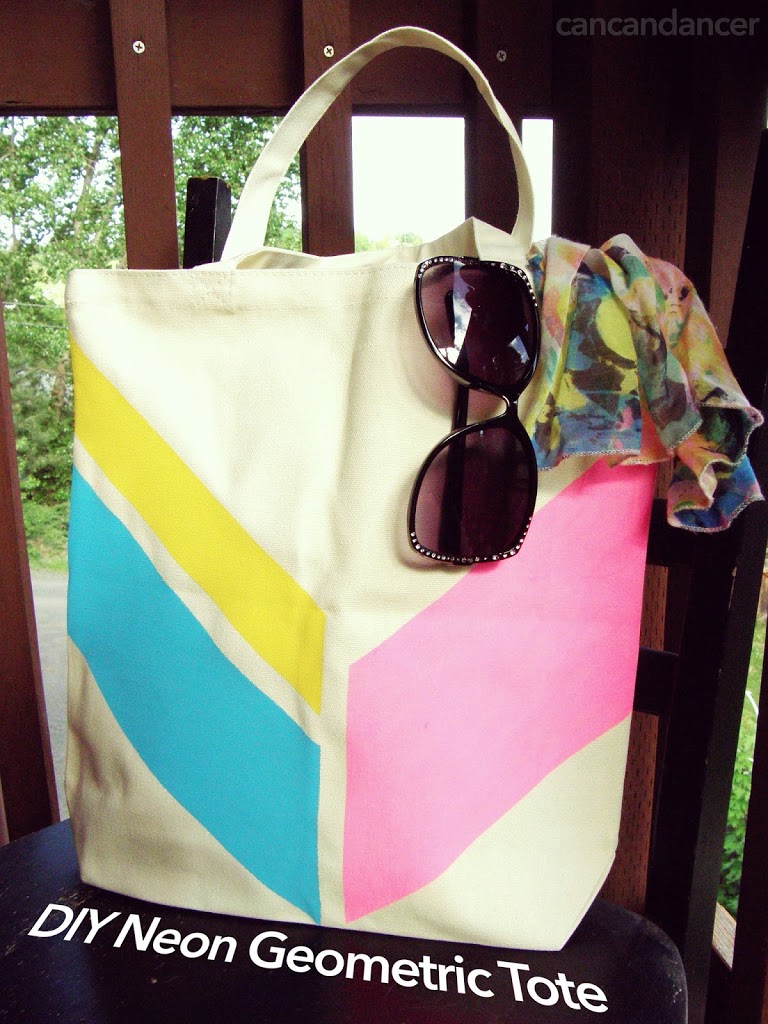
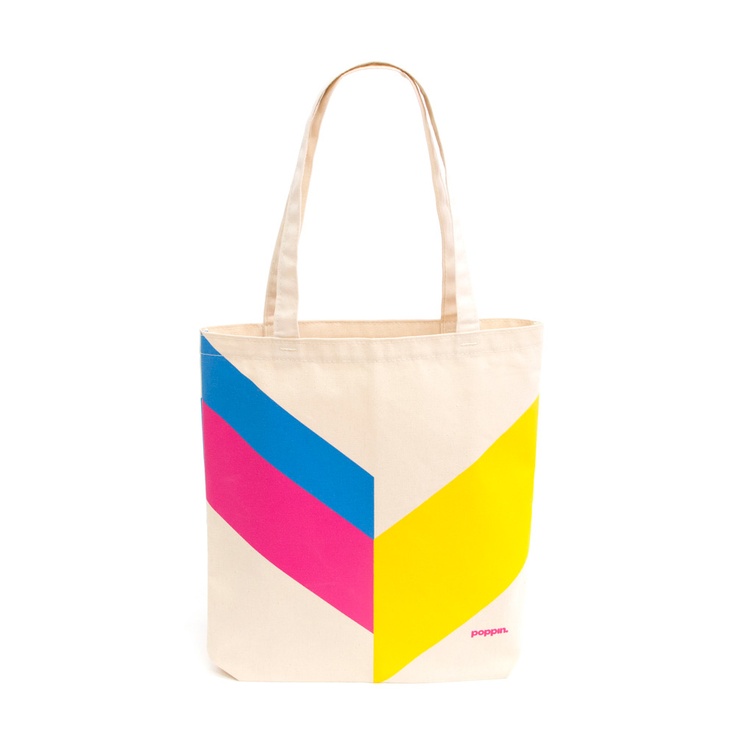
DIY Neon Geometric Tote
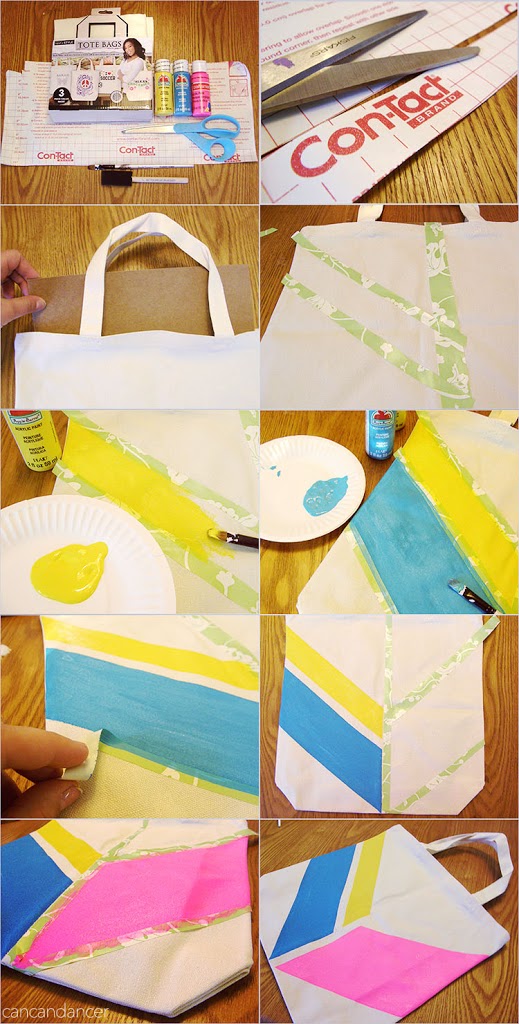
2. Cut out long, straight strips of contact paper.
3. Insert the cardboard into your tote if you are worried about it bleeding through. I did this as a precaution, and then found that the My Next Style totes are thick enough that the paint didn’t bleed through.
4. Remove the backing from your contact paper strips, and press the contact paper down onto your tote to create your design. Use a coin or your fingernail to be sure the edges are completely sealed.
5. Paint inside your first design area and allow to dry. I switched up my color locations because I wanted predominately pink.
6. Paint your second area while the first is drying. I needed two coats of the yellow and the blue. Allow to dry.
7. Peel away your contact paper.
8. Now, I did my two sides at different times to test my contact paper on the tote. But I would recommend laying out your entire design and then painting it all at once, to save yourself some time.
9. Once all your areas are painted, allow it to completely dry and peel off all of your contact paper. Repeat process on other side if you would like.
10. Tada! Enjoy your new tote!


oh my gosh, i love this! you did such a great job. if you ever want to do a spotlight post on a cute little DIY project, or maybe just showcase something you’ve already done, i would love to have you on my blog!
karissa
kandkshaw.blgospot.com
Hi Laura! I nominated you for a Liebster award! Check it out!
Thank you for the nomination! I actually was awarded a Liebster award previously. 🙂 It’s nice to see that the award post content has expanded since then though!
http://cancandancer.blogspot.com/2012/06/i-was-awarded-liebster-blog-award-nina.html