Year: 2012

Etsy Treasury- Ombre Obsessed

I have no idea when this ombre trend started, but I love it! For the longest time I just thought it was a gradient effect.  Various sites on the internet define ‘ombre’ as a gradual shade of color.  

But, in my interior design class we were taught that a ‘shade’ is: adding black to a color to darken it, while a ‘tint’ is: adding white to a color to lighten it. Most of the items below are pure color towards white, aka a tint, while others are more gradient in appearance.  In fact, the original definition says ombre is: an old three-handed card game! Language and translations are so complicated! lol

Anyway, enjoy! (PS aren’t those spoons amazing!  And I bet they wouldn’t be too hard to make!  I’ll put that on my to-do list.)

‘Ombre Obsessed’ by Laura Olphie

Youthful and fun colors, perfect to brighten anyone’s day.

Ombre Wooden Spoons

$25.00

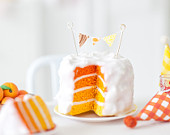
Miniature Playscale Ora…

$12.00

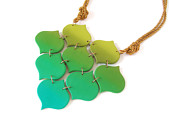
Bib necklace turquoise …

$52.00

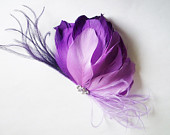
Ombre Goose Feather Fas…

$49.95

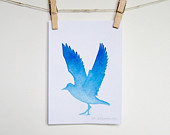
Bird Silhouette Ombre W…

$10.00

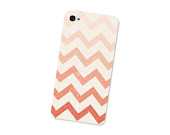
Peach Ombre Chevron Iph…

$12.00

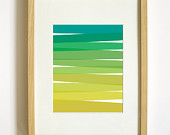
Green Ombre Wall Decor …

$20.00

Felt Garland: Ombre Pur…

$10.80

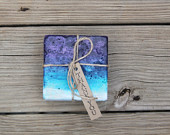
ombre tumbled stone coa…

$16.00

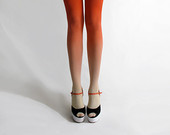
BZR Ombré tights in Su…

$50.00

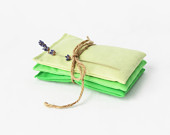
Lavender Sachets, Green…

$24.00

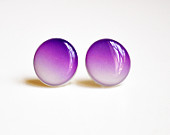
Orchid Ombre Post Earri…

$12.00

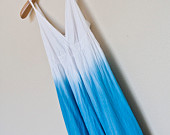
BLUE OMBRE Tie Dye Dres…

$24.00

HAPPY – Wall Art Print…

$18.00

Yellow and Green Gradie…

$8.00

Fuchsia Purple Ombré B…

$180.00

DIY Whitewashing (& Easy Wedding Gifts)

Hello World,

I went to a wedding this last weekend, and gifts were not expected.  I never show up empty handed to parties or events, so I whipped up a simple sign.

Right near my house, the city is tearing down an old grain silo.  They have three huge bins sitting in front of it which are labeled “free wood.” My boyfriend was so kind as to rummage through the bins to find some nice salvaged wood. He grabbed me about five pieces of wood, and the one I used below seemed the most fitting. It had an old screw in the center, as well as 5 other pre-drilled holes.

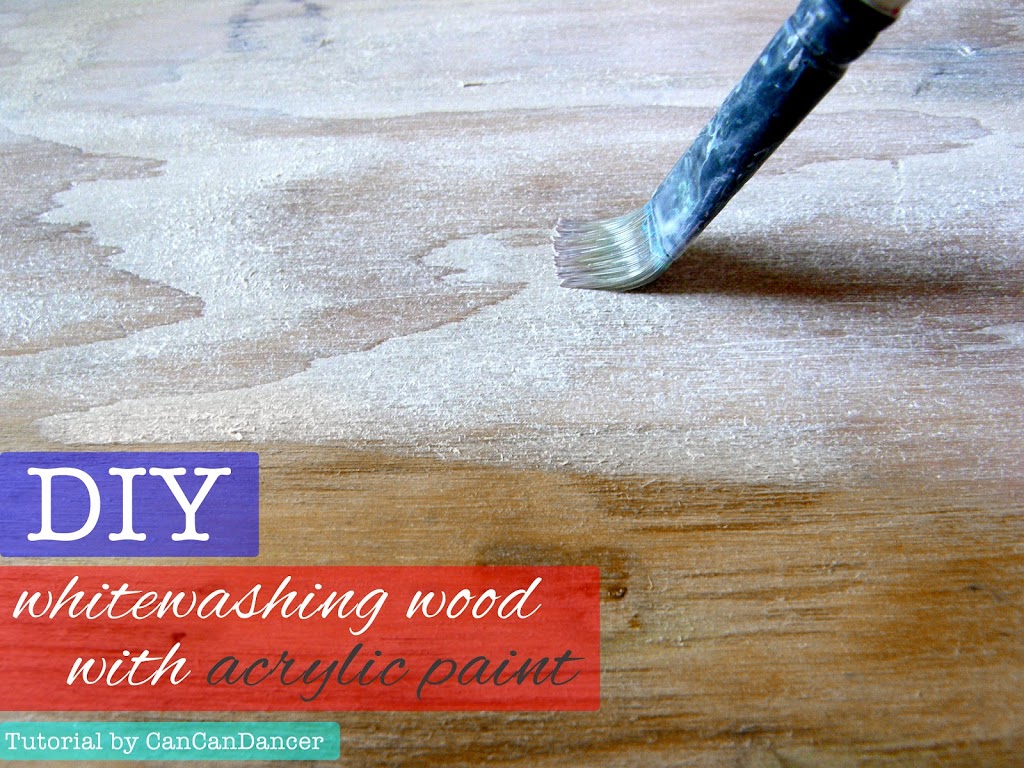
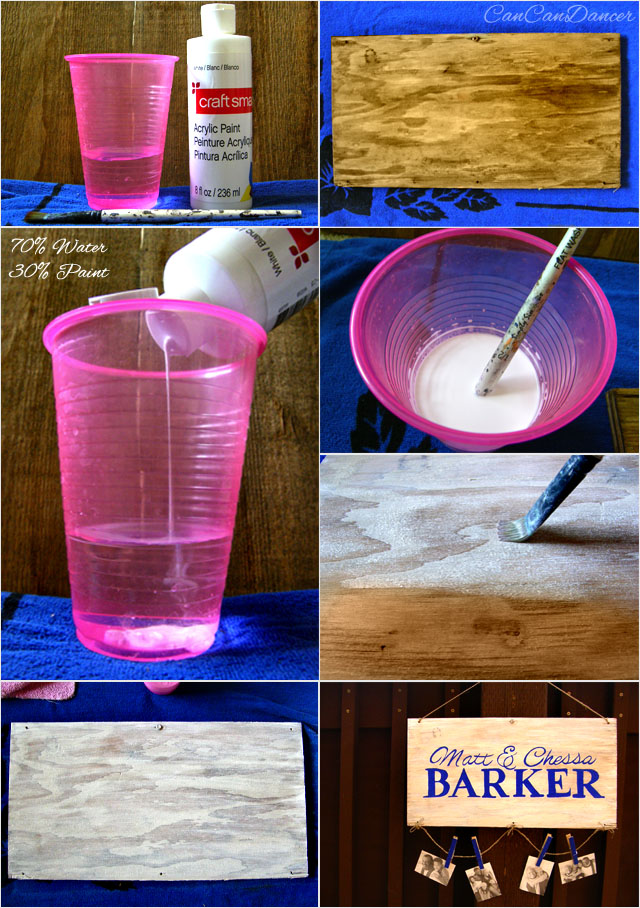
The wood was an average color, but I wanted a beachy look, so I whitewashed it myself. I chose to whitewash instead of just paint so that the wood grain would still be visible (similar to a stain). Check out how to do it too, below:

1.  Gather your supplies: a chunk of wood, some water, white acrylic paint (or any other color), and a paintbrush.

2.  Make sure your wood is nice and clean, sand the edges, dust off any remaining sawdust.

3.  Mix 70% water with 30% paint.  I made too much, so I placed it in a covered container to save it for later.  (Helpful hint: If you ever pour too much paint or don’t want to wash your brushes/rollers you can place them in plastic bags and put them in the fridge.  The paint won’t harden. 🙂  )

4.  Mix the water and paint until you are satisfied.

5.  Paint the whitewash mixture onto your board.  Make sure to get the sides of the wood as well, for a finished look.  Let dry between coats. I did 2 coats.

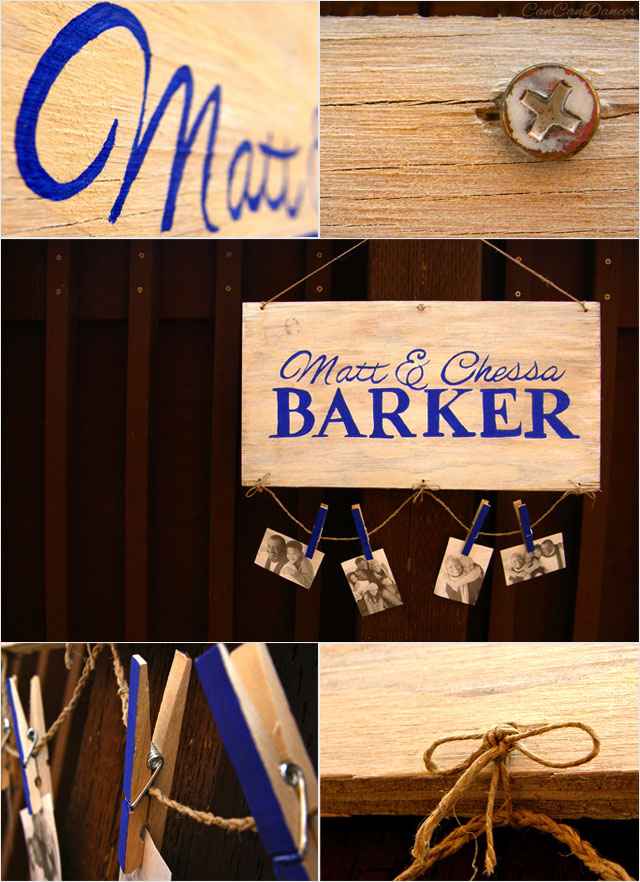
6.  Let dry completely, then personalize it.  I hand-painted their names on it.

I used the painting technique here for the lettering.  I used a scribe brush, but I feel the bristles were too long and at times difficult to control.  Next time I will use a different detail brush, so that my letters are all perfectly consistent in size.

I tied a piece of hemp yarn through each pre-drilled hole, and double-knotted the bows.  Next, I braided three pieces of hemp-yarn together, looped it through the bows, and tied knots at both ends to keep it from coming undone.

Then, I painted one side of each close-pin, and clamped them to the braid-so pictures could be hung.  For the top hanging string, I looped more hemp yarn through the pre-drilled holes and tied them together in the center.

Magazine Party Balls

Remember Mark Montano from TLC? Well, now he has some great, easy DIY tutorials on youtube!  I had a friend over and we tore apart a bunch of my magazines to make some party balls.  (I have mine hanging up even without a party. lol)

Check out the video below!

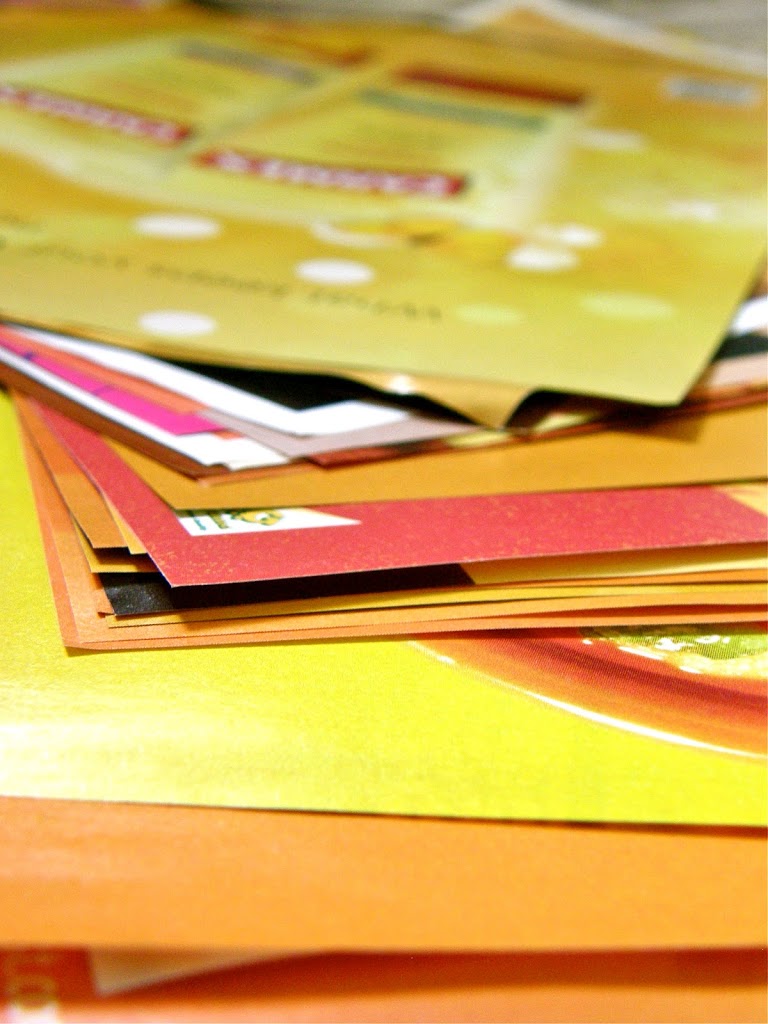
I tried to find magazine pages that were similar in color.

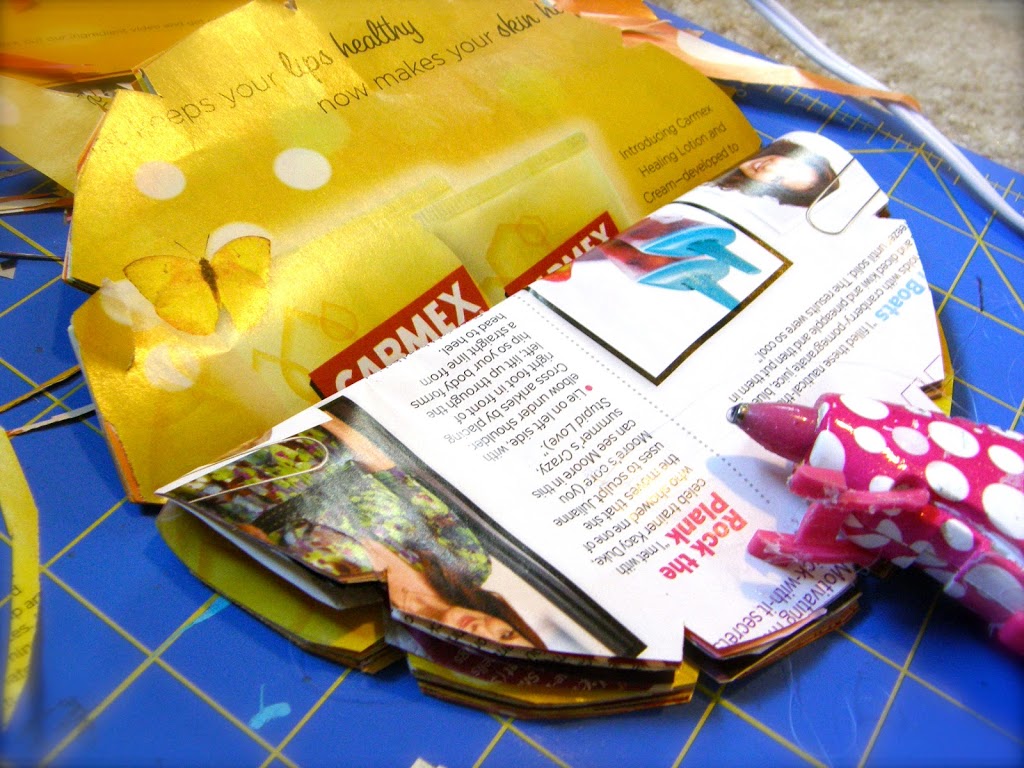
Hot glue every other notch on alternating pages.  I didn’t listen to this at first, and the ball was not a ball at all.

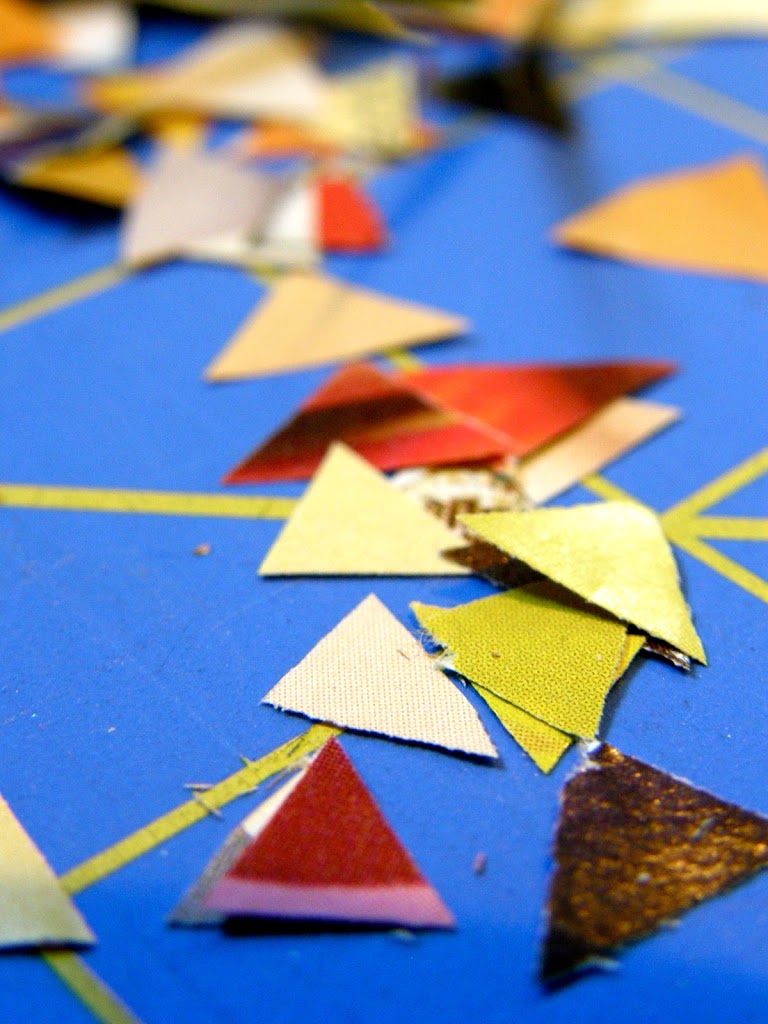
Leftover scraps from cutting out the notches. Save for homemade confetti?

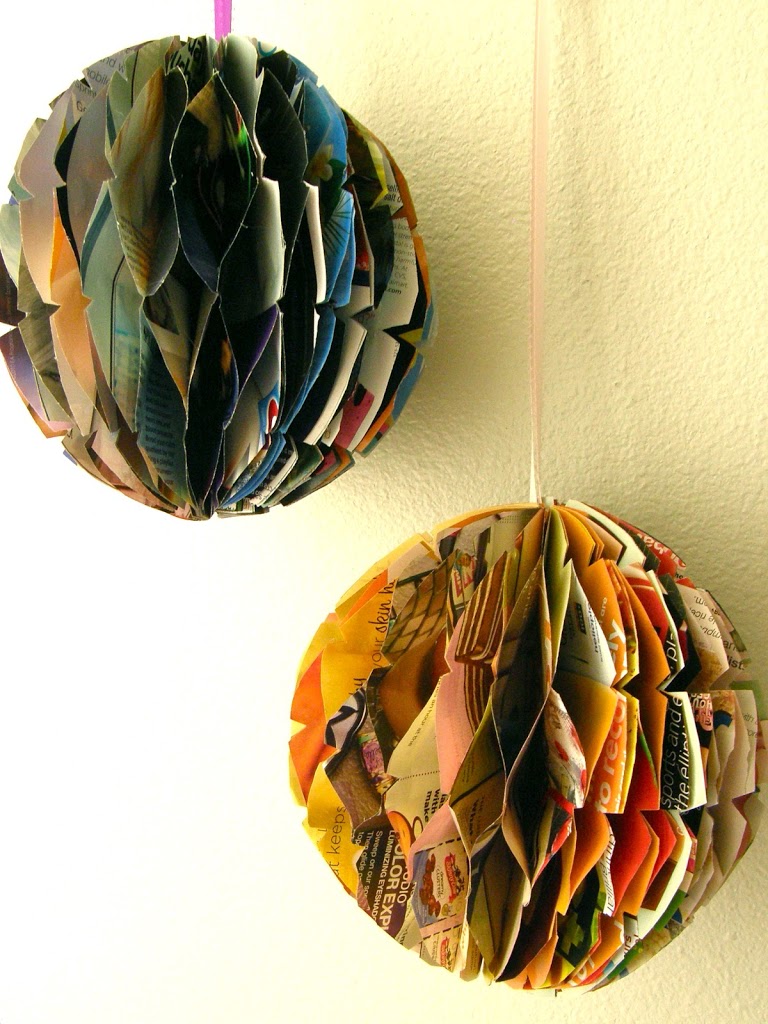
Mine is the orange one, and the blue one is my friend’s. I need to make more of these.