Year: 2012

DIY Denim Feather Earrings

Over the years, I have collected quite a pile of jeans- some were my parents’, my boyfriend’s, and my own.  Denim is such a sturdy and classic fabric.  Here is a tutorial to make earrings with denim. This would be a great project for denim scraps.
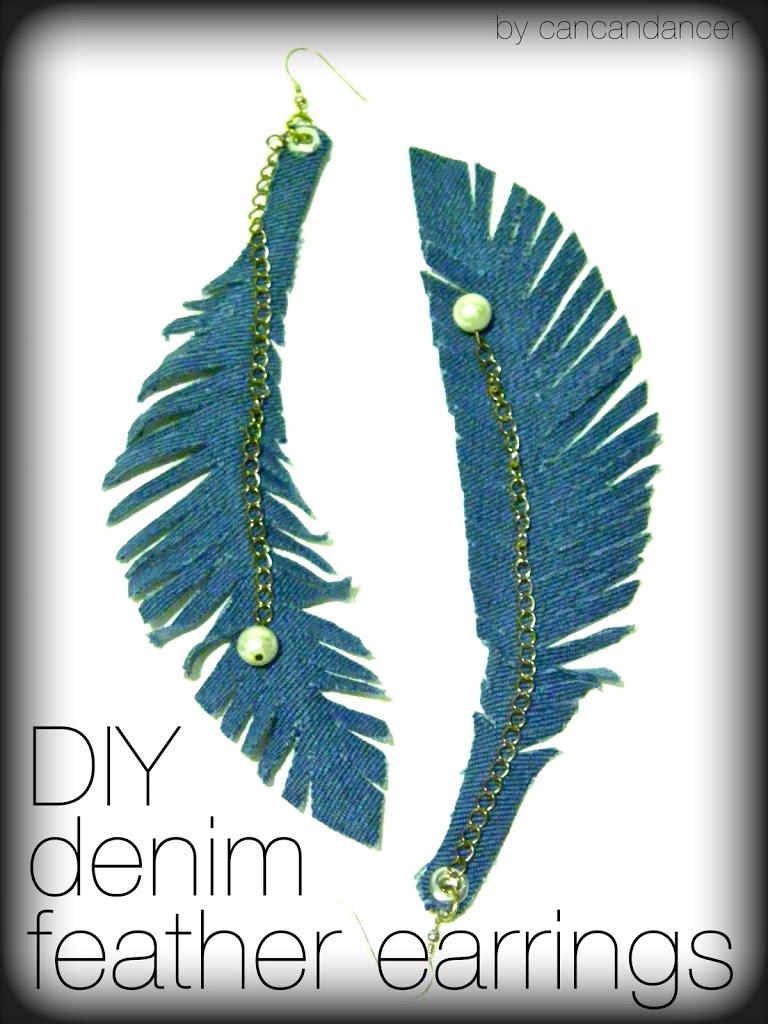
Check out below, to make your own pair too. 🙂
14-tutorial1

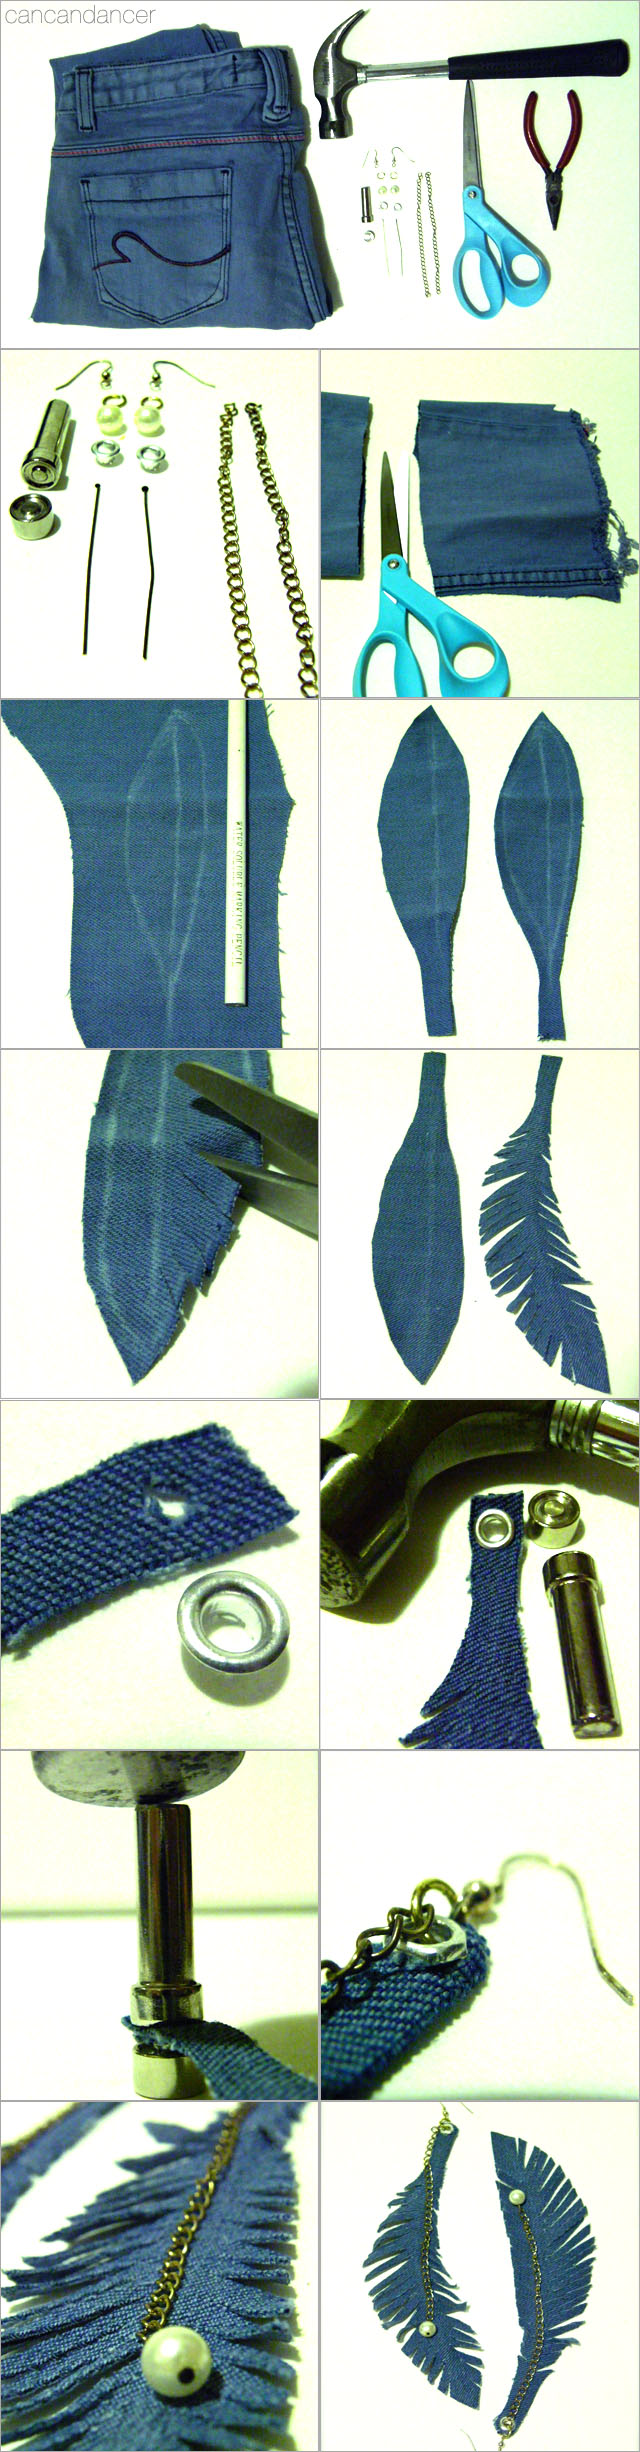
1.  Gather your materials: denim, scissors, pliers, a grommet kit, hammer, flathead jewelry pins, some beads (I used faux pearls), jump rings with matching chain, and earring hooks.

2.  Cut a piece of denim, large enough to fit both feather pieces you will cut out.

3.  I drew a feather shape with a water-soluble pencil on the backside of the fabric.

4.  Cut out two feather pieces.  If they aren’t exactly identical, it’s not a big deal because you will be fringing them later.

5.  I looked at a seagull feather, and noticed that feather barbs are angled down towards the center.  Make small cuts down each side, making sure to not touch the spine line you drew.

6.  After you have fringed your denim, stretch it length-wise to slightly curl the feather.

7.  Make a small hole in the end of the feather, and place a grommet in the hole.  (This way your earring won’t tear apart.

8.  Use a grommet kit (usually comes with the grommets at Michael’s) to secure the grommet.

9.  Place your anvil on a counter or table, then the denim feather right side up, and the grommet in the hole with the sharp-side down. Hammer the setting tool on top of this setup. (This will curl all the sharp edges down on the grommet.)

10.  Attach a jump ring through your grommet, along with some chain and your earring hook.

11.  At the end of the chain, I attached a pearl bead on a flathead jewelry pin.

Imagine what else you could make with denim! Happy Crafting!

Cheesy Pull-Apart Bread

Pinterest has inspired me to try so many new recipes!  I found this one a while ago, but never remembered to buy a loaf of dinner bread. I followed the recipe here: Link.

Except when I made mine, I used ciabatta bread (my favorite!) instead of sourdough, and used sharp cheddar and parmesan instead of provolone. (I used these cheeses instead because my provolone had gone bad… 🙁   ) I also omitted the mushrooms due to personal taste and forgot to get poppy seeds.

This bread was soooooo delicious.  Oooey gooey cheese that pulls apart so easily! I definitely will be making this for a party in the future. Next time, I will use more of the original recipe though because poppy seeds would top it off wonderfully.


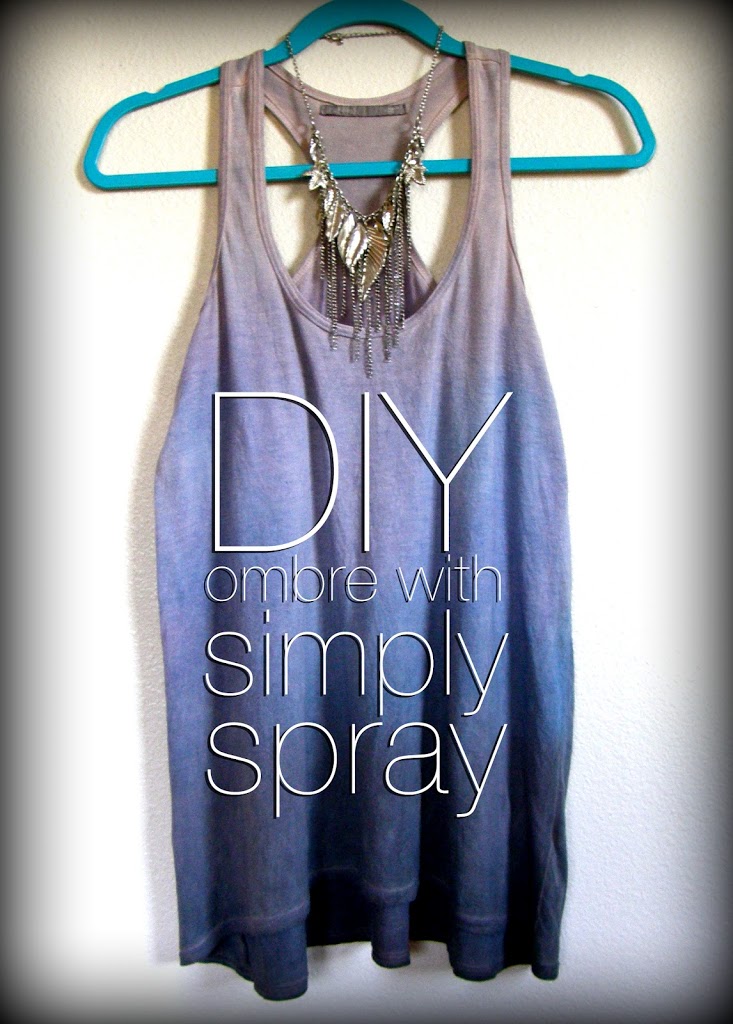
DIY Ombre with Simply Spray

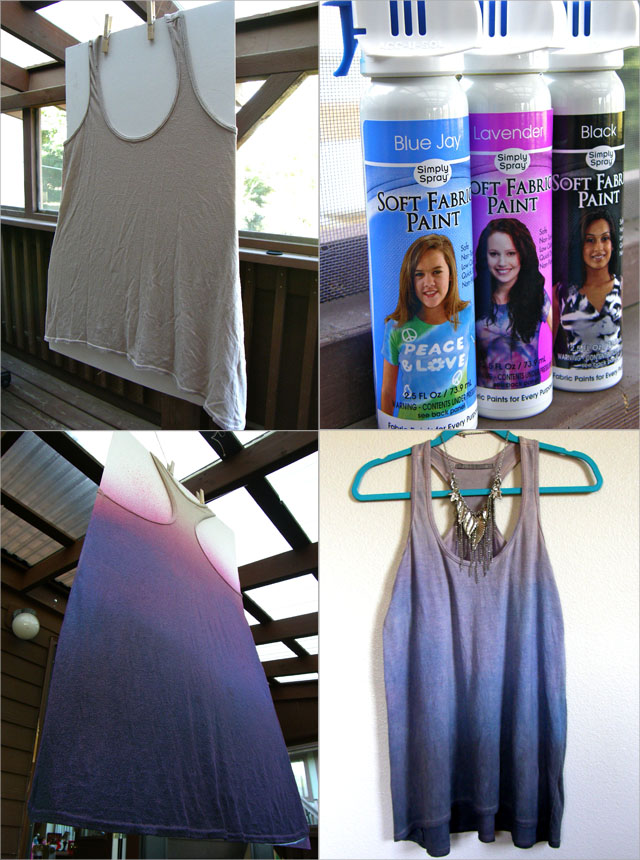
The FashionArtProjects team sent me some free goodies, and I decided to use the Simply Spray for fabric to ombre a tank.  I bought the tank top at a Humane Society thrift shop for less than a dollar.  I wasn’t a big fan of the beige color, but I did like the high-low hem.

Check below to see how to do this technique as well:

1.  You either could lay the shirt down on a tarp, or do what I did, and hang it from a clothes-line.  I chose this method so I could attack the front, back, and side seams all in one sitting.  Make sure to have a tarp underneath if you are over deck, ect. because of the spray paint fall-off.

2.  I used all three colors they sent me.  I first sprayed the Black.  I spray more at the bottom than the top to create the ombre look.  Next, I sprayed the Blue Jay color.  I sprayed it over the black and continued the ombre.  I noticed I had missed some spots with the blue, so I sprayed the Lavender on last.

3.  If you are happy with the color, just let dry and tada!  The bottles say to wait 72 hours before washing, but I wanted mine to be more faded.  I let mine dry for four hours, and then washed the tank in my sink with luke-warm water. I used a wee-bit of detergent and then put it in the dryer on low.

4.  The bright colors faded because I washed it too soon, but I really like it!  It was so easy to do and now it is a faded, indigo-ombre tank!  I can’t wait to wear this top, and the fabric spray paint didn’t make the shirt a crunchy texture.