Year: 2012

Glitter Guitar Painting

My dad is the hardest person to shop for. His favorite things are: Corvettes, guitars, and anything relating to computers (mostly Apple.) Being on a college-student budget, I cannot buy him any of those things. He does appreciate the handmade, so I painted him a guitar for his birthday.

I creeped on my Dad’s Facebook and looked at the pictures he had on there because I couldn’t remember what guitars he even had.  I saw that he had an older Fender Strat- an iconic guitar and I went with that.
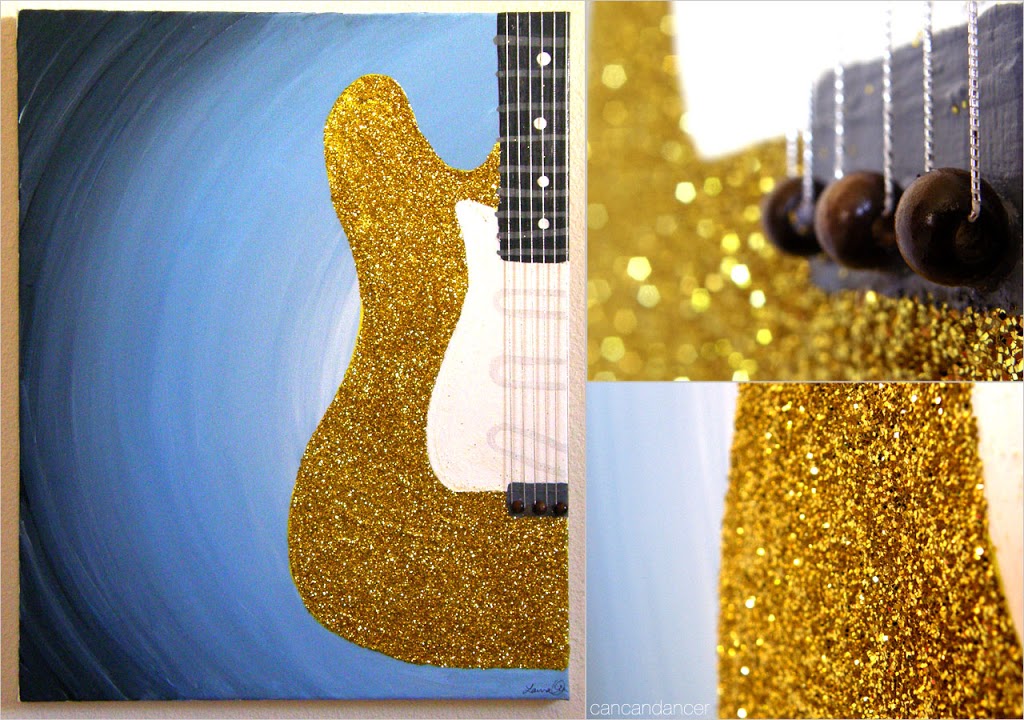
I first painted the background using cheap Michael’s paint. I would recommend using nice acrylic paint because the black was kinda muddy and mixed weird with the blue. I painted the lightest area first and worked my way out.

I then tried to paint the guitar bright yellow, but my paint was really translucent (even with a dab of white added to it.) I did four coats and was not happy with the streaks.  ( I even was using nice yellow paint!) I then covered the yellow body of the guitar with Mod Podge and poured glitter on top of it. (I first tried to mix glitter and Mod Podge together, but it would take 4-5 layers to cover it completely.)

I did two layers of the Mod Podge and glitter and let it dry out in the sun.  I then painted the fretboard and the pick-guard. (I know they aren’t perfect, my paint coagulated and my hand was not steady at all that day.)

The painted guitar areas looked really flat next to the glitter, so I did a layer of glossy Mod Podge over it.  Because my hands were’t very steady, I knew it would be impossible to paint the strings, so I instead hot glued 3 wooden beads to the dry canvas, and looped silver elastic thread through them.  Next I hot glued the tail ends to the back/top of the canvas. (Yes I know electric guitars do not have knobs typically, but it does the job.)

It is super shimmery in the sun, and is less orangey in person.  Imagine what other paintings could be fixed/updated with glitter!

Happy Crafting!

PS Happy Birthday Dad!  I love you!

Moo MiniCards!

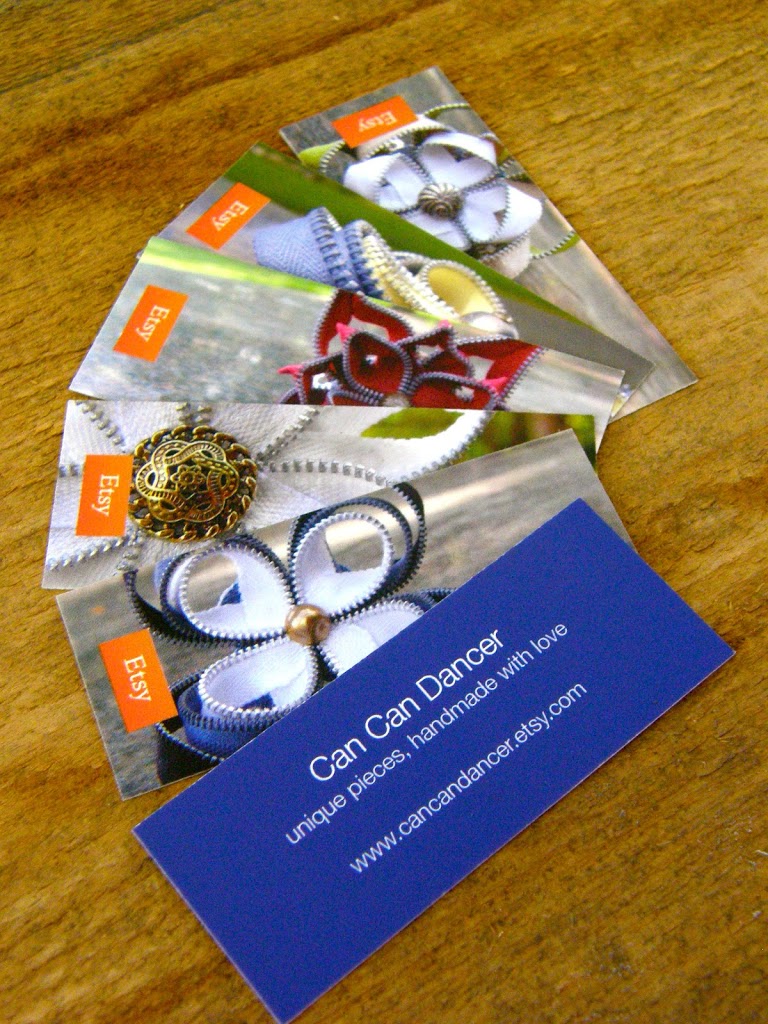
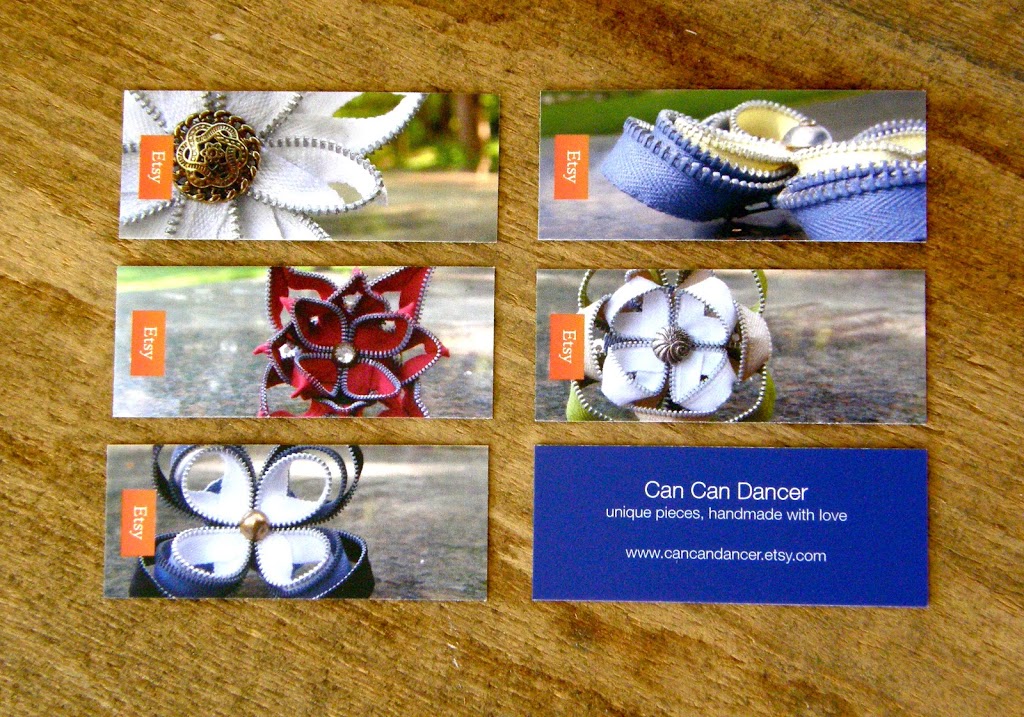
I received an email from Etsy saying I could receive 100 free MiniCards for my store.  They just arrived today!  They came in a cute box, with 20 of each of my designs.  With the MiniCards, you are able to pick up to 100 different designs if you want, but I just stuck with 5.

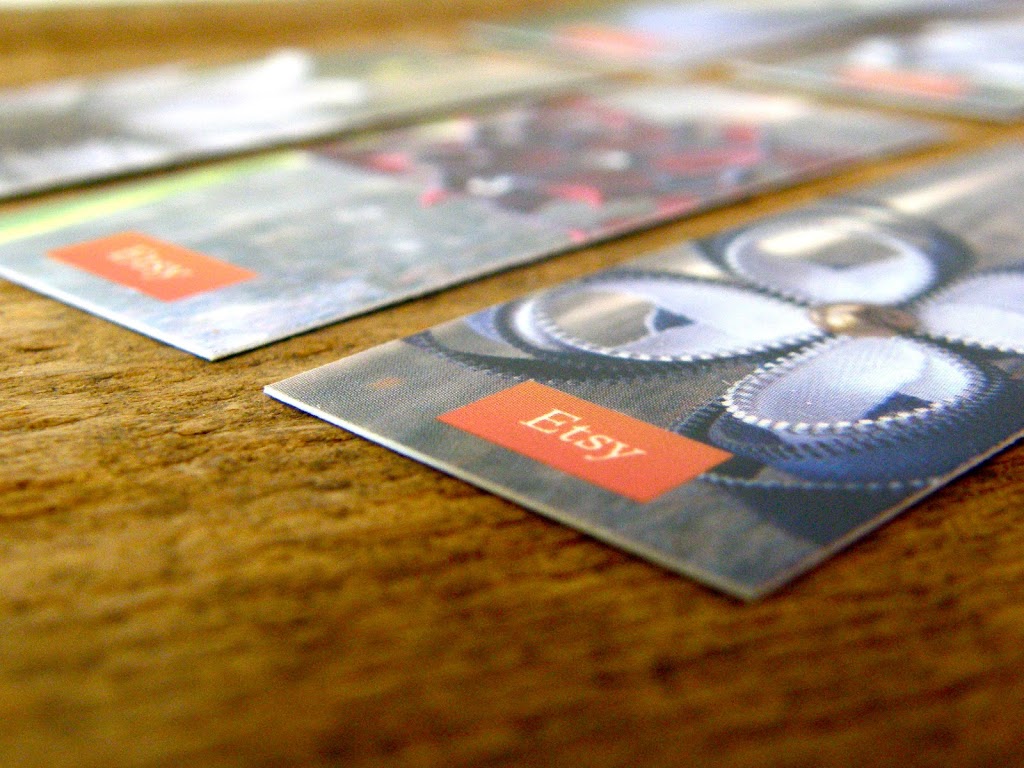
If you have an Etsy store, I would recommend getting some too!  The shipping was only $5 and they are really nice quality.  The font and images are really crisp, and the cardstock is nice and thick.

I probably will order from them in the future due to the quality. I usually print my own at home or at Office Depot, but the image quality and paper thickness is never as thick as I would like.

To get your own: click here.

They were free (except shipping) because they have the Etsy logo on them.

PS. I was not paid in anyway to talk about these, I just was really excited about them. 🙂

From the Junk Drawer+100 Followers!

Hello World!  I apologize for not having a new post for almost a month now!  School started up again, and being my final year, there was no easing into the assignments and projects. I also am working two part-time jobs, so I have little-to-no free time.

I am really excited to say that Can Can Dancer now has 100 followers on Blogger!  To the random person who pinned my neon t-shirt reconstruction on June 14th- Thank you!  That was the moment I actually started getting traffic.  I have had this blog since 2009, and up until June 14th, 2012 I only had 10,000ish views. Now I have had over 308,000 views!

Here is are some pieces I recently made. I have broken necklaces, keychains and earrings and I finally gave some of them new life.

Check out below!

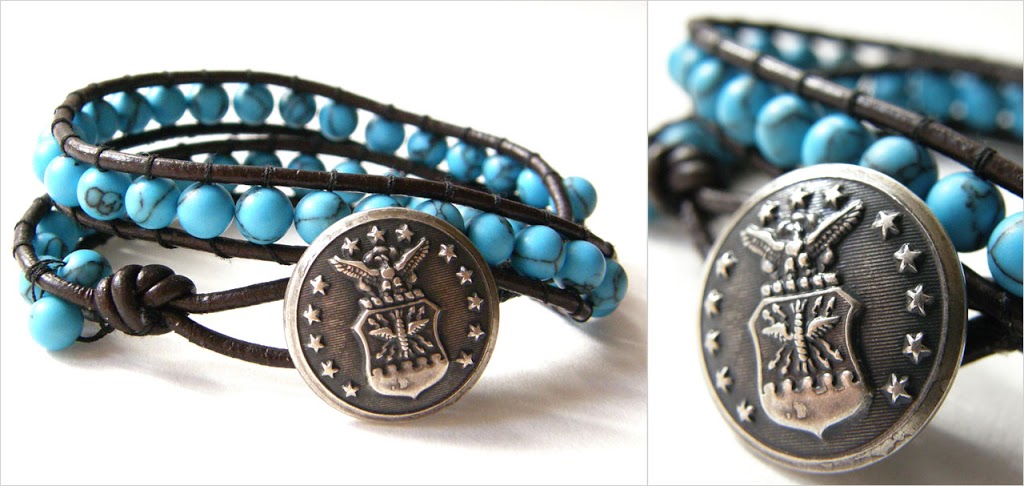
You may have seen this button on one of my zipper flowers.  It seems really high quality, and might even be from an old uniform.  I used it for the closure on this wrap bracelet. I bought leather cording and the turquoise beads at Michael’s.  Making wrap bracelets is really time consuming, so if you try to make one, do it while watching a long movie.

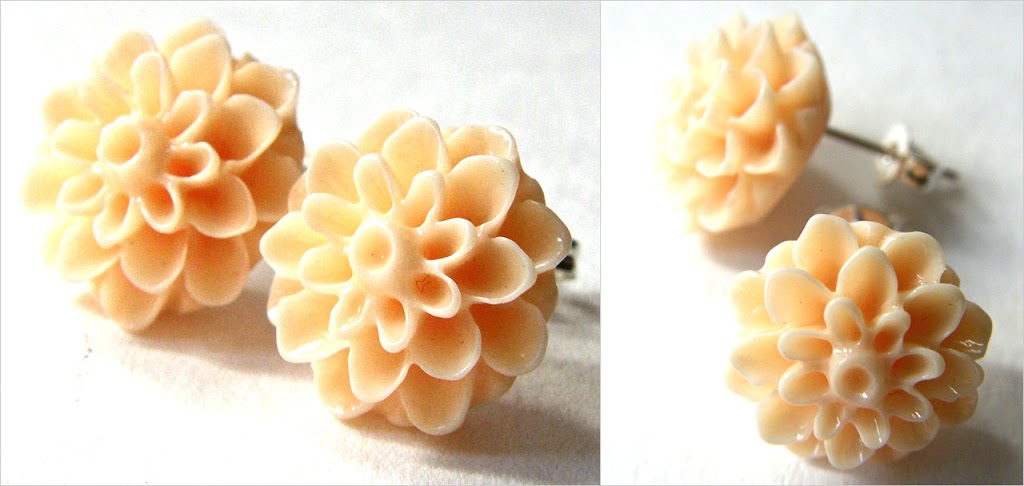
I finally bought some earring posts. I bought a new type of glue, and this is my guinea-pig pair. I have been wearing them everyday (even in my sleep) to see how the glue holds up. If the glue is strong, I wil be making earrings for Etsy soon.

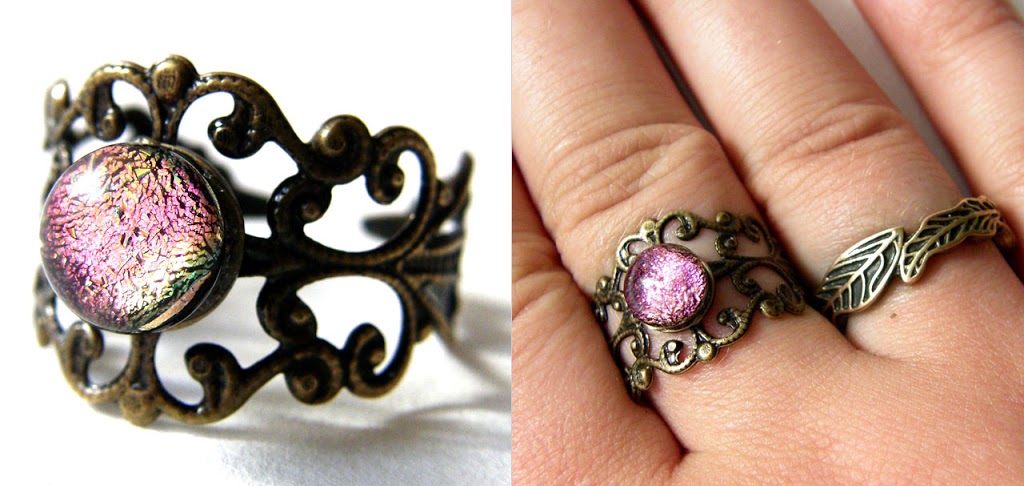
I bought some filigree ring bases, and I am testing them out as well.  Last year I bought a nice pair of fused-glass post earrings, and I lost one while walking to class. I took a shortcut through a grassy lawn that day, and was never able to find the missing earring.  I took pliers, yanked the post off, and then glued it to the ring base.  The ring base has not turned my finger green and is really comfortable (and adjustable).  Once this one makes it past inspection, I’ll start using these bases for Etsy as well.

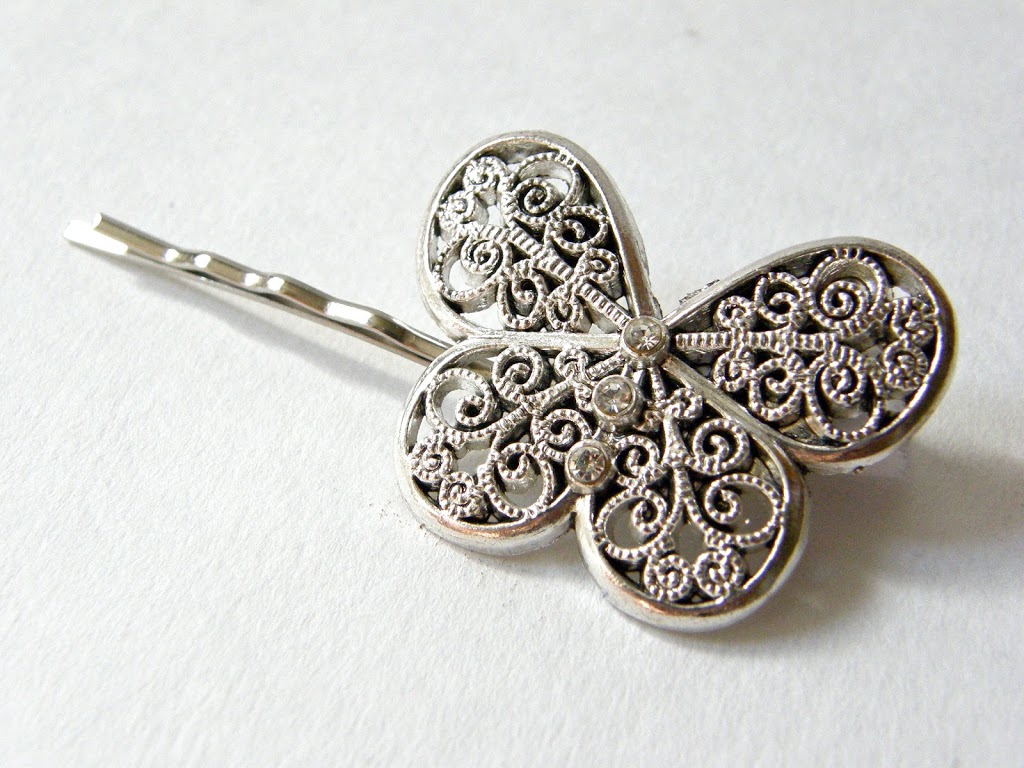
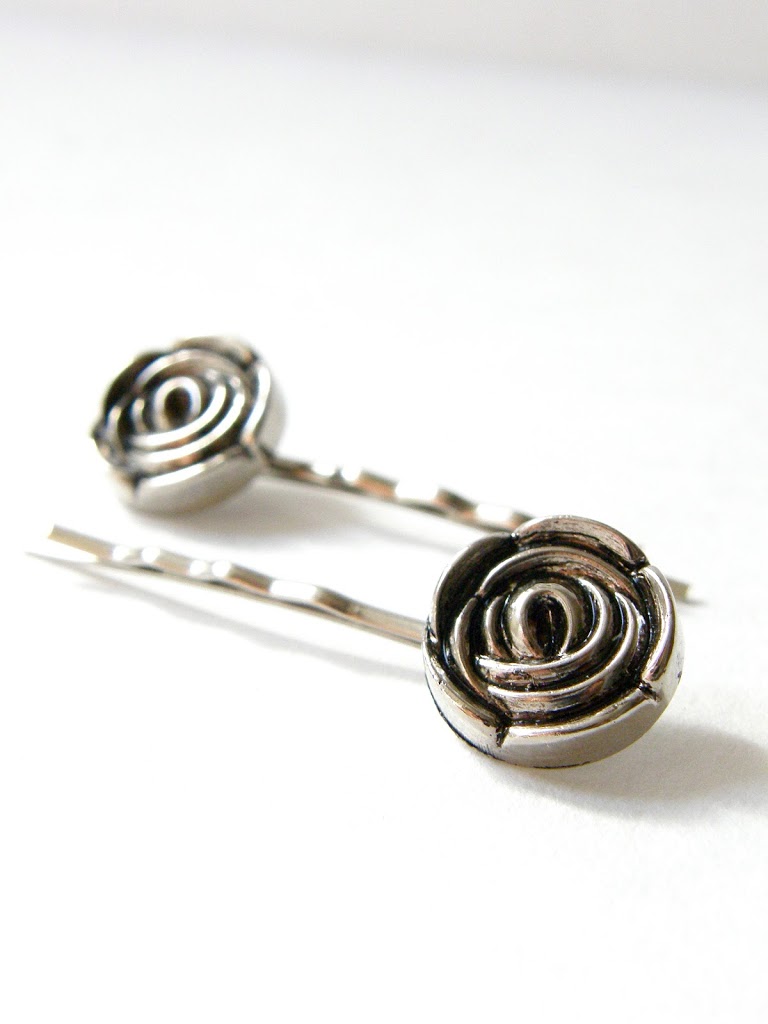
This cute little butterfly is from a broken keychain. (At least I think that is what is was.  My friends like to give me their broken accessories instead of throwing them away…) I bought bobby-pin bases and man they are study. Once I have ore free time I will start making sets and selling them on Etsy as well.

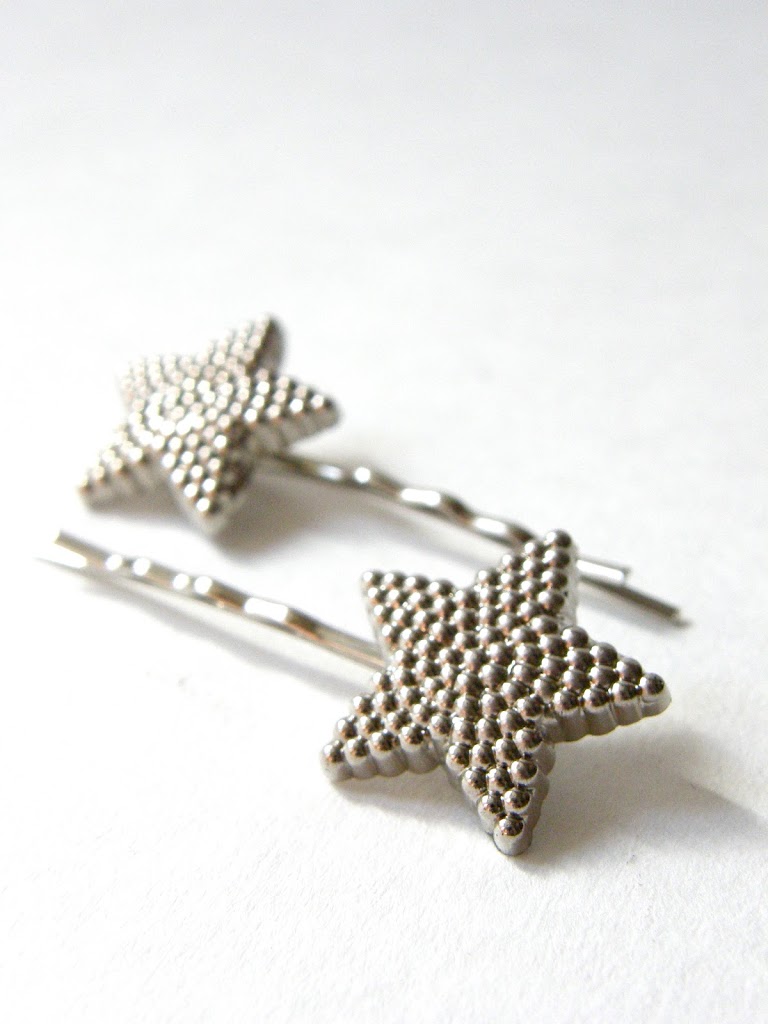
These ones are actually made with old buttons.

These ones are made with vintage buttons as well.

As you can see, I have a large crafting to-do list ahead of me. I have a day or two off next week, so I actually might get to have a crafternoon for once!

Happy Crafting!