Year: 2012

Liebster Award!

I was awarded a Liebster Blog Award!

Nina Mia was so kind to award me for being one of her favorite blogs! The Liebster award is a ‘pay-it-forward’ type of award, in which bloggers pass the award onto their favorite blogs. I am giving my award to blogs with less than 200 followers. Here are my picks for the awards (in no particular order):

*The Sun was High– I adore the overall feel of her blog!  From the heading, to the effects on her photos- everything is beautiful! I also adore her DIY Galaxy Jeans. 

*Tights and Tea– Her graphic design skills are showcased in her great header, adorable floating ice-cream buttons, and post footers.  Check out her nail tutorials!

*Fashion Luxx– I love her simple tutorials, and great style.  I still need to make these DIY Fringe Pocket Shorts.

*Créme de la Craft– Her tutorials for transforming common household objects are so simple and creative!  I also adore her blog’s typography!

Etsy Treasury- Summer Neons

Last summer I made a neon dress, (tutorial: here) and I since have been obsessed with anything neon.  I love how tan it makes you look, and how a neon object can throw its color diffuse onto your white walls!

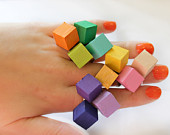
Here is a treasury with all sorts of neon items (I love love the cube rings!).  Enjoy!

‘Summer Neons’ by Laura Olphie

Bright colors, perfect for sunny days!


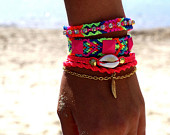
Rhinestone Friendship B…

$19.90

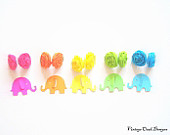
Neon Flower Earrings, 8…

$6.50

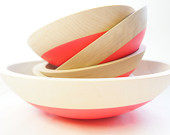
Wooden Salad Bowl Set o…

$149.00

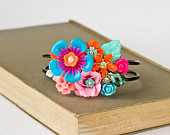
Neon Hippie Statement B…

$65.00

Turban Headband Neon Fl…

$24.00

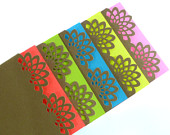
Neon Bright Color Wood …

$6.00

Ampersand Screen Print …

$22.00

Vanilla – Smartphone ca…

$14.80

NEON Yellow Fly Earring…

$17.00

Set of 5 Neon Summer No…

$10.00

Ice Cream Sherbet Soap …

$7.95

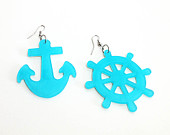
Aqua Blue Sailor Nautic…

$4.99

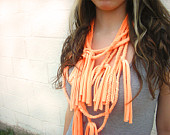
Neon Braided Scarf / Ne…

$15.00

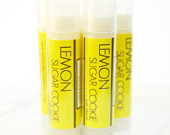
Lemon Sugar Cookie Lip …

$3.50

5×7 STAR MOTEL Retro Ne…

$15.00

Neon Green Peplum Dress…

$75.00

PS Welcome everyone from Pinterest!

Freezer Paper Stenciling

Hello World,

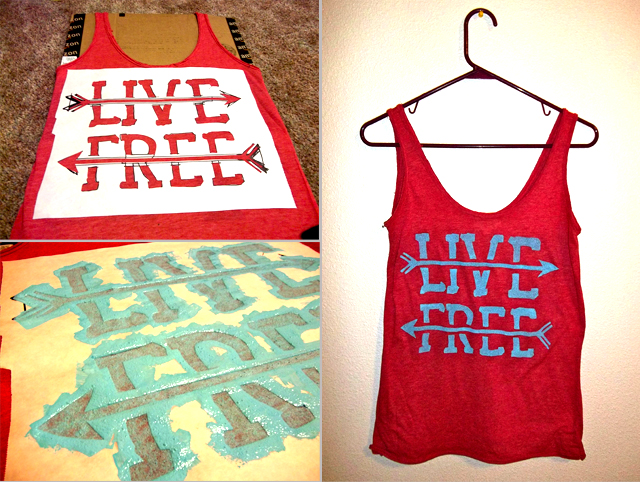
I finally tried freezer paper stenciling! It took me a while to actually find it in my town, but I finally found some, and it was about $6 a roll at Walmart.

It’s actually really easy to do too! This was really cheap for me because I nabbed this tank top at a thrift store for a whole $0.50.

Here is how you do it:

1.  Cut your freezer paper to your desired size.  Now either draw or print on the paper side, not the waxy side. (Only with an ink jet printer!  If you use a laser printer the freezer paper will bind with your printer and ruin it! I have a laser printer, so I went back to my elementary school skills and freehanded/traced an image with the use of a window.)

2.  Next place a piece of cardboard in between the front and back of your shirt. (This way the paint doesn’t seep through.)

3.  Iron the freezer paper, waxy side down on your shirt.  Make sure that all edges and small detail points are nice and stuck on.

4.  Paint onto your shirt with a sponge-like applicator brush.  (I mixed acrylic paint with Monotype base, which I had leftover from a printmaking class… I’m not exactly sure if it will last, but the bottle does say it is permanent. (Fabric paint or textile ink might be safer.))

5.  Do as many layers of paint until you are satisfied with the color payoff.

6.  Allow your paint to completely dry. I was impatient and took a blowdryer to it.

7.  Gently peel off your freezer paper, it should come off very easily.

8.  Iron your shirt to set the paint. Place a layer of plain cotton fabric between your shirt and the iron if you are worried about it sticking to your iron. Then allow to cool and enjoy!