crafting

DIY Gold & Lace Flower Pots

Hello World,

Spring is right around the corner, and I am so ready for it. Even though this winter wasn’t very harsh, I have always been a warmer weather girl. Today’s project is perfect if you want to bring some spring inside your home. Check out the tutorial below to make your own gold and lace flower pots:

1. Gather your supplies: flower pots (I bought a 3-pack at Dollar Tree), spray paint, lace trim, Mod Podge, a brush, clear gloss spray paint (not pictured), and scissors (not pictured).

2. At first, I just spray painted my flower pots gold. Well, the paint didn’t stick and dusted off when I touched them. I then sprayed them with clear spray paint and allowed that to dry.

3. I then spray painted them gold, and the paint did stick. Allow colored paint to dry.

4. Apply Mod Podge to your flower pot lip.

5. Place your lace trim where you applied the Mod Podge. Trim lace so it barely overlaps.

6. Apply Mod Podge on top of the lace. Allow to dry.

7. Fill with soil and add some happy little plants.

Happy Crafting!

DIY Moss Typography

Hello World,

Let’s be honest. I have a typography problem. I love both sans serif and scripted typefaces. I sometimes pay more for a product just because it has great packaging. I know, #designerproblems. My hands-down favorite is Futura, and I use it for all my blog/Etsy branding. (Fun fact- Futura is so cool it actually is on the moon!)

Now that I have put that on the table, you can see why I am really excited to share today’s tutorial. This is a quick project that only cost me a dollar. I decided to go with handwritten lettering, and a simple “hello.”

1. Gather your supplies: artificial moss (I got mine for $1 at Dollar Tree), an old cereal box, scissors, hot glue gun, and glue sticks.

2. Print or draw out your word on the cardboard. It is okay if you have drawing errors, as you will be covering them later.

3. Cut out your word with scissors. If you have trouble cutting with the inside of some letters, try using an X-Acto knife.

4. Apply hot glue to your cardboard. Press moss onto the area, being careful not to burn yourself.

5. Continue for the rest of your word.

6. If your edges are messy, give your word a little trim.

And tada! You could either glue this to a canvas, or just place on a shelf. Mine is on a windowsill and doesn’t flop over.

Happy Crafting!

PS. Please do not ever use Papyrus. Find something way better for free at www.fontsquirrel.com.

Going Stag Jewelry Holder

Hello World,

Guess what? I have another Darby Smart kit to show you today! The original kit was designed by Los Angeles-based designer, Joanna Reynolds. I think this kit is such a clever idea for a jewelry holder.

I live in Idaho, and most of my friends have actual animal heads mounted in their living rooms. I am not very outdoorsy, and have never been hunting. I know GASP. I went to a high school where the senior guys wore flannel cutoffs, thought mullets were cool, and would go hunting before school sometimes. It just was never my scene. (Plus, I don’t really like the taste of venison.)

So I thought this was a nice alternative to having an actual head mounted in my bedroom, and it can be completely customized to your own style!

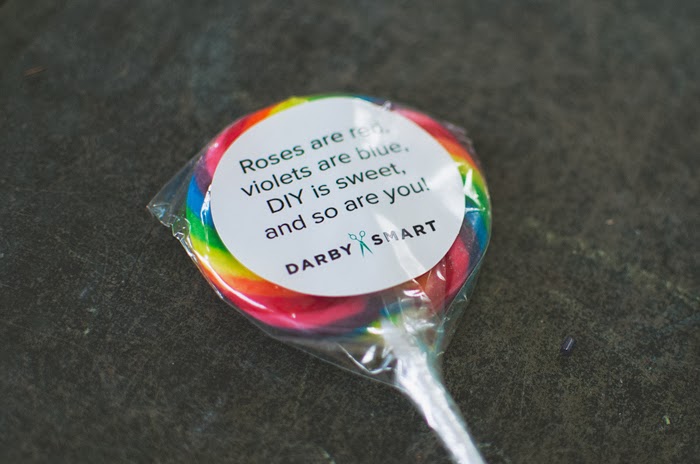
Darby Smart even included this super cute lollipop in the Valentine’s Day spirit!

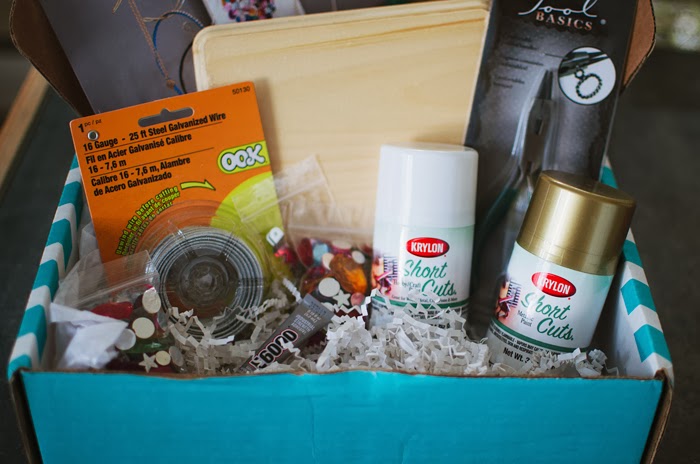
The kit originally comes with two mini cans of spray paint, a bunch of gem stones, glue, wire, pliers, a wooden plaque, and a metal hanging hardware. Note: I used other supplies in my stash to make my version.

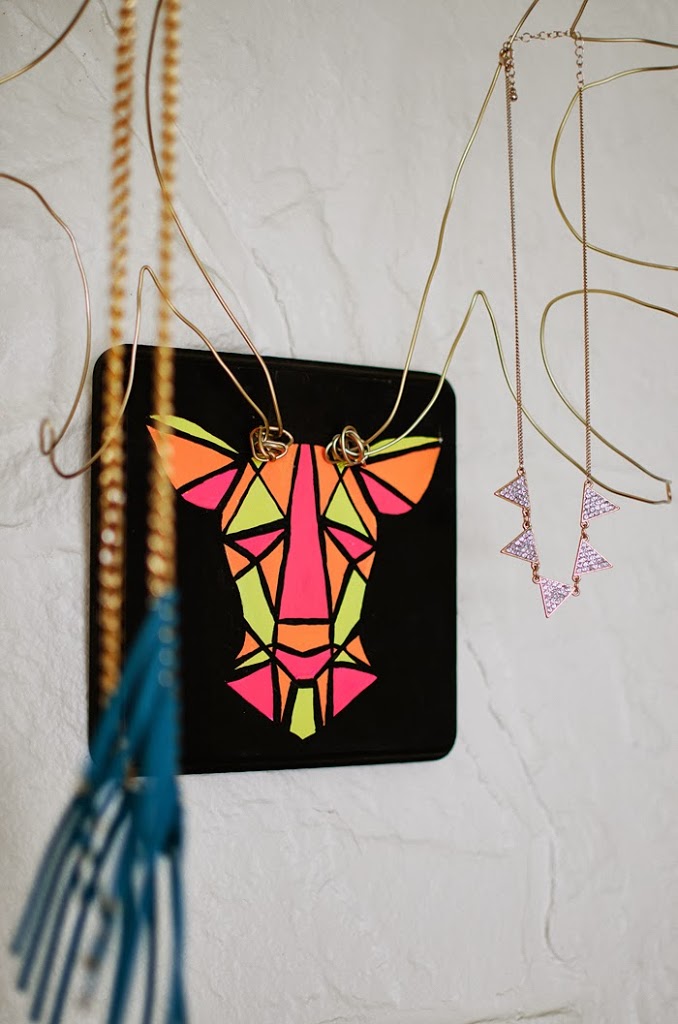
I originally painted the wooden plaque white and hand painted a realistic deer head on it. I was planning on gluing the gemstones onto the plaque as a necklace design on the deer, but I couldn’t get the ears right. In the middle of my perfectionist frustration, I painted the entire plaque black and went with a geometric design instead, in neon colors (using my own acrylic paint).

If you want to try this kit out, but want to paint a design, Darby Smart sells some acrylic paint colors separately too here. I didn’t end up using all the supplies from this kit, and will be saving the gem stones for another project.

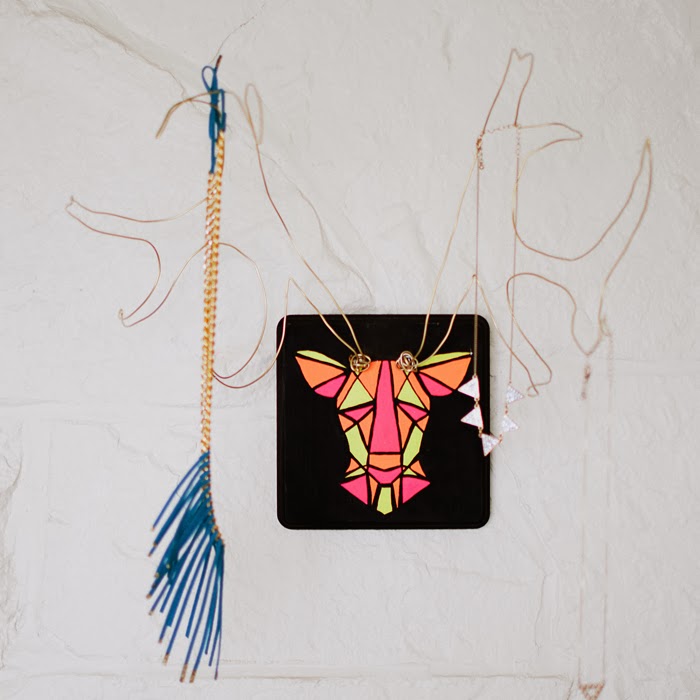
I really like the gold wire antlers with the brightly painted plaque. Does the fringe necklace above look familiar? That was my original prototype for my Darby Smart kit!

If you think this kit is a rad idea as well, you can check out the original gem-stone-tastic kit here. (I know I’ve said it a million times, but seriously sign up for their emails or follow them on Facebook, they send/post coupon codes periodically. Who doesn’t like a deal?)

Happy Crafting!

PS- Unlike my other kit posts, this was my first complimentary kit from Darby Smart and all opinions are my own.