DIY Moss Typography
Hello World,
Let’s be honest. I have a typography problem. I love both sans serif and scripted typefaces. I sometimes pay more for a product just because it has great packaging. I know, #designerproblems. My hands-down favorite is Futura, and I use it for all my blog/Etsy branding. (Fun fact- Futura is so cool it actually is on the moon!)
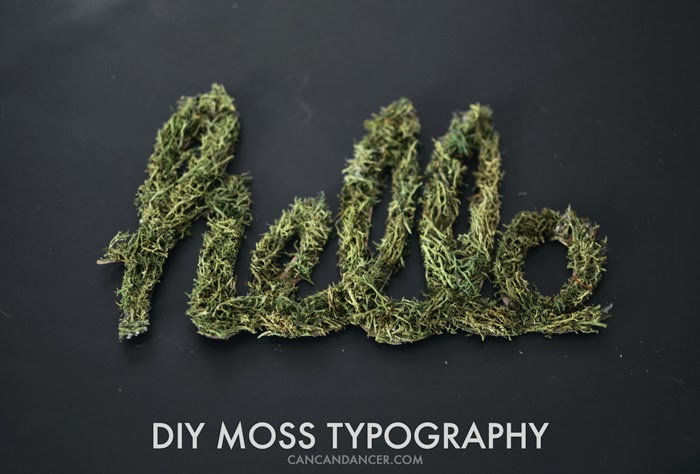
Now that I have put that on the table, you can see why I am really excited to share today’s tutorial. This is a quick project that only cost me a dollar. I decided to go with handwritten lettering, and a simple “hello.”


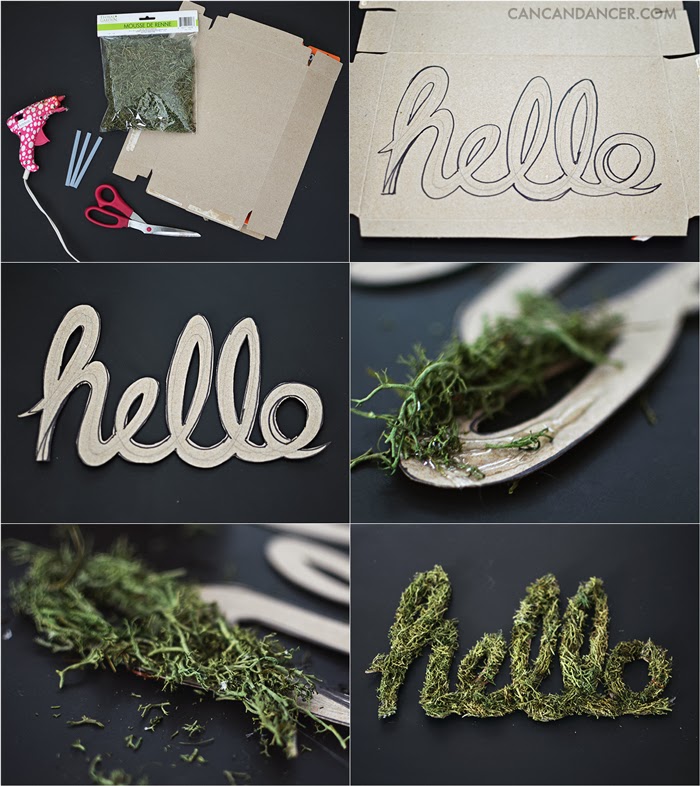
1. Gather your supplies: artificial moss (I got mine for $1 at Dollar Tree), an old cereal box, scissors, hot glue gun, and glue sticks.
2. Print or draw out your word on the cardboard. It is okay if you have drawing errors, as you will be covering them later.
3. Cut out your word with scissors. If you have trouble cutting with the inside of some letters, try using an X-Acto knife.
4. Apply hot glue to your cardboard. Press moss onto the area, being careful not to burn yourself.
5. Continue for the rest of your word.
6. If your edges are messy, give your word a little trim.
And tada! You could either glue this to a canvas, or just place on a shelf. Mine is on a windowsill and doesn’t flop over.
Happy Crafting!
PS. Please do not ever use Papyrus. Find something way better for free at www.fontsquirrel.com.
