Author: Laura

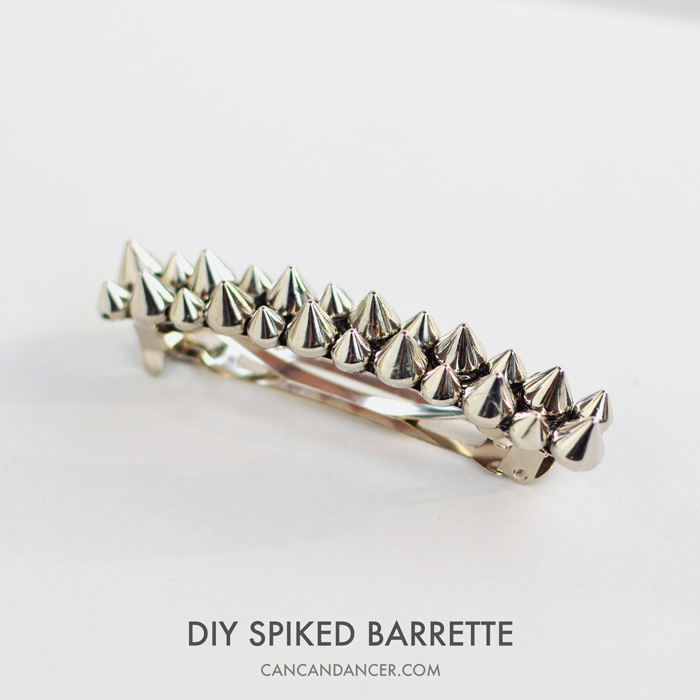
DIY Spiked Barrette

DIY Spiked Barrette

Hello World,

I’m a sucker for studded/spiked accessories and clothing. Like a lion on the prowl, I hunt for edgy pieces and beeline for that little sliver of metal peeking out in a rack full of clothing. Lately though, I have been having a harder time finding decent spiked accessories in my area, as many of the fast fashion stores have been pushing the floral trend instead. (Tangent- I recently went to Lana Del Rey’s concert in Seattle and it seemed like every third girl was wearing a floral crown. Her opening act even commented on it. Virtual high five to those of you who DIY-ed your headwear.)

Luckily, I stumbled across (and oh course had to buy) these sweet spikes on Darby Smart, and DIY-ed my own spiked barrette. Check out the simple tutorial below to make your own:
DIY Spiked Barrette

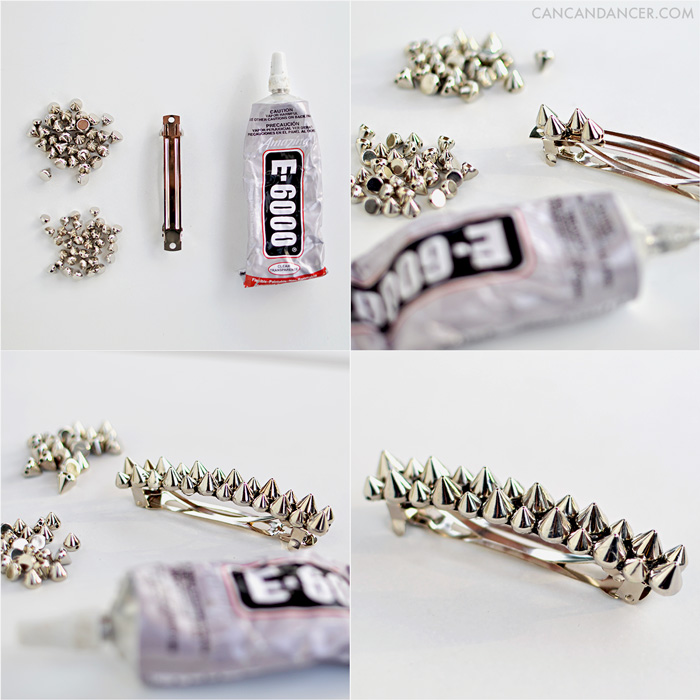
1. Gather your supplies: flat-back spikes, e6000 or other durable glue, and a barrette.

2. In a ventilated area, glue each of your spikes to your barrette. Use as little or as many spikes as you wish. I crammed as many on as possible and alternated the two sizes on mine.

3. Allow to dry, and tada! Pop that baby in your hair and rock your day.

Happy Crafting!

PS – I also used some of these spikes to make some DIY constellation art. See the tutorial here.
How to Re-Wick Candles

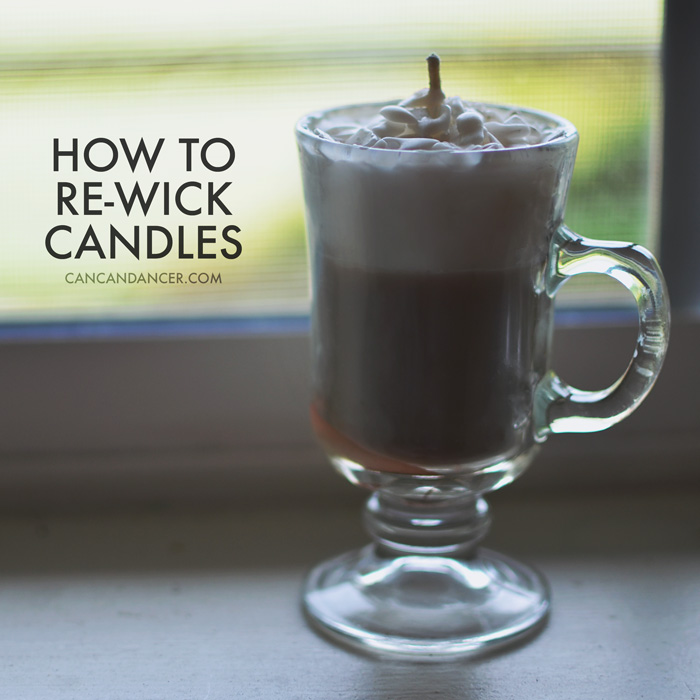
How to Re-Wick Candles

Hello World,

I love buying candles, but I dislike how there is always unused wax in the bottom of the containers. In the past, I have melted the wax and used it in a wax warmer, but lately I have instead been re-wicking my candles, so I can light them again. Check out the simple tutorial below:

How to Re-Wick Candles

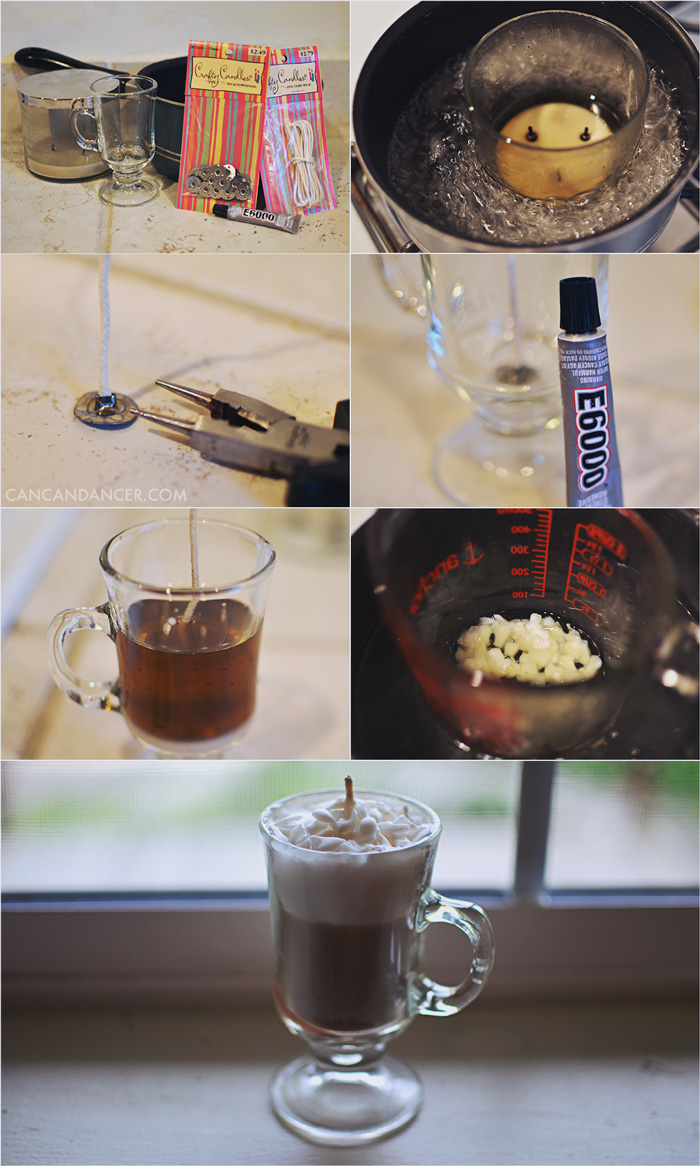
1. Gather your supplies: a burned down candle, wicks, wick bases, pliers, strong glue (I used e6000), a glass container, and a pot partially filled with water, and an oven mitt.

2. Place your burned down candle in the partially filled pot of water. Allow water to boil and wax to completely melt.

3. Crimp your wick base to your wick threading with pliers. (Use the appropriate thickness of wick, if you use on e that is too thick, you risk the chance of your glass container cracking while the candle is burning).

4. Glue this wick to the base of your glass container. Allow to set.

5. Carefully pour your melted wax into your glass container. Wipe out your old container with a paper towel if you want to repurpose it.

6. Steady your wick if it has shifted crooked. You can tape the tip to a pencil if you are worried it will shift as the wax cools.

7. Optional: I bought soy wax flakes, and partially melted some of them and scooped them on top of my cooled, re-wicked candle, to create a candle that resembled an irish cream drink.

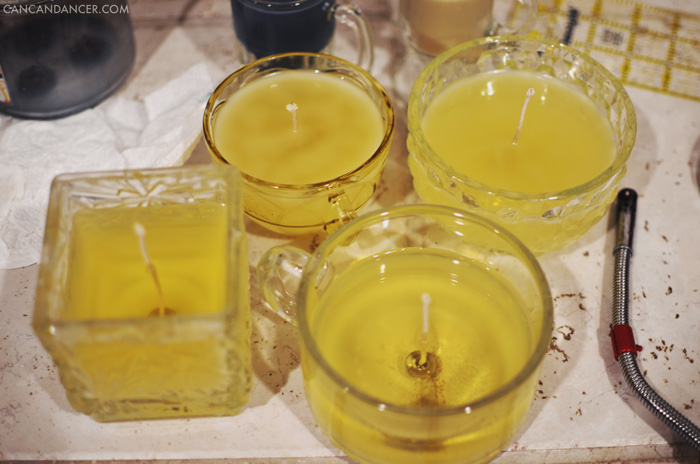
I also recently went thrifting, and picked up a few glass containers for $0.10 each and made some of my own candles with them. Making candles is so much cheaper than paying $20 each for them in the mall!

candles

Happy Crafting!

DIY Cut-Off Tank

muscleteeintro2

Hello World,

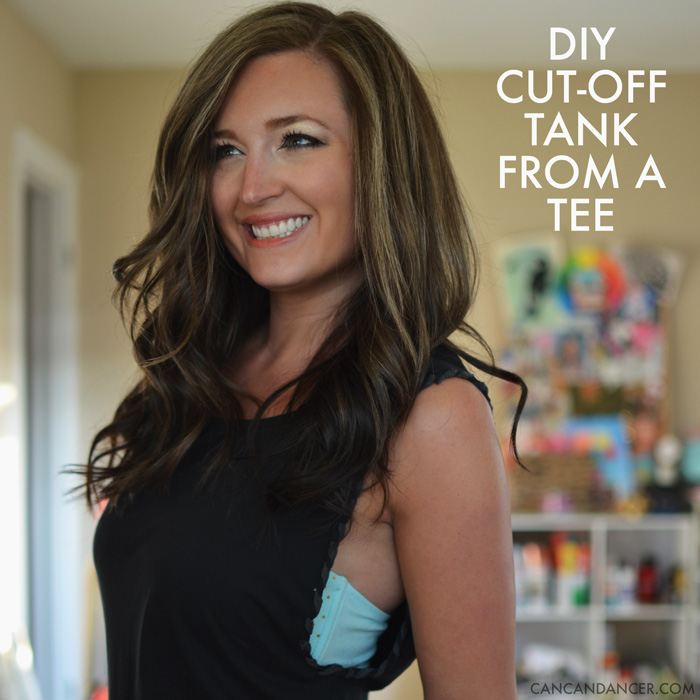
I recently went to Kohl’s and saw some cut-off tanks with weaved armholes for $20+. Instead of buying one, I decided to reconstruct a tee I never wear anymore. This project is a quick way to give an old shirt new life, and it doesn’t require any sewing! Check out the simple tutorial:

DIY Cut-Off Tank

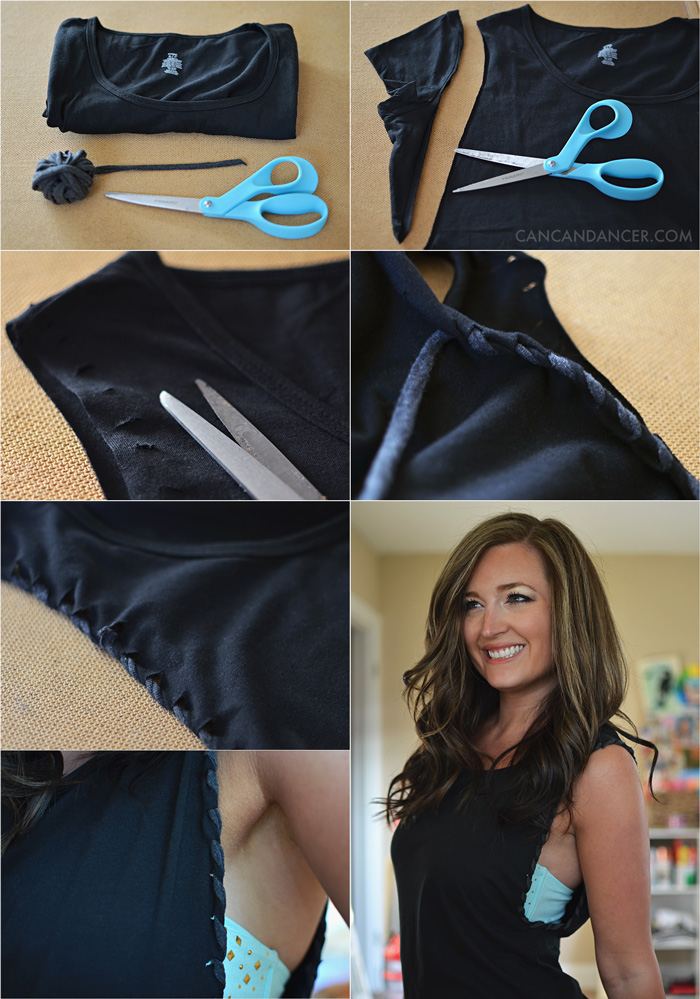
1. Gather your supplies: a t-shirt, scissors, and t-shirt yarn or scrap jersey cut into two long, stretched strips.

2. Cut the sleeves off of your shirt. For an exaggerated armhole, cut more of the shirt away.

3. Cut small, equally-spaced slices along the raw edge of each armhole, at least 0.25″ away from the edge.

4. Starting at the bottom of your arm hole, feed your t-shirt yarn each slice until you reach your starting point. Tie a knot with the other tail end, tails aiming towards the inside of your shirt.

5. Repeat with the other armhole and tada!

Pair it with your favorite bandeau, wear it as a work-out tank, or whatever floats your boat! Want to spruce it up even more? Customize it with a freezer-paper stencil or paint it with water-downed bleach.

Happy crafting!