Author: Laura

Spray paint all the things!

Hello World,

Spray paint can work wonders. In just a few minutes, you can transform a thrifted item into a chic piece of home decor. I also recently bought my first can of chalkboard paint, and am now obsessed. I keep finding more and more items to make into chalkboards.
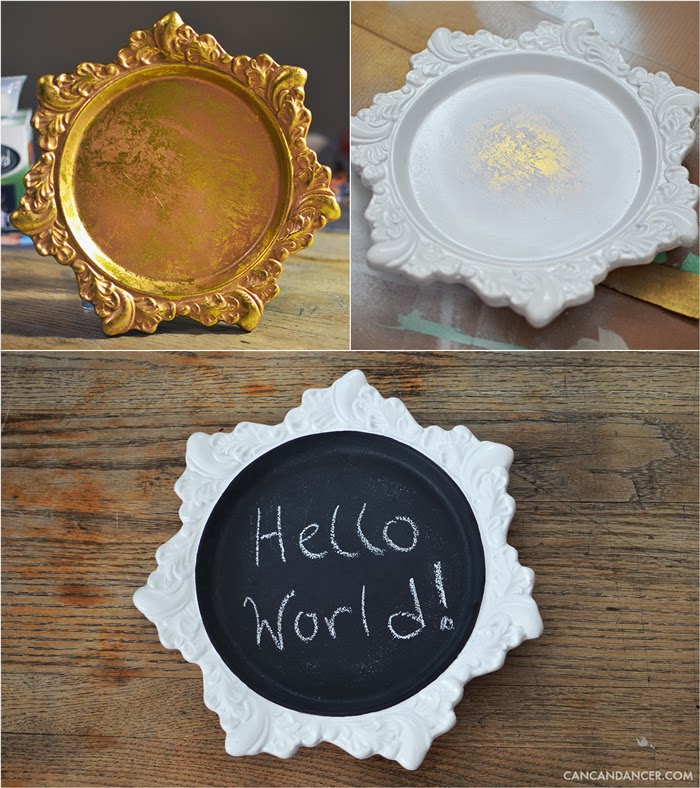
I bought the plaque above at a thrift store, spray painted it with a glossy white paint, and then added two layers of chalkboard paint to the center. It also has a hanging mechanism on the back, so now I just need to decide what room to hang it in.
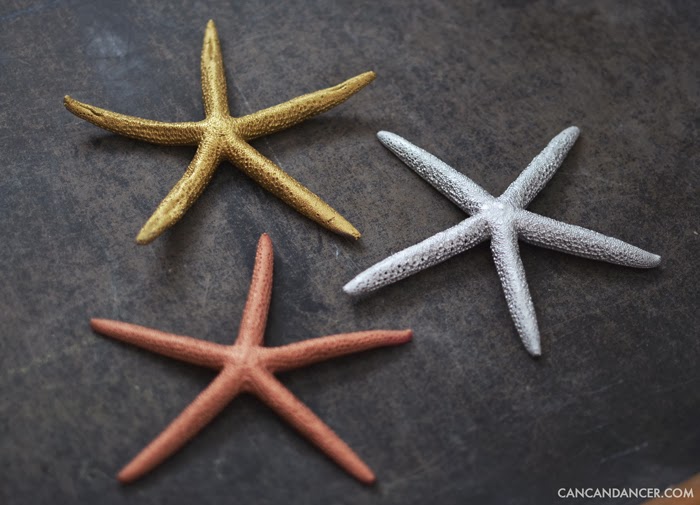
In my spray painting frenzy, I randomly grabbed a starfish off my bookshelf and painted it gold. Next thing you know, I’m grabbing the rest of them and painting them each a different metallic color. I love how metallic spray paint makes items look more expensive.
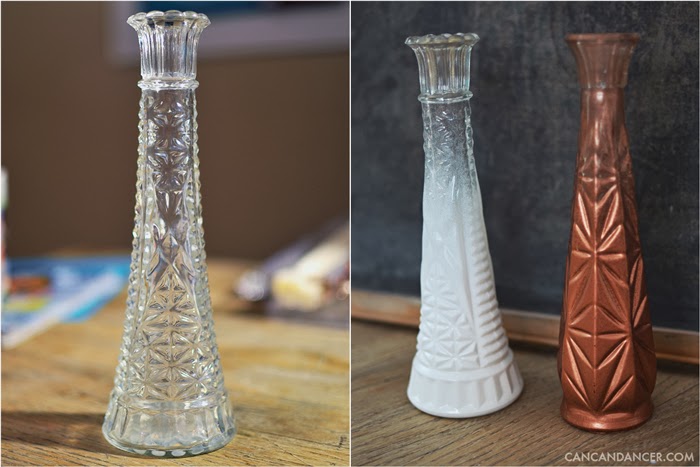
I previously did posted tutorial for creating ombre/gradient vases. I used the same technique on these $0.25 vases I bought at a thrift store. Now I am just waiting for spring so I can pop some fresh flowers from my yard in them.

Happy Crafting!
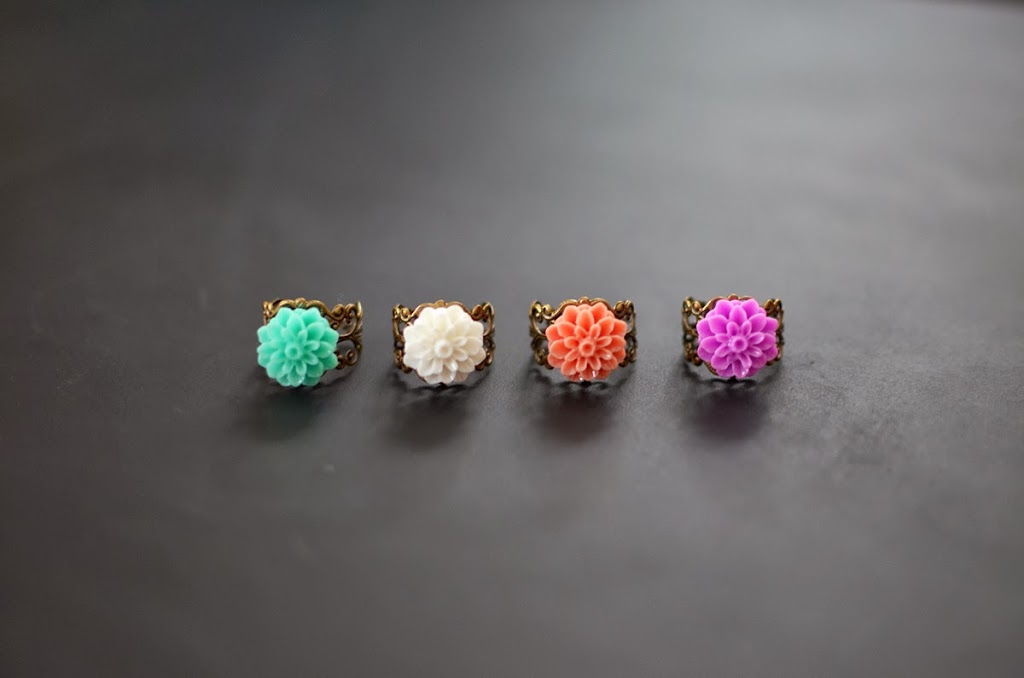
Rings, earrings, and so many more pretty things! (Now on Etsy)

Hello World,

Last week I sold my last listed ring on Etsy, and was a busy little bee this week making so many new goodies. I have expanded my store to sell other items besides zipper flowers, including: rings, bobby pins, earrings, and I just listed my first necklace!

I also bought my first can of chalkboard paint last week and have been painting up a storm. (Project post coming soon.) I repainted an old chalkboard and absolutely love using it as a background for my Etsy photos. My jewelry pieces just pop so well against the black!

Mint Chrysanthemum Ring with Adjustable Filigree Band – So pretty and bright for (almost) spring!
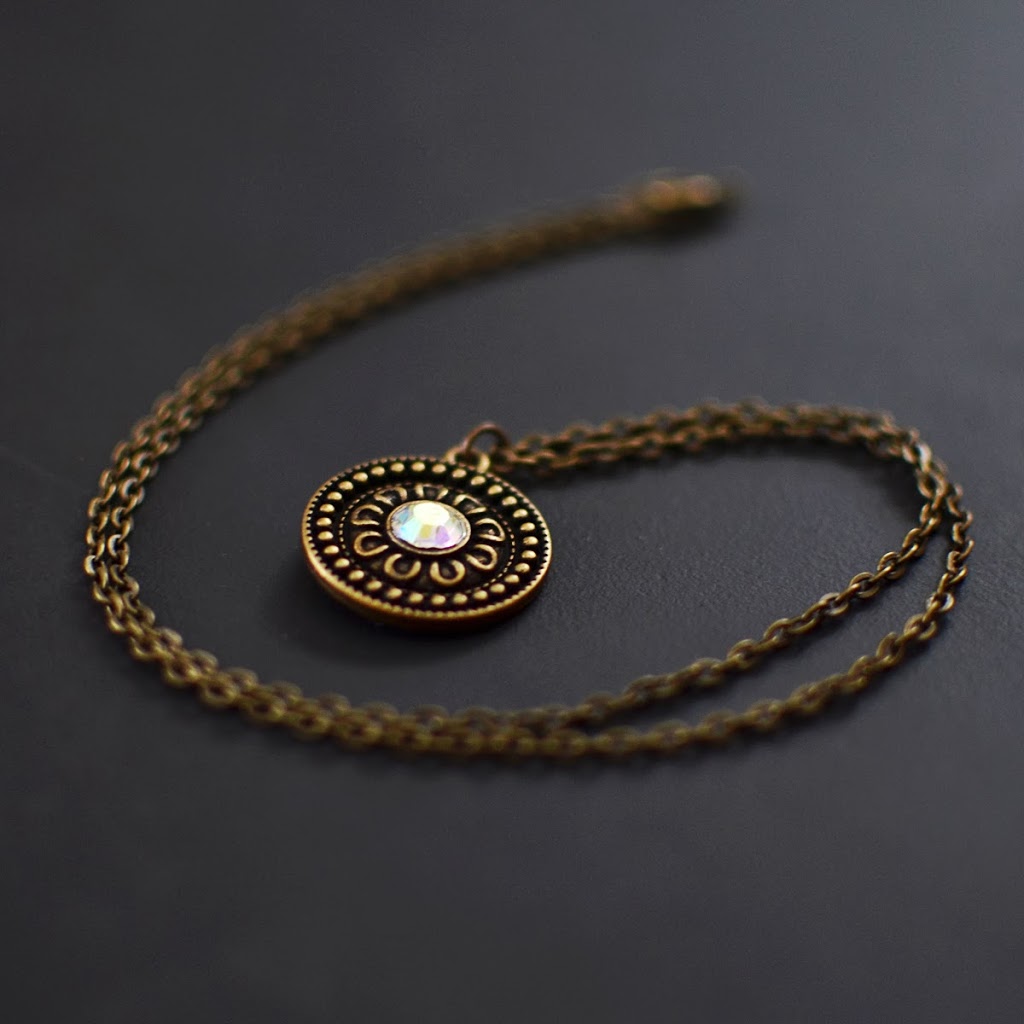
Bohemian Spirit Brass Necklace – I am OBSESSED with this necklace. Maybe it’s because of my inner gypsy.
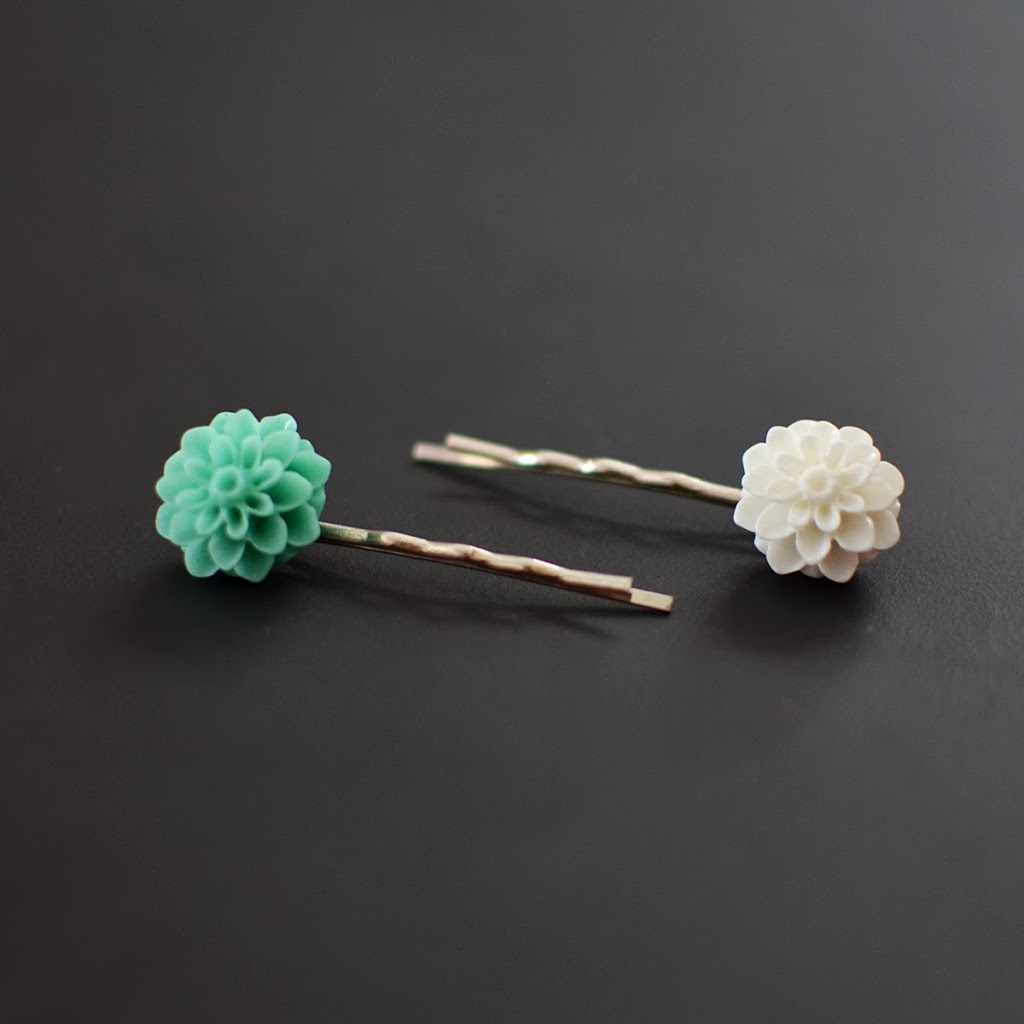
Mint & White Chrysanthemum Bobby Pins – If I could work a top knot I would totally pair these with one.
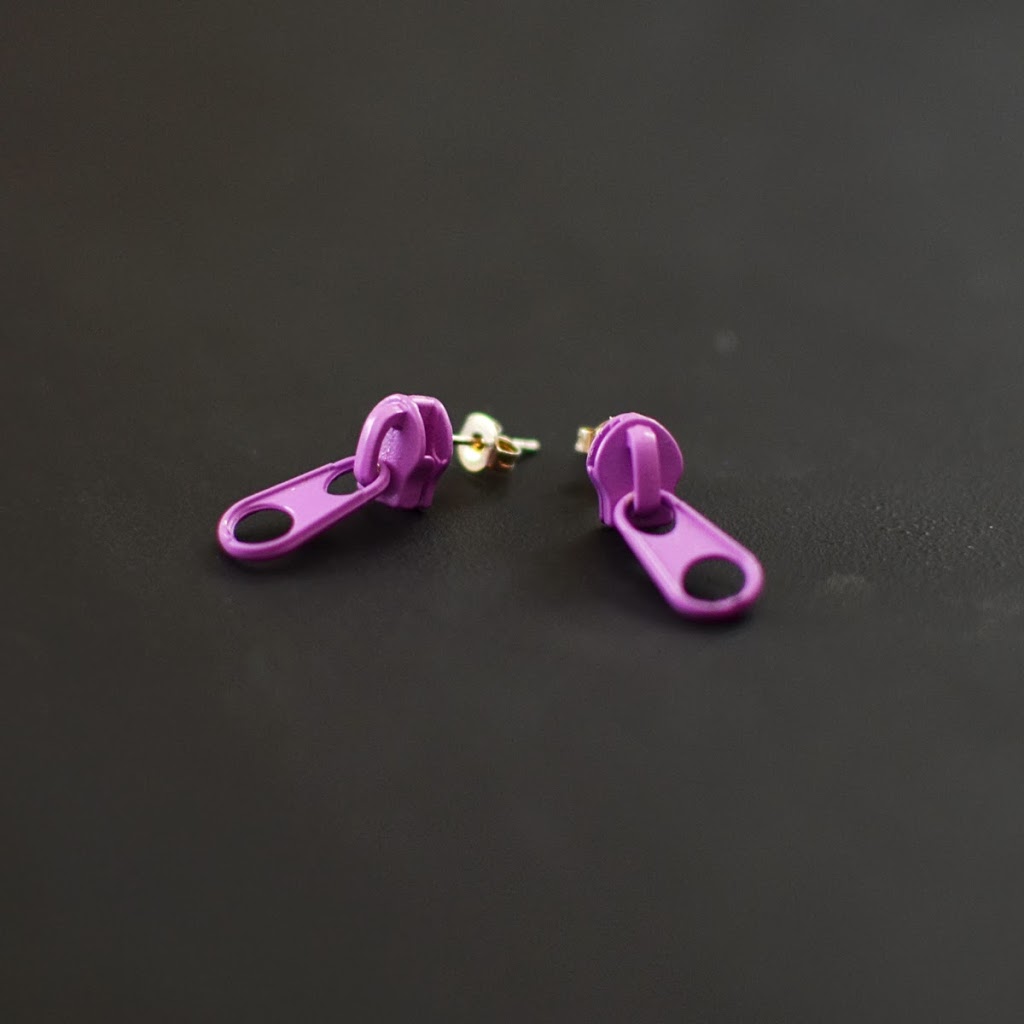
Bright Purple Zipper Earrings – I made so many pairs of these in different neon colors. I think they are so fun!
Happy Crafting (and Etsy-ing!)

DIY Chain & Braid Necklace

Hello World,

When I go shopping at the mall, I don’t just look for items I can wear as is. I look through clearance sections for items that I can repurpose, update, or easily fix. I love it when I find a dress that has a broken strap or a missing button. I can fix that in no time and get a great deal.

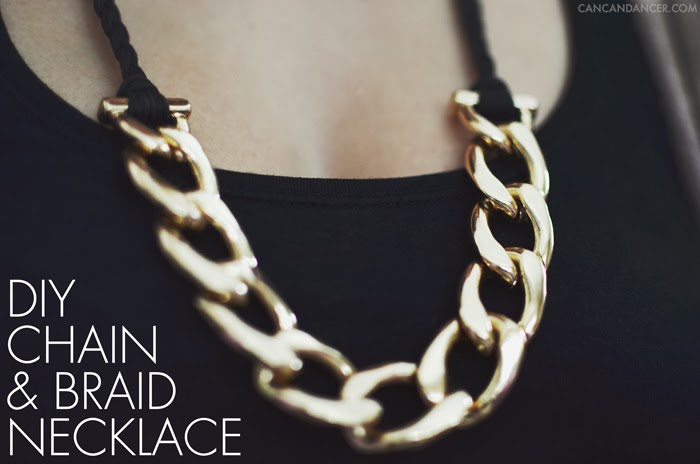
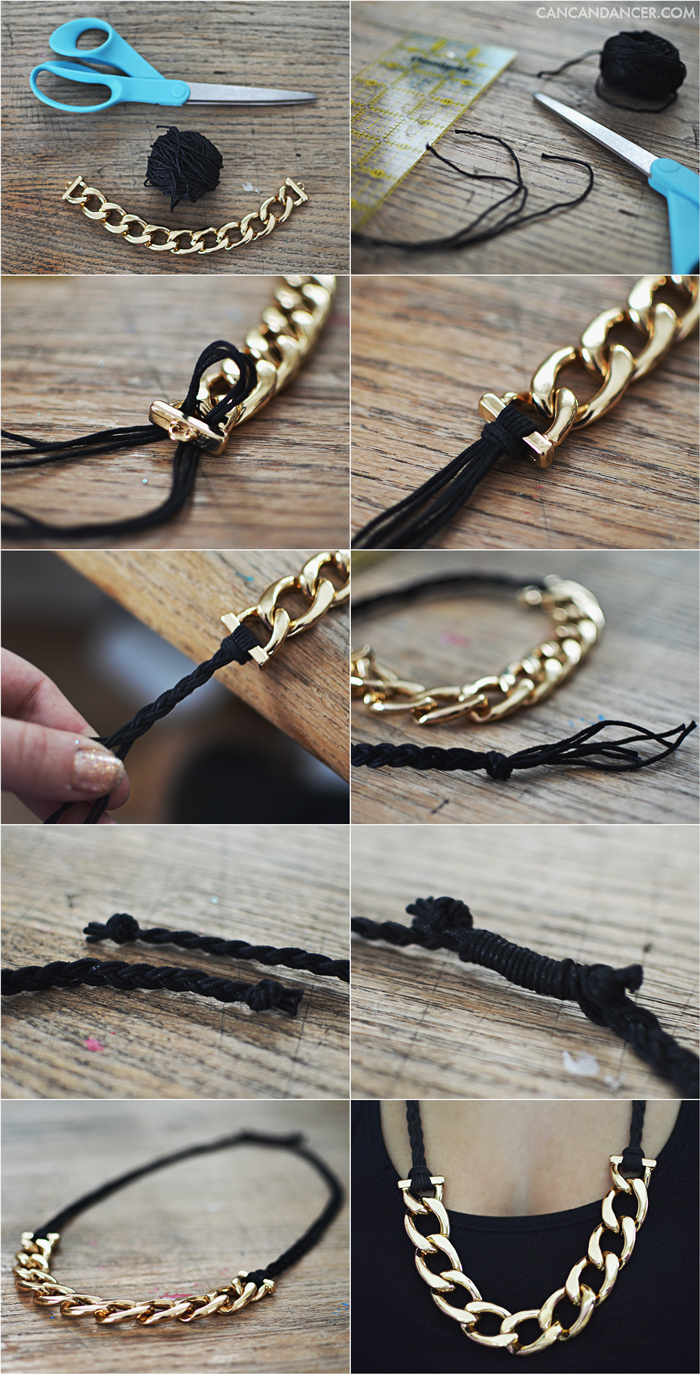
Sometimes it can be a better deal to buy an item and dissect than to go buy the supplies at a craft store. Last week, I went to Rue 21 and found a heavy gold chain bracelet for only $2. The only problem was it was way too big for my wrist. I simply removed the lobster clasp and repurposed the chain to make a necklace:

braidnecklace1

1. Gather your supplies: chain, jewelry cord, scissors, and a ruler.

2. Cut six strands of jewelry cord. I made each of my cords 34 inches long.

3. Fold three of the cords in half and feed these loops through one end of your chain.

4. Bring the tail ends of the cords through the cord loop and pull tightly.

5. Due to the loop, you will have 6 pieces of cord to work with. You can either braid two small braids, or one thicker braid.

6. Tie a knot at the end and repeat this process for the other side of your necklace.

7. Trim the tail ends of your braids.

8. Wrap some jewelry cord around both braids, and tie knots to secure it. If you are worried about it coming undone, add some glue to secure it.

Happy Crafting!