Year: 2013

Graduated!

Hello World!

I apologize for now the lack of posts these last few months. I felt like I was constantly busy with school, my two jobs, and teaching an art lab. But now, I’m all done! I officially am a first generation college graduate!

And now I have the free time to actually craft! (and blog about it!) 🙂

I decorated my graduation cap. Tutorial coming soon.

My groups iPhone application on display at the Prichard Art Gallery. This was our year long, capstone project. It creates an augmented reality experience at the University of Idaho with way-finding, class schedules, virtual landmarks, and many other features.

Finally all done! I think these are the first dozen roses I have ever received.

Tutorials coming soon!

DIY Rope Wrapped Vase

I have had a few empty Starbucks bottles in my stash. I really liked the stream lined shape of the bottles and I always wanted to repurpose them into some sort of home decor. Here is a way to recycle any old bottle into a nautical-inspired vase.

april52013-intro2

Check out the full tutorial below:

april52013-21

1.  Gather your supplies: a clean bottle, rope, scissors, hot glue sticks and a hot glue gun.

2.  Peel the labels off of your bottle. (Mine came off very easily.)

3.  Remove any leftover residue with soap and a sponge, and then dry your bottle.

4.  Apply a stream of hot glue to the bottom edge of your bottle.

5.  Press rope against glue until set.

6.  Rotate bottle 90° and apply another short stream of glue and press rope down again. Continue all the way around the bottle in increments of 90°. When you reach your original starting point, guide rope over the visible tail to hide it.

7.  Continue this process all the way up and around the bottle until completely covered.

8.  Once you reach the top of the bottle, cut the rope free from your skein. Secure the tail end with hot glue. If you have hot glue strings everywhere, simply blast your vase with a blow dryer and watch them disappear!

Tada! Enjoy your new vase! Fill with flowers, twigs, ect. In my case, I used driftwood.

Happy Crafting!

DIY Keepsake Mosaic

Hello World!

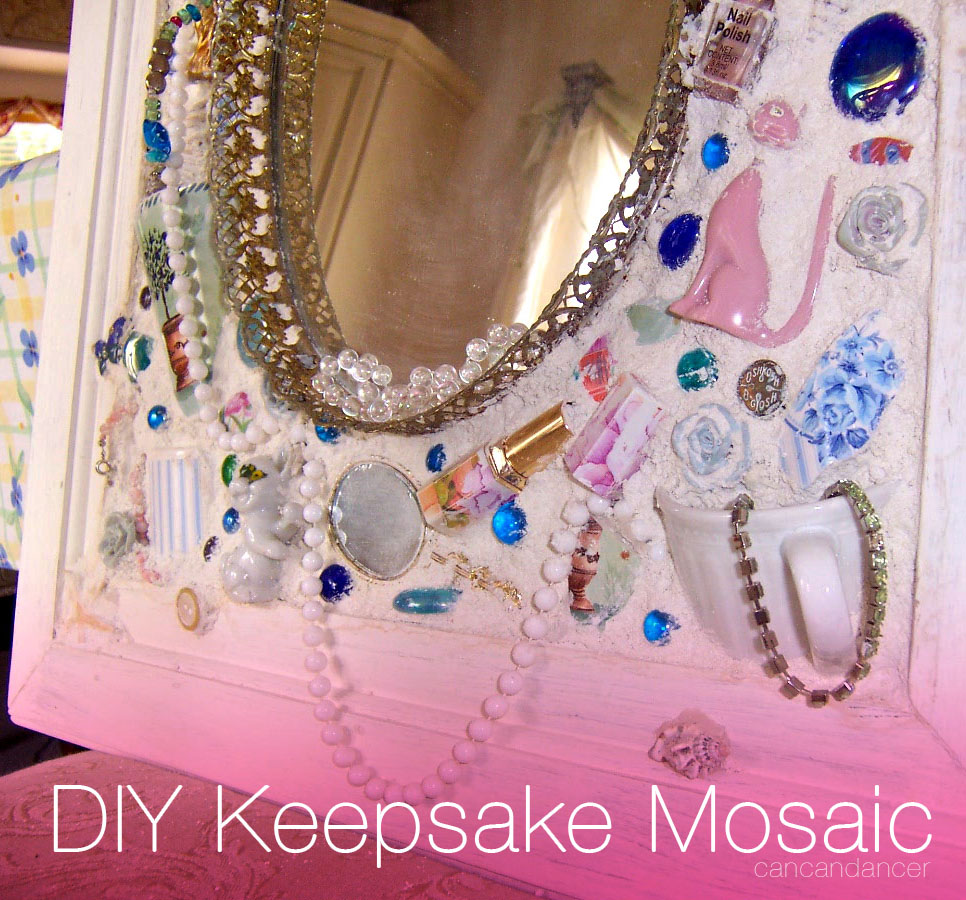
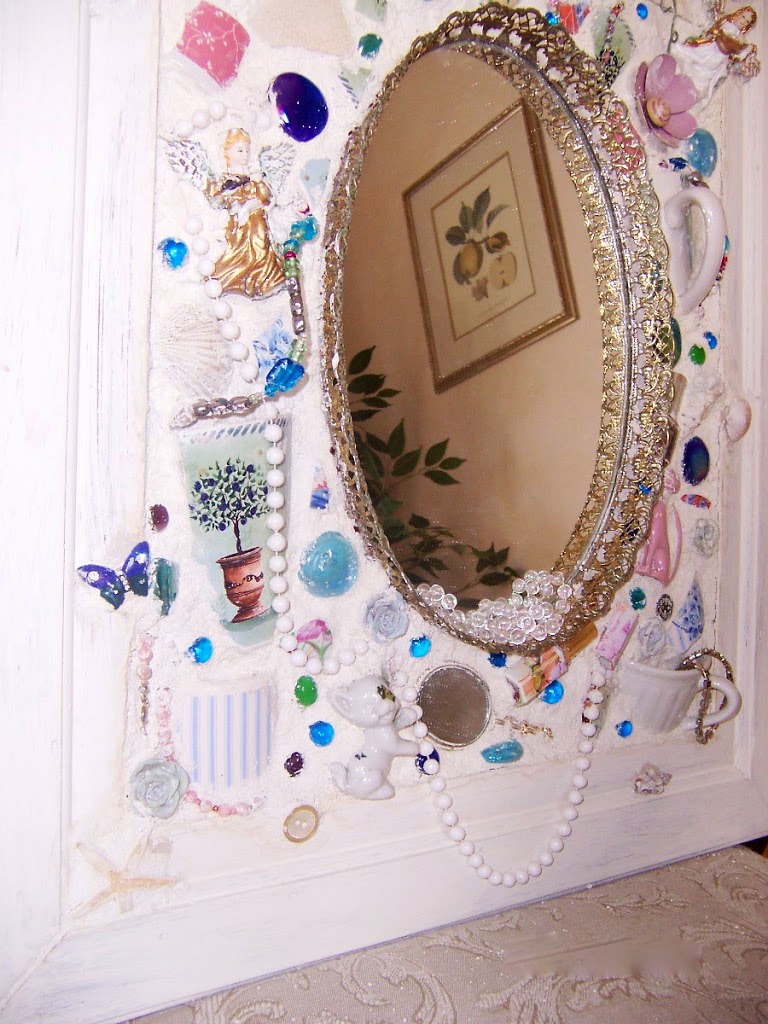
Here is a post courtesy of my mom.  She created a mosaic mirror made with keepsakes and found objects. For her mirror, she chose objects that were feminine and went with a shabby-chic style. This is a great project to help show off objects that hold sentimental value for you or to put good use to all those broken necklaces, cups, ect that we all having sitting in a drawer somewhere.

intro-mirror

For this project, you will need: plenty of small items, a vintage mirror or mirror tray (can be found at antique shops, thrift stores or yard sales), a sturdy old wooden frame, plywood cut to the same size as your frame, silicone or tile adhesive, tile grout, and paint if you want to change the color of your frame.

IMAG60192

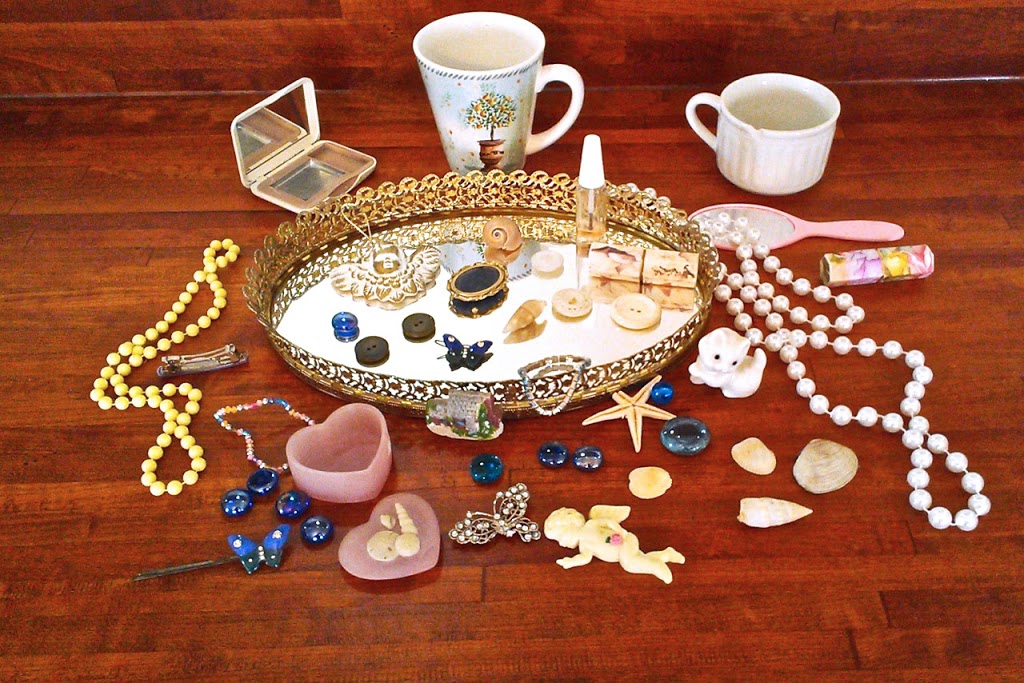
Above are some of the items she gathered for her mosaic. Some items include:

  • Empty vintage lipstick cases,
  • Broken hair accessories,
  • Earrings not in a pair,
  • Jewelry made by my siblings and myself when we were children,
  • Faux pearl necklaces,
  • Vintage buttons,
  • Nail polish bottles,
  • Chipped and broken tea cups and plates,
  • Refrigerator magnets,
  • Sea shells, starfish and beach glass,
  • Christmas ornaments,
  • Kinck knacks from my grandparents.

IMAG6015

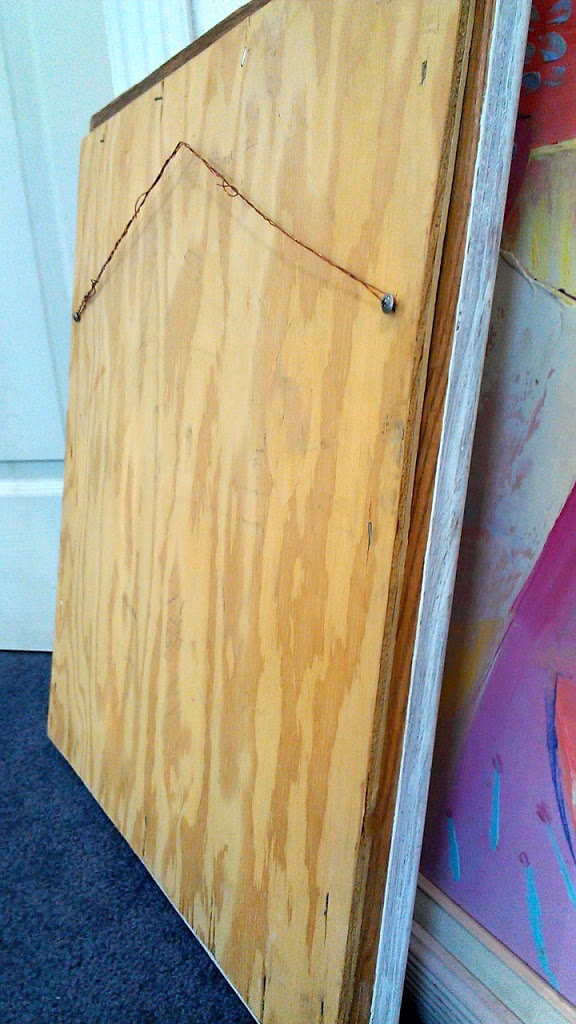
With your sturdy wooden frame, remove any flimsy paperboard backing. Staple gun or use small finishing nails to attach your cut-to-size plywood to the back of your frame. My mom’s plywood is 1/4” thick.

To support the frame she added two screws to the back and strung heavy gauge wire in between them to carry the weight when hung up.

100_61902

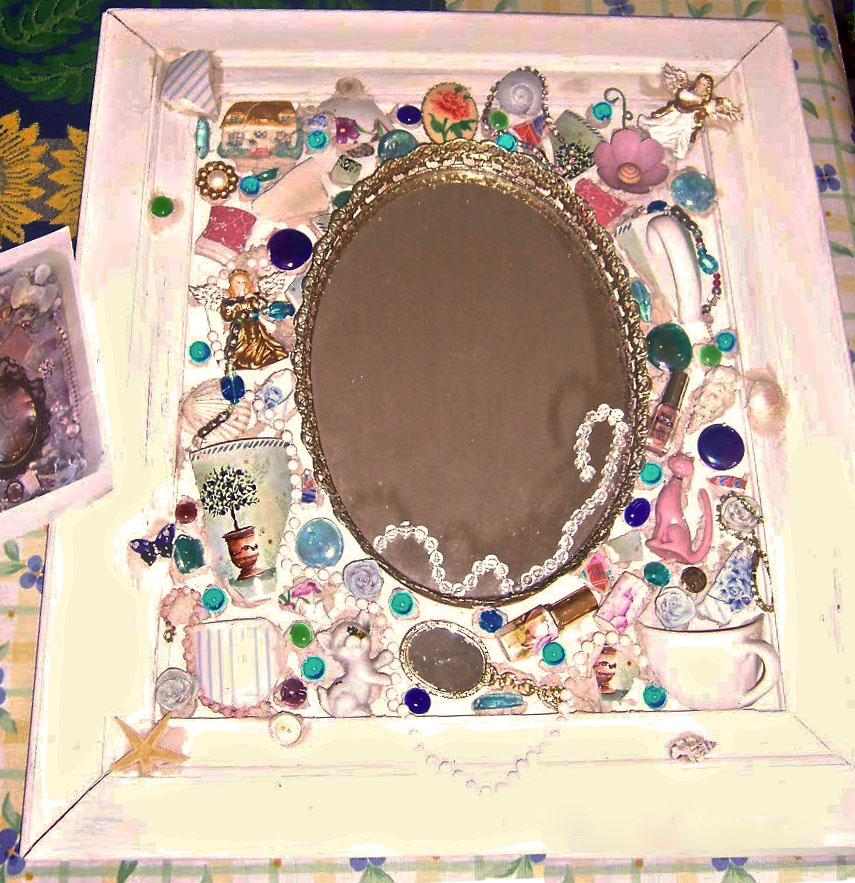
Glue down all of your knick-knacks with silicone or tile adhesive. Allow to dry.

Then mix your grout and apply it around your objects to lock them in place. Read your grout packaging and if appropriate use a slightly damp sponge to remove any unwanted grout. Allow to dry.

Apply newspaper to any mirrors and then use non-yellowing, grout spray-sealer. Let that dry and then use a clean, white cloth to do any final cleaning.

IMAG6025

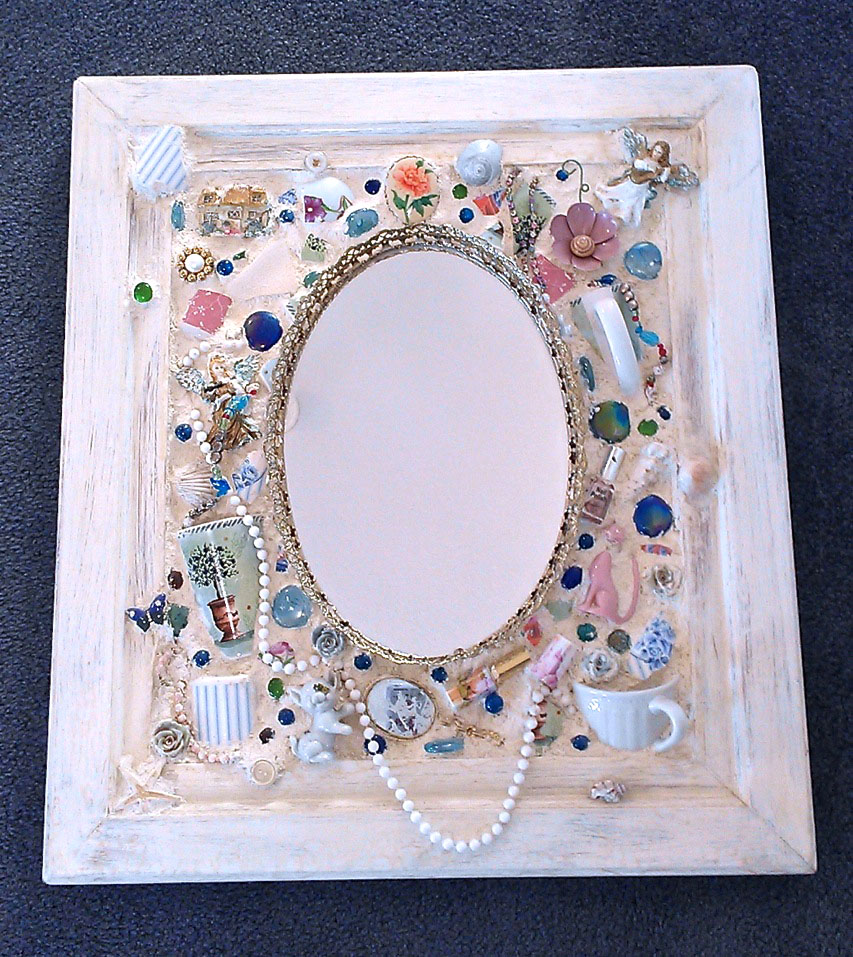
My mom made hers a few years ago and she hasn’t had any cracks or loose grout flakes thanks to the sealant.

100_62042

Happy Crafting!