Year: 2013

DIY Ring Holder

Hello World,

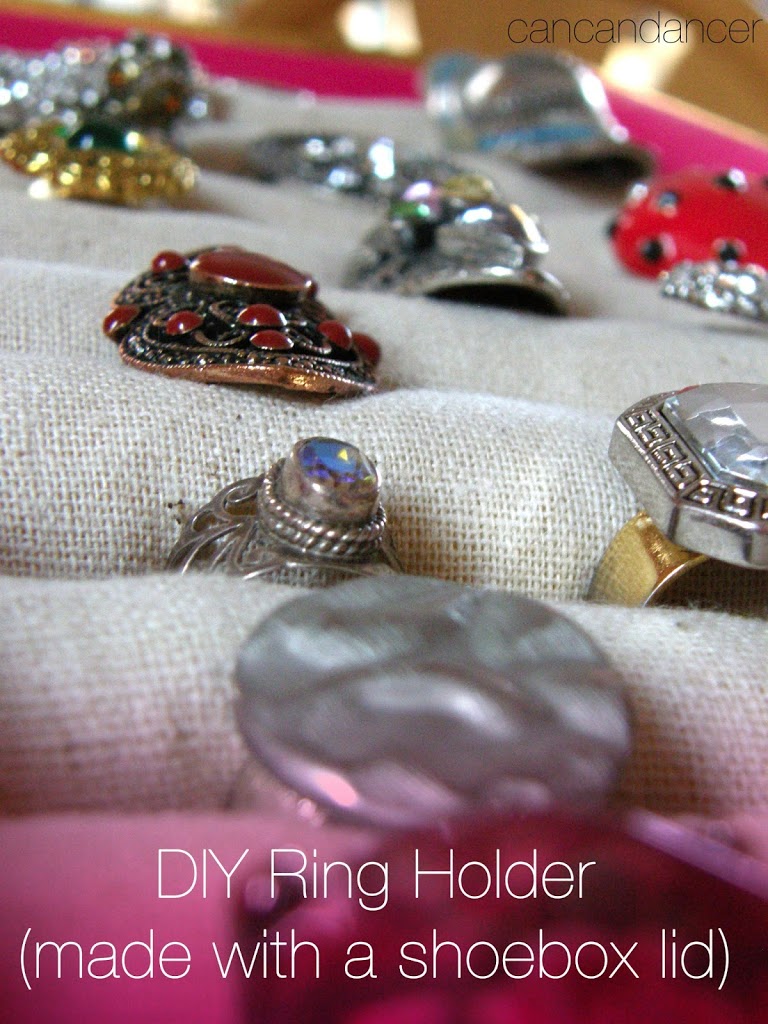
Here is a new tutorial to make your very own ring holder.  I used to have my rings stored on a pretty plate, but they would always turn upside down, so I would only see the back of them. Now I have a way to display them properly.

P1190040

This craft was really easy to do. Check out below for instructions:

0302131

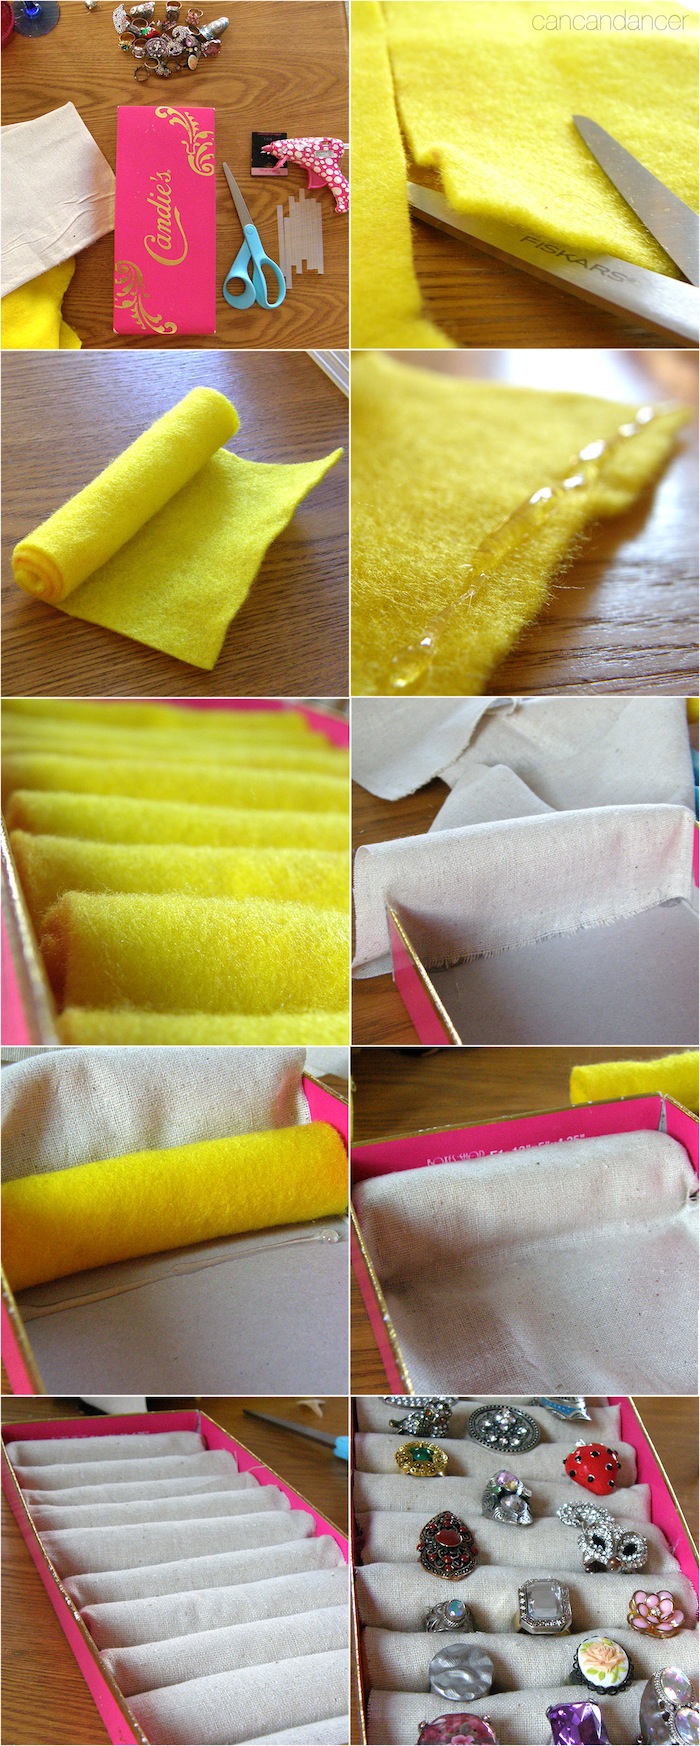
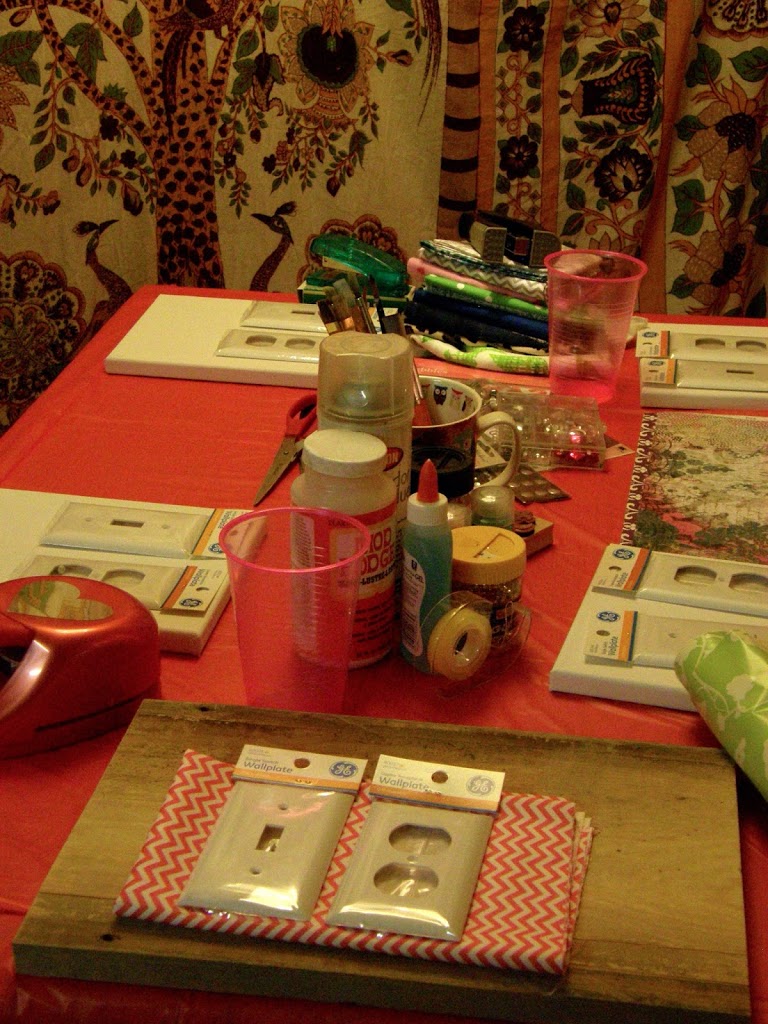
1.   Gather your supplies: thick fabric (like cheap felt, an old towel, ect) decorative fabric, hot glue gun and sticks, scissors and a show box lid. (Or any lid you seem fitting.)

2.   Cut out strips of your thick fabric the same width as your box.

3.   Roll until they are a tad bigger than your thumb and cut at that length.

4.   Use hot glue to secure your rolled fabric.

5.   Continue rolling and cutting your fabric until you can snuggly fit enough of them in your lid.

6.   Cut a strip of decorative fabric that is as wide as your box and three times the length (to be safe). Glue the right side of your fabric to the internal side of your box lid.

7.   Add your first fabric roll and add a line of glue right after it.

8.   Bring your decorative fabric over the fabric roll and secure by pressing down on the hot glue line.

9.  Bring your decorative fabric back up again and add your second fabric roll. Continue adding rolls and gluing until you reach the end of your lid.

10.  Trim any excess fabric and tuck your free edge into the box lid to hide it. Add your rings and tada!  And ribbon, rhinestones, or trim around the edges of your rolls if the free edges bother you.

OLYMPUS DIGITAL CAMERA

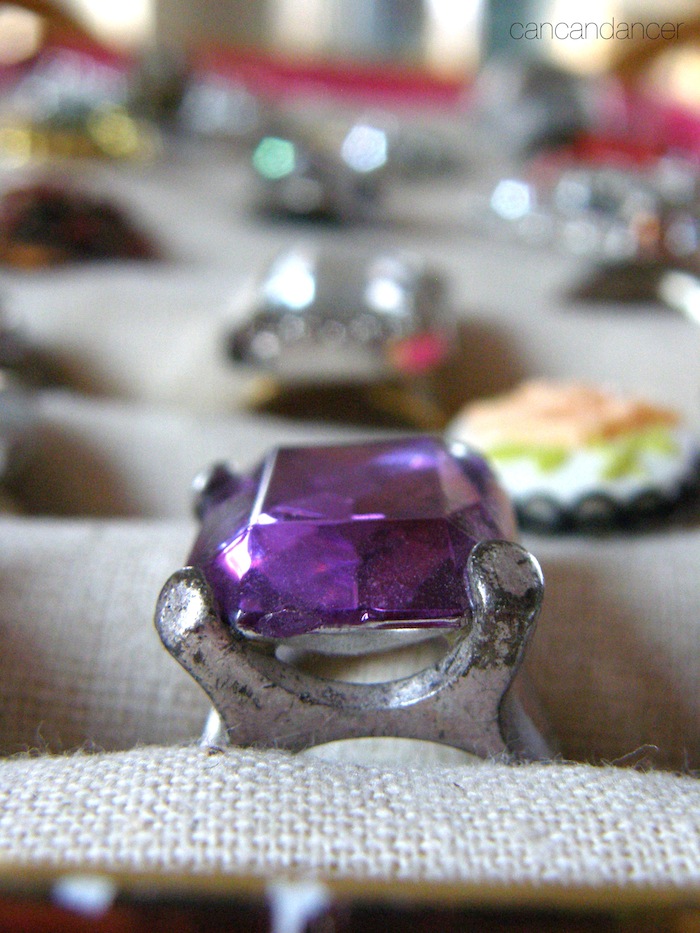
I found this “classy burlap” in a remnant bin at JoAnn’s.

Happy Crafting!

Pinterest Party

Hello World!

Long time, no post!  It seems like I have had little-to-no free time lately. I have just been so busy working two jobs and concentrating on school. Also, my late-2007 Macbook Pro has started to show its old age- so I have been avoiding ‘stressing it out’ by running intense programs like Photoshop on it. lol

In the midst of all this chaos and stress, I did host a small Pinterest Party to celebrate my 23rd birthday! I bought enough supplies for myself and four other people to complete a few crafts. Everyone invited was asked to bring a food/drink inspired by a Pinterest recipe.

The crafts I had were:
~ Fabric covered canvases + contact paper + paint to create DIY home decor
~ Light switches, to be covered with Mod Podge and glitter (sadly I have no pictures of these.)
~ Wooden signs. (This actually was an impromptu craft. I had a pile of scrap wood sitting in my craft room, and everyone loved the old, barn wood, so they made even more signs with these.)

P2090046

 I made creamsicle drinks. (Whipped Vodka, orange soda and whipped cream.)

P2090055

The straws looked so cute, but they did not hold up in liquid.

P2090092

I also really wanted a Barbie cake for my bday, so I spent four hours making this beauty. She was so heavy! I used 2.5 containers of frosting, 1 box of chocolate cake and 1 box of brownie mix (to make her dress taller.)

P2090066

Here is my little crafting setup. I HIGHLY encourage buying a cheap tablecloth. (Mine was less than a dollar at Walmart.) It protected my table from hot glue, glitter + mod podge, and paint.

P2090096

While making our signs.

531799_10151495125639515_1976265876_n-2

All the signs made at the party. I only ended up making one because I am such a perfectionist.

Happy Crafting!

Makeup brush holder (from a candle jar)

Hello World!

You may have realized due to my previous tutorials, that I love Bath and Body Works candles. I always buy them on sale and also use a coupon to get a better deal. I have reused the candle jars to plant succulents, organize craft supplies, hold lip glosses, ect. Here is my most recent candle jar repurpose.

(See tutorial to make vase below: Link.)

OLYMPUS DIGITAL CAMERA

I used a candle jar to hold my makeup brushes. (Not all my brushes are in the picture, I had five drying because I just cleaned them.) It was really simple to make.

1.  Burn down as much of the candle as you can.

2.  Remove the cooled leftover wax/wick bases with a metal spoon. (It should just pop out.)

3.  Reuse that leftover wax on a candle warmer and/or throw it away.

4.  Clean your jar with some steel wool and Dawn (I found it works better than Dollar Store soap).

5.  Remove labels if you wish. I left mine of because I just love this label.

6.  Fill half-way with uncooked rice, beads, beans, sand, ect.

7.  Stick brushes into your rice.

Tada! You have a super easy makeup-brush holder. You also could do this to hold pens, paint brushes, chopsticks, ect.

OLYMPUS DIGITAL CAMERA

I just bought these Ecotools brushes on sale at Rite Aid. I love these brushes! They are great for blending. All the brushes are very soft and easy to clean.