Year: 2012

Jewelry

I remember when I was younger and I would sneak into my mom’s room and look at all her pretty vintage jewelry on her dresser.  I would look at her pieces and then carefully put them back where they belonged. I couldn’t wait until I was older and had my own.

Now that I’m older, I’ve created a collection of my own.  It has evolved over the years.  In junior high, I loved wearing big, bold beads and stuff that looked like candy.  Everything was as bright as Lisa Frank gear.  Now my collection is a little more refined, and making your own jewelry makes it even more fun.

A lot of my jewelry I wear the most I actually made.  I love finding charms in clearance bins or in thrift stores and making new jewelry with them.  I don’t have any expensive jewelry because I feel it is a waste of money.  Why would I wear diamond earrings, when I would where fake ones that cost me only a few bucks?

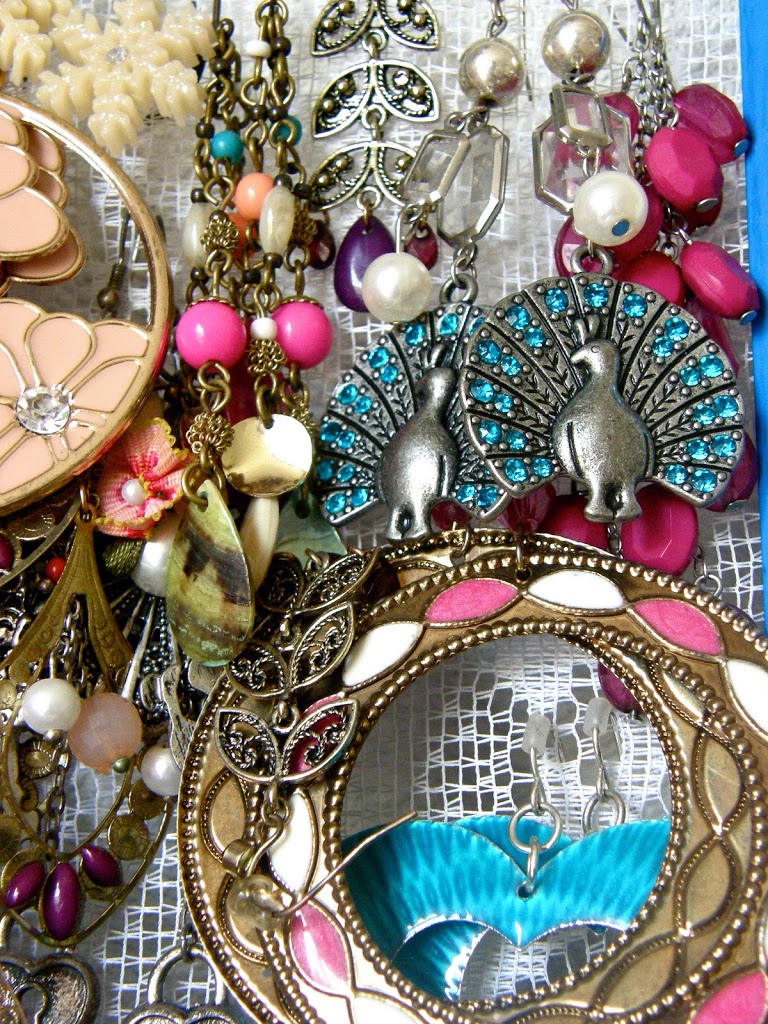
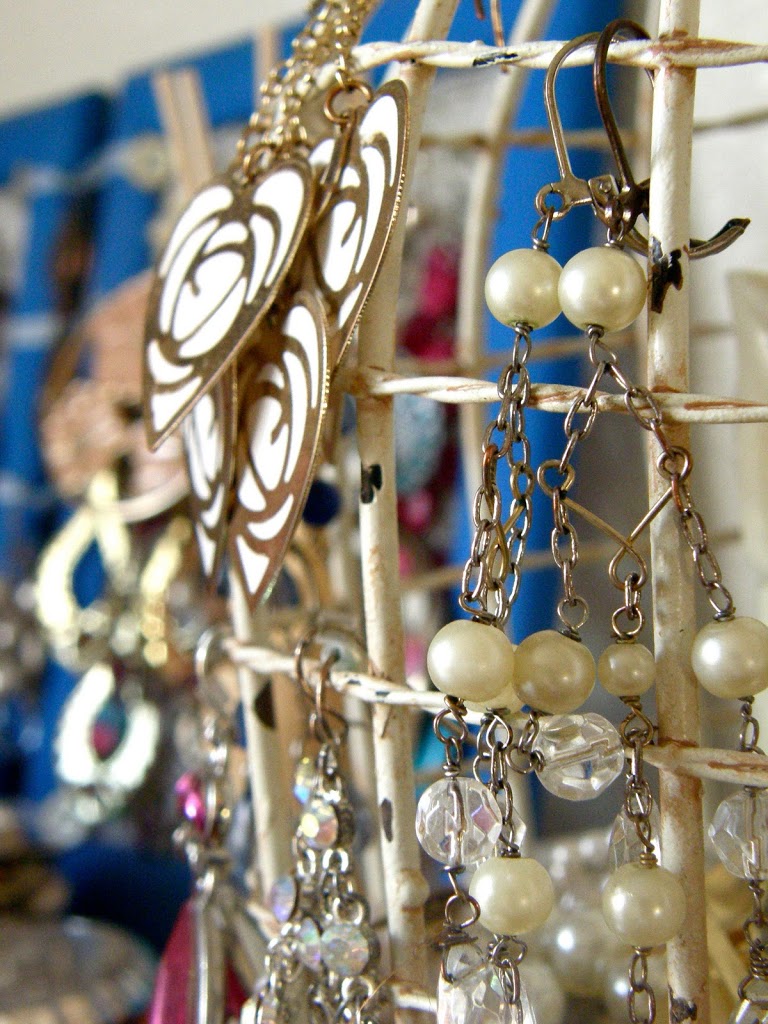
Here’s a peek at some of my stash.  I have another jewelry holder on my nightstand with rings and bigger earrings.

P1050196

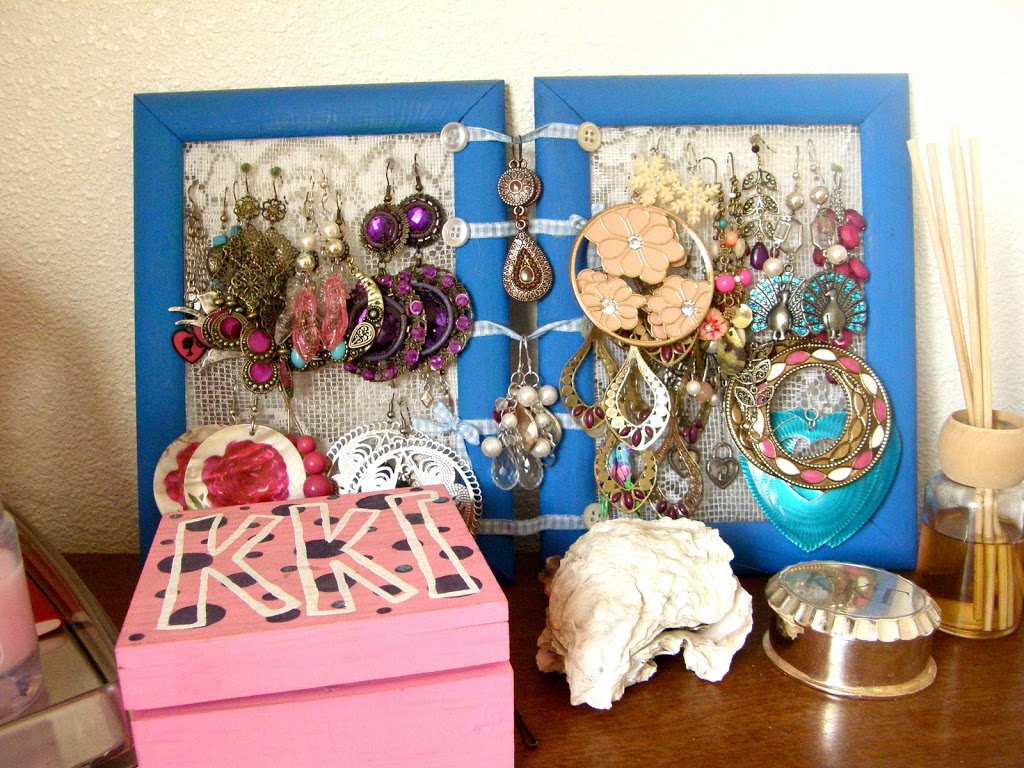
I made this jewelry holder.  It was super easy.  Just hot glue or staple lace inside a frame.  I made this one 3 years ago, and it’s still holding up nice.

P1050204

P1050211

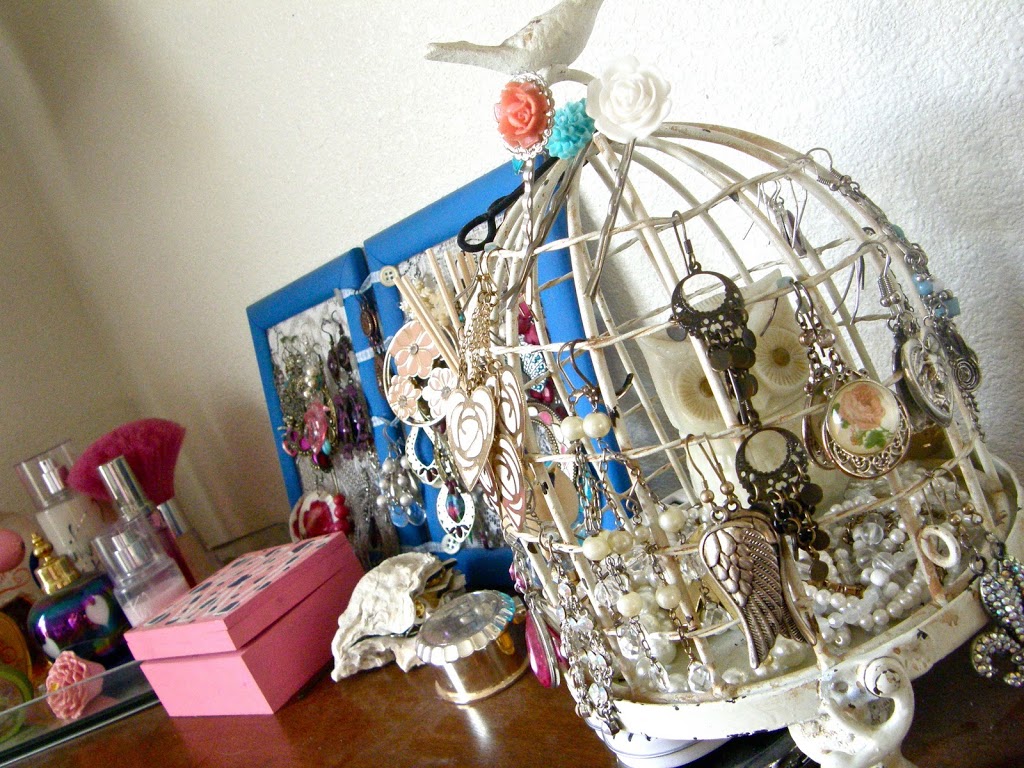
My birdcage is from Michael’s, with a vintage Avon owl inside it.
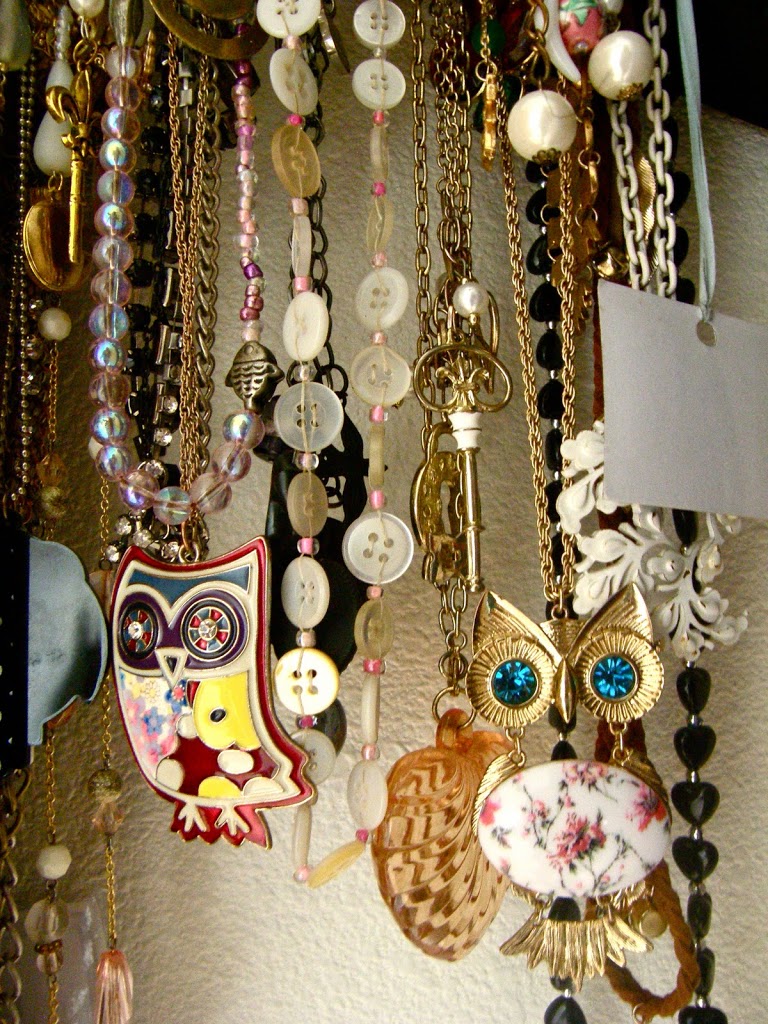
P1050216

P1050243

I love owls. 🙂

P1050191

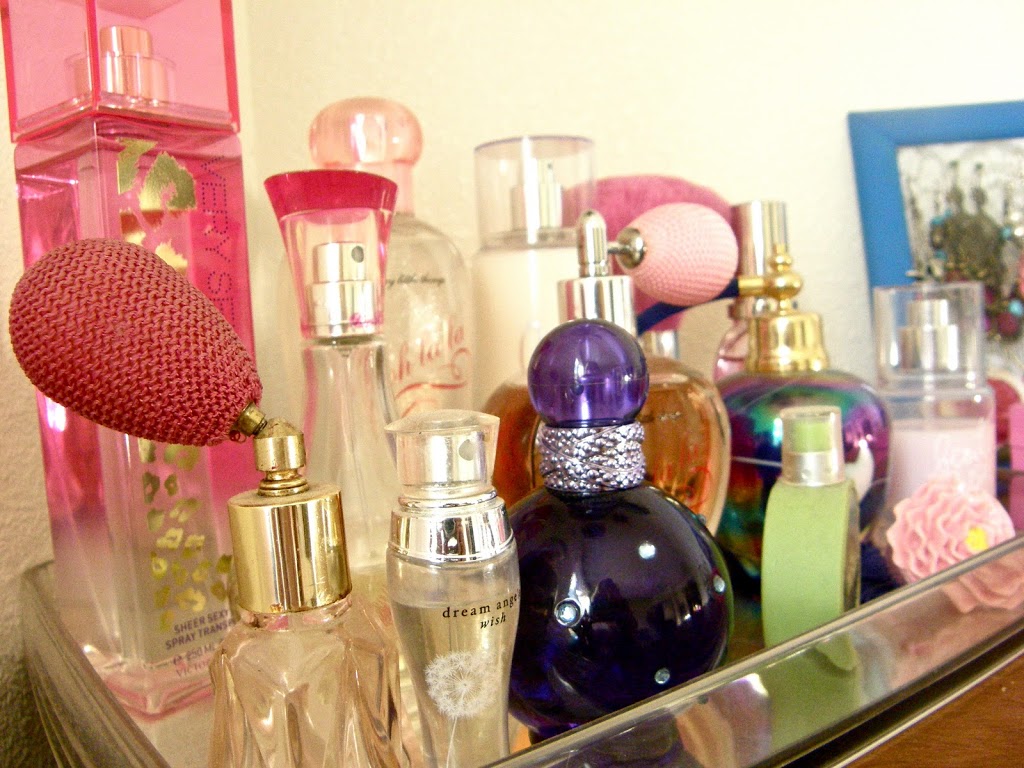
After Christmas the gift sets are so cheap, and Victoria’s Secret has their Semi Annual Sale, so I stock up on more perfume.  My favorites are sweet or food-like smells.

Fish Scales Skirt (made from old t shirts)

Yesterday, I  made a t shirt quilt, and I had a ton of scraps.  Scraps that were huge and itty bitty.  I was originally going to make a plain skirt, but after staring at it, I decided to try make it have a fish scale texture.

P1040081

4-tutorial1

1.  Lay out an old t shirt (I had the bottom half as a scrap) and trace a skirt that already fits you. Cut.

2.  To make a foldover waistband (like on yoga pants) cut one long strip that is twice as tall as what you want the finished waistband to be. Sew up the short sides to make one giant loop.

3.  Turn the raw edges of the waistband to the inside as you fold it in half.  Also, sew the two side seams of the skirt body together.

4.  Place right sides together.  As in, flip the band over so that its raw edges match the skirt body’s raw edges.  When you sew them together, you will sewing through 3 layers of fabric.

5.  All raw edges should be on the inside, stitch them down, and now you can fold over the waist band.

6.  Cut out your first fish scale.  Mine is 4 inches wide, and 3 inches tall.

7.  With tailors chalk, mark where you want your layers to overlap.  I did mine every 1.5 inches, except the bottom.

8.  Cut out a ton of scales.  I did 12 for each row (all the way around the skirt) for 7 rows.  I cut out 84 scales.

9.  Make sure you have your machine set to a stretch/knit setting.  (I didn’t use a normal zig zag because it warps my fabric like crazy.)

10.  Sew your scales onto the body of the skirt, following the lines you drew.  I overlapped my scales half an inch while sewing them onto the skirt.  Also make sure you alternate your rows- this way they won’t line up perfectly.

Jersey Necklaces

With my Pinterest addiction, I came across a super easy tutorial by V and Co.  I followed her tutorial here.   I found it really helpful to watch her video to get the loops right.  She originally made bracelets, and I just kept on finger-weaving until it reached a necklace length.

I did the 2 finger weaving method.  I tried the other ones, but the 2 finger was my fav due to the width. I love how it looks like a braid, but it has more dimension, sorta cube-like. (I don’t know how else to describe it. lol)

I used a grey stretchy sweater/knit from a thrift store, and leftover blue tie-dye jersey.

I made the grey one first, and then figured out how to hide lose ends in the blue one. lol