DIY

Lion Halloween Makeup

Hello World,

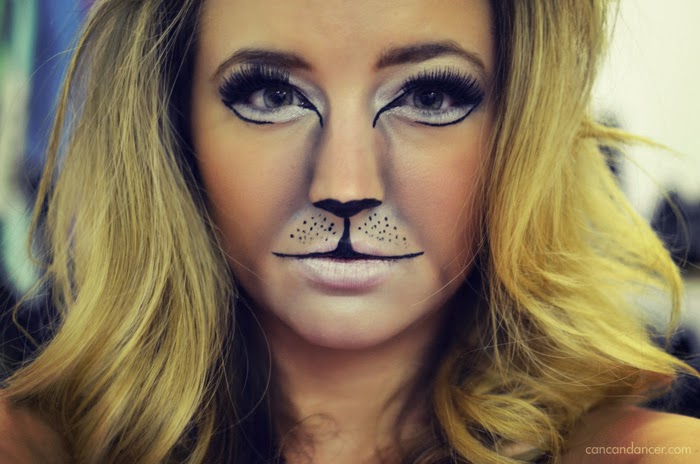
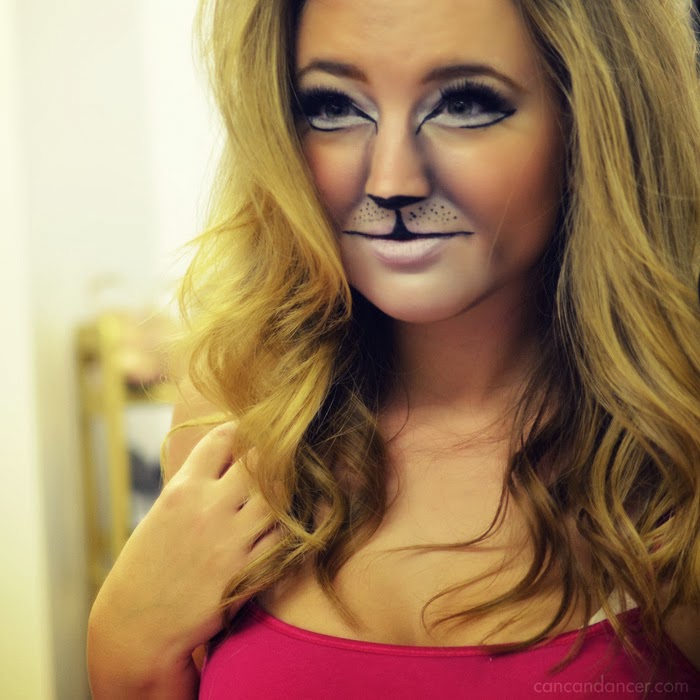
Last year for Halloween I had planned on being a lion. Then Pinterest happened, and I decided to be a skeleton. This year I actually think I will be a lion since my hair is still blonde and would work great teased into a mane.

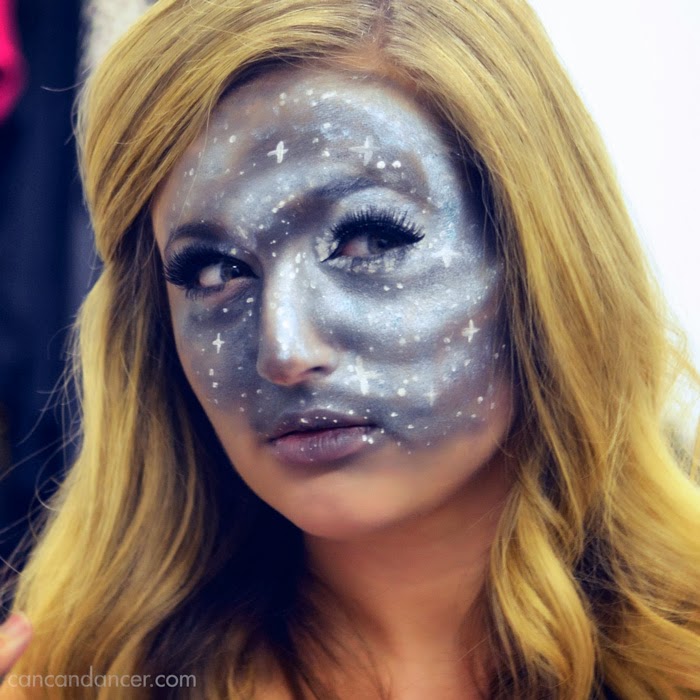
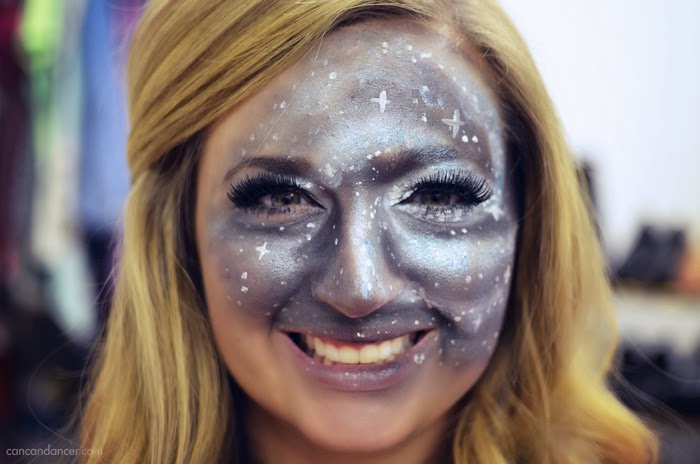
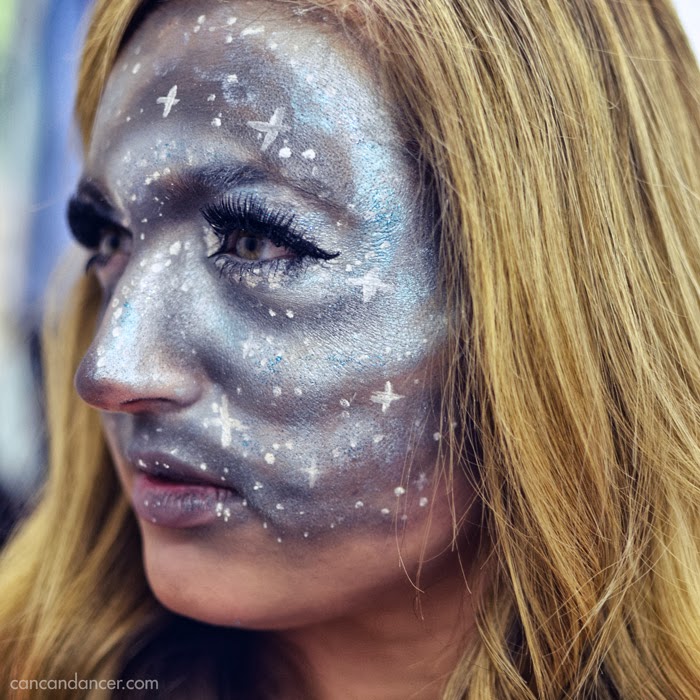
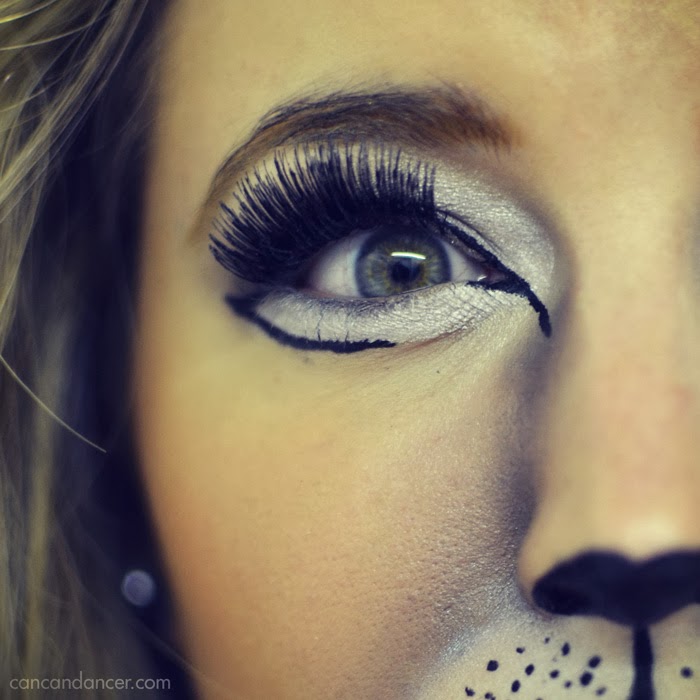
The look below was created with drug store eyeshadows, Maybelline Color Tattoo as the white base, Wet n’ Wild liquid eyeliner, and Kiss lashes.

Wet ‘n Wild is usually frowned upon for not being the most amazing in quality, but I love their waterproof liquid eyeliner. I have been using it for four years now. It doesn’t smudge and the brush stays sturdy for a decent length of time.

What are you going to be for Halloween? Were you inspired by something you found on Pinterest?

PS This is not a sponsored post, I just really like that eyeliner. A lot.

“We’ll be counting stars” Halloween Makeup

Hello World,

I love Halloween. The candy, decorations, costumes, and non-traditional makeup is completely acceptable. For my costumes, I like to focus more on my face, and have my clothes being a secondary focus. I also live in Idaho, so I usually freeze if I don’t wear many layers on Halloween.

Below is a Halloween makeup idea inspired by the Milky Way Galaxy and “Counting Stars” by OneRepublic.

For this look, I used all drug store eyeshadows, E.L.F. glitter eyeliner, Wet ‘n Wild liquid white eyeliner, and Kiss lashes.

I originally was only going to do half my face, but I got a little blend happy and kept expanding the galaxy onto the other side of my face.

What are you going to be for Halloween?

PS- My hair is not as brassy as it appears in these photos. Promise. I just forgot to adjust my white balance for indoor lighting.

DIY Jewelry Display

Hello World,

Have you seen those darling jewelry stands made with vintage plates at consignment shops or craft fairs, but not wanted to fork over $25-$40 for one? Well, I went thrifting, and found 3 plates and 2 candle sticks for less than $4!

Check out the tutorial below, to make one of your own:

1. Gather your supplies: vintage plates, candle sticks, E6000 or caulk, and spray paint if you don’t like the color of your candle sticks. (Maybe, I bought more plates than I needed, but some of them were only $0.35 each!)

2. Remove any stickers, wash and then dry your candle sticks and plates. Spray paint your candle sticks if you wish, I’m on a gold kick lately.

3. Decide on which plates to use. I used 3 different sizes so my display, with the smallest plate on top.

4. Apply a nice amount of E6000 or caulk to the bottom of your candle stick, and place that baby down on the top of your first plate.

5. Apply E6000 or caulk to the top of that candle stick, and then place your next plate on top of it.

6. Repeat for the last candle stick and plate.

7. Allow to dry overnight and then enjoy!

Happy Crafting!