Year: 2014

(Can’t Eat Just One) Chocolate Chip Cookies

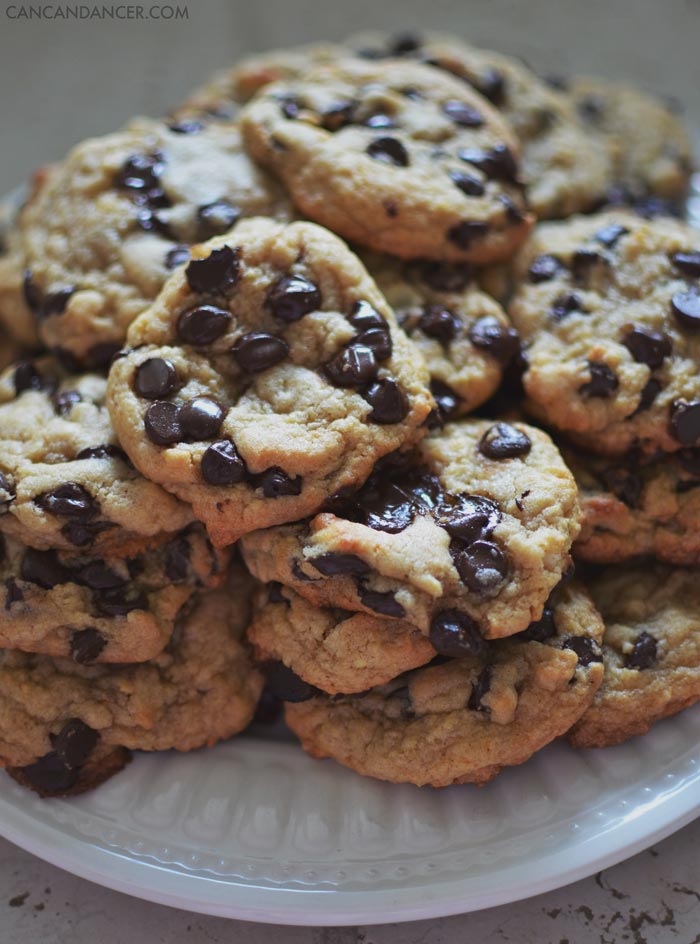
cookie1

Hello World,

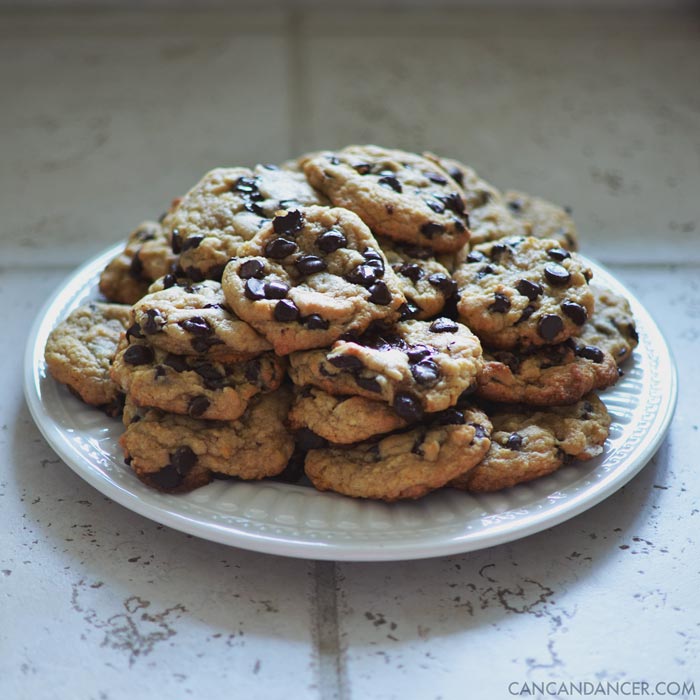
This Thursday (May 15th) is National Chocolate Chip Day, and cookies are one of my favorite desserts. To celebrate this magnificent ingredient, I whipped up some ooey-gooey chocolate chip cookies! Check out the recipe below:

cookie2

Ingredients:

  • 1 cup softened butter
  • 1 cup white sugar
  • 1 cup brown sugar
  • 2 tsp vanilla extract
  • 2 eggs
  • 1 tsp baking soda
  • 3 cups flour
  • 2 cups semi-sweet chocolate chips

Preheat oven to 350°F. In a large mixing bowl, mix together everything except the flour and chocolate chips. Next, mix the flour into your mixture one cup at a time (this makes mixing by hand easier). Mix in the chocolate chips. Spoon dough onto ungreased cookie sheets, in two-tablespoon-ish sized scoops. Bake for 10 minutes, or until tops are golden.

Makes approximately 36 decent-sized cookies.

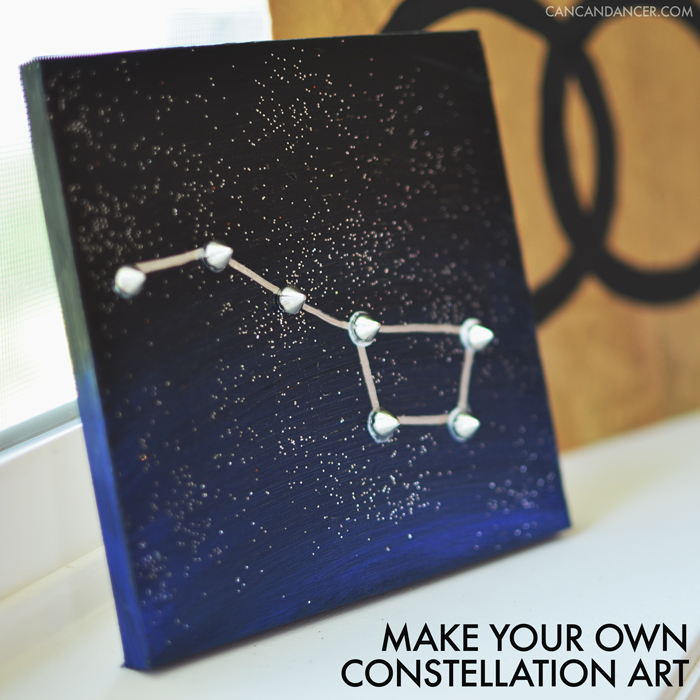
Make Your Own Constellation Art

starsintro

Hello World,

It’s no secret I love anything outer space related and stargazing. Before I discovered my passion for design, I actually wanted to be an astronomer or a physicist. I even was almost going to be a galaxy for Halloween this last year.  To bring a little of the night sky into my home, I DIY-ed some simple wall decor featuring one of my favorite constellations- Ursa Major.

Check out the tutorial to make your own:

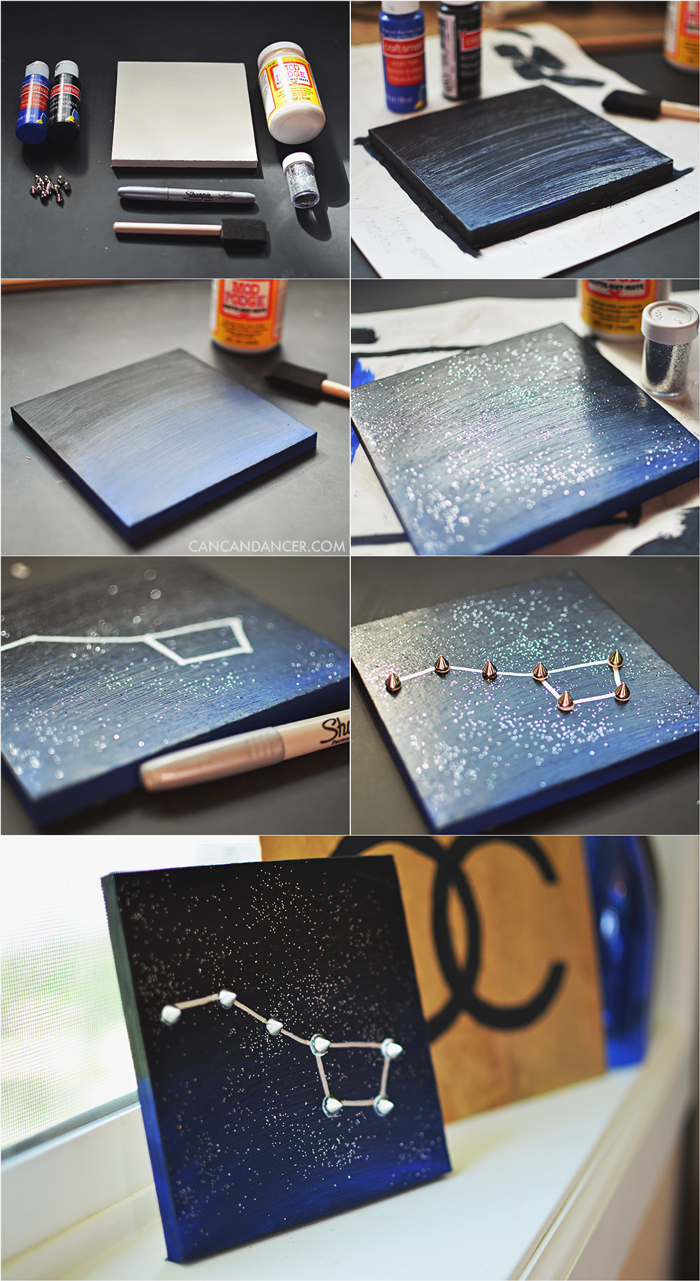
constellationart

1. Gather your supplies: a small canvas, black and blue acrylic paints, Mod Podge, glitter, a Sharpie, studs, and a brush.

2. Paint your canvas. I painted black paint on the top half, and blue on the bottom half, and then blended them together to create a gradient night sky.

3. Allow paint to dry, and then apply a layer of Mod Podge.

4. Sprinkle glitter onto the wet Mod Podge and allow it to dry. Once dry, add a second layer of Mod Podge to seal the glitter.

5. Once all your Mod Podge is dried, draw out your favorite constellation with the Sharpie.

6. Dip the back of each stud in some Mod Podge, and place it on the canvas at each star location. Allow to dry and enjoy!

If I can get my hands on more small canvases, I think I’ll make a series of these and hang them up in a row. What is your favorite constellation?

Happy Crafting!

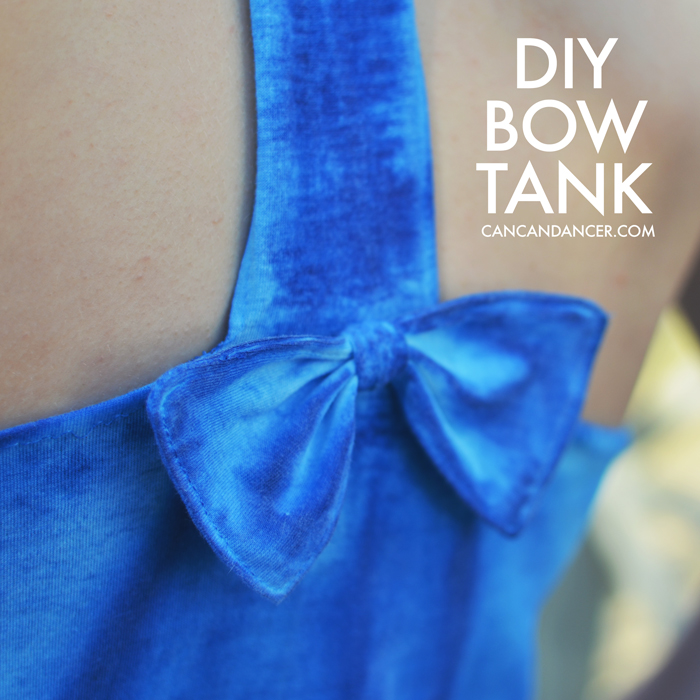
DIY Bow Tank

bowbackintro

Hello World,

I used to have quite a collection of t-shirts. Last summer, I used 42 of them to make a college t-shirt quilt, but I still have a stack of them left in my “make something with this pile.” Since summer is my hands-down favorite season, and the weather has finally started getting nice where I live, I reconstructed a tee into a bow-back tank.

If you have an old t-shirt to spare, check out today’s tutorial:
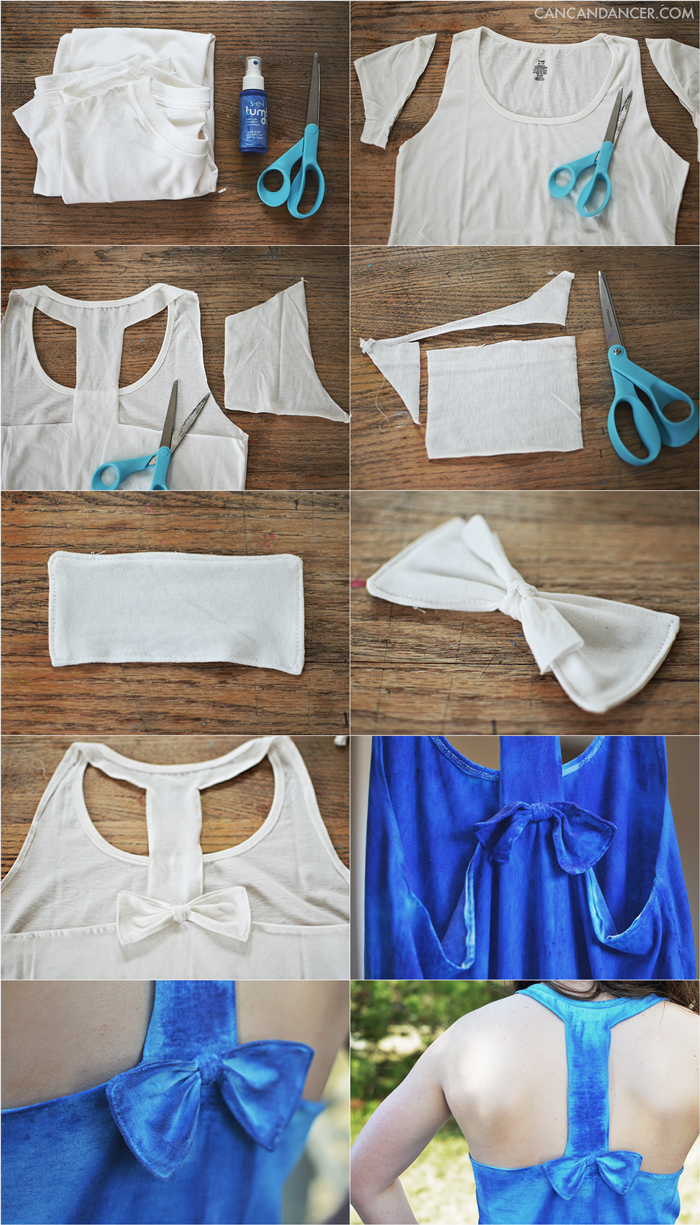
tbackshirt

1. Gather your supplies: a t-shirt, scissors, a sewing machine, needle and thread, and fabric dye if your tee was a little too plain to begin with. I bought a few bottles of dye from Darby Smart. You will only need one bottle for this project.

2. Remove the sleeves from your t-shirt. I trimmed a little more than just the sleeves, to create a tank-top shape.

3. Flip over your shirt and cut out the back sections (similar to the photo). Leave the center strip attached unless you want to make a halter top.

4. With one of your back section cut-out pieces, cut out a rectangle.

5. Fold this rectangle in half, and sew along 3.5 sides, leaving a gap so you can turn it right side out. Flip it right side out, and sew the gap closed.

6. Cut a skinny strip of fabric from your scraps. Tie this around the center of the rectangle piece you just sewed. Knot it again, and trim the ends of the ties.

7. Hem the edges of your tank, or leave them raw. My t-shirt was too baggy on the under-arm area, so I took the sides in. I sewed my new side seams with my sewing machine. Hand sew the bow in place on the back of your tank.

8. I found the dye was more vibrant when the shirt was damp vs dry. I got my shirt wet, rung out the excess water, and laid it down on cardboard. I sprayed the front of my shirt with the dye, flipped it over, and then sprayed the back.

9. Hang your shirt outside over something you don’t mind getting dye dripped on (like grass), and allow it to dry. Once it is dry, throw it in the dryer for a few minutes to set the dye and fluff your bow back up.

Happy Crafting!