typography

DIY Moss Typography

Hello World,

Let’s be honest. I have a typography problem. I love both sans serif and scripted typefaces. I sometimes pay more for a product just because it has great packaging. I know, #designerproblems. My hands-down favorite is Futura, and I use it for all my blog/Etsy branding. (Fun fact- Futura is so cool it actually is on the moon!)

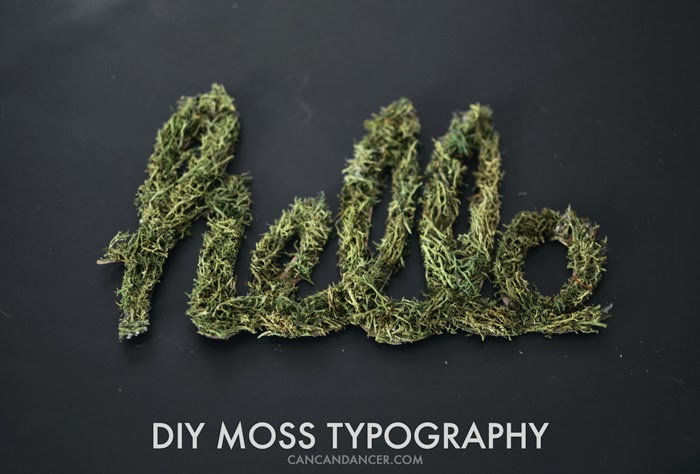
Now that I have put that on the table, you can see why I am really excited to share today’s tutorial. This is a quick project that only cost me a dollar. I decided to go with handwritten lettering, and a simple “hello.”

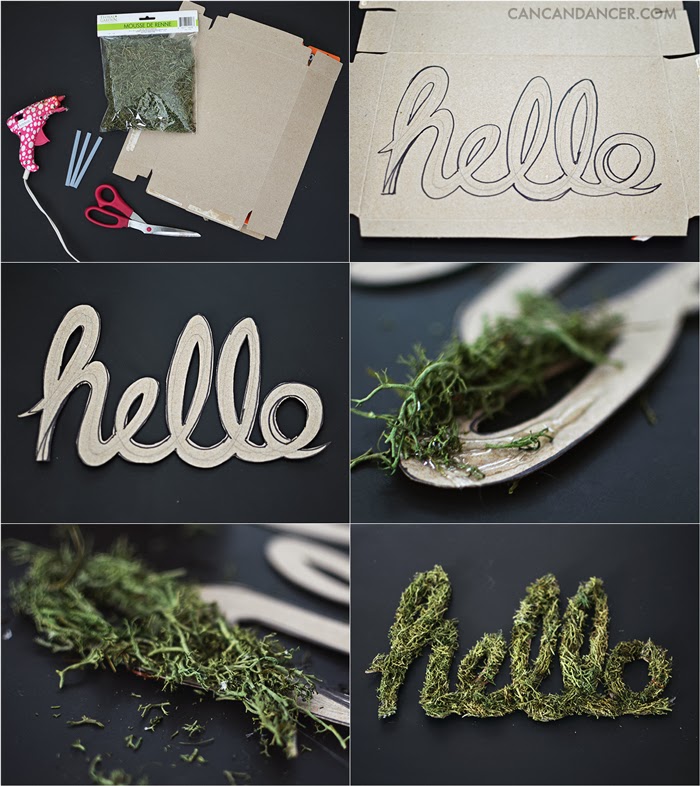
1. Gather your supplies: artificial moss (I got mine for $1 at Dollar Tree), an old cereal box, scissors, hot glue gun, and glue sticks.

2. Print or draw out your word on the cardboard. It is okay if you have drawing errors, as you will be covering them later.

3. Cut out your word with scissors. If you have trouble cutting with the inside of some letters, try using an X-Acto knife.

4. Apply hot glue to your cardboard. Press moss onto the area, being careful not to burn yourself.

5. Continue for the rest of your word.

6. If your edges are messy, give your word a little trim.

And tada! You could either glue this to a canvas, or just place on a shelf. Mine is on a windowsill and doesn’t flop over.

Happy Crafting!

PS. Please do not ever use Papyrus. Find something way better for free at www.fontsquirrel.com.

DIY String Art

Hello World,

It seems that thrift shops have been raising their prices. I used to come home with a bag full of finds almost every time I went shopping, and now I tend to only buy one or two items. I was in luck last week though, when I found this wooden plaque for only $0.25!

I originally was going to hand paint a design on it, but decided to switch it up and make some string art instead. Check out the tutorial below to see how to make your own:

stringart1

1.  Gather your supplies: wood, metal nails, hammer, embroidery floss, a printed design, tape, paint, and a paintbrush.

2.  I used Avenir ® Next Bold for my design and decreased the kerning around the ‘O.’ I printed it, trimmed my paper, and taped it down to my wood.

3.  I hammered nailed into the corners of my letters first. Make sure you hammer your nails deep enough into your wood. I had a few of mine come loose, and I had to teach them a lesson.

4.  After securing the corners of my letters, I eyeballed the spacing and added more nails to each letter.

5.  Remove your paper at this point.

6.  If you have any paper pieces leftover that are difficult to remove with your bare hands, use some tweezers to remove them.

7.  I painted my wood and nails at this point because I wanted them the same color. If you don’t care about your metal nails standing out, it would be better to paint your wood prior to hammering all your nails in place.

8.  Tie a knot around a corner nail. Twist the tail end of your thread around the rest of your thread to secure it.

9.  Outline each letter by working your thread around the outer edge of your nails.

10.  Fill in each letter by randomly wrapping your thread around the nails, pulling tight the entire time. Tie a knot around a nail once you are satisfied, and trim your tail end.

11.  Continue this process with the rest of your letters.

12. And tada, you have your own custom string art!

I love the shadows created by the strings on the wood!

Happy Crafting!


Cheers to 2014!

Hello World,

Make 2014 your year! I created the three images below centered around my love of water, current outlook on life, and love of typography. What words do you try to live by?

Cheers to 2014!