gold

DIY Birthday Crown

Hello World,

Today is my 24th birthday! This last weekend I celebrated my birthday jointly with my friend Sam (who is two days older than me) and made us birthday crowns. I am a firm believer that age is just a number, and that you should never stifle your inner child.

When I was in junior high I remember looking at college graduates and thinking they were so old. Now that I am that age, I don’t feel like a total grown up, but junior high students do look young to me.

I decided to embrace my inner child and had a blast making birthday crowns with pipe cleaners and pom poms. Check out the very simple tutorial below:
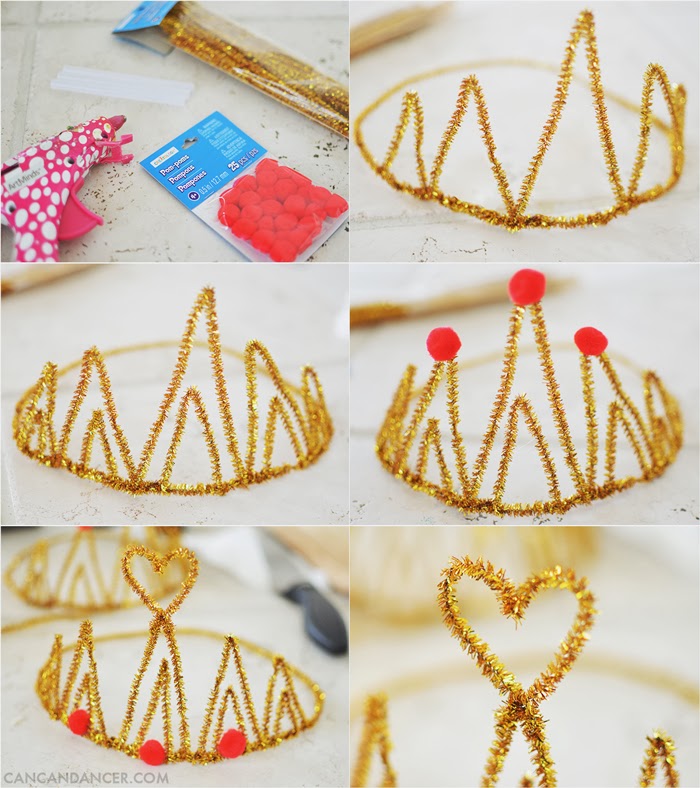
1. Gather your supplies: pipe cleaners, pom poms, a hot glue gun, and glue sticks.

2. Start by creating the band for your crown. I used two pipe cleaners to create the base ring.

3. Wrap pipe cleaners around the base you created, forming triangle shapes.

4. I did a second tier of triangles to fill the crown out more. On my crown, I added a heart shape.

5. Glue pom poms on as your pretend gems, and enjoy!

I didn’t need booby pins to hold my crown on, even while dancing.

So stylish. 🙂

Happy Crafting!


My Darby Smart Kit!

Hello World,

In some of my past posts, I blogged about the fun DIY kits (December to DIY For kit and the Cross Stitch Tote kit) that I bought from Darby Smart.

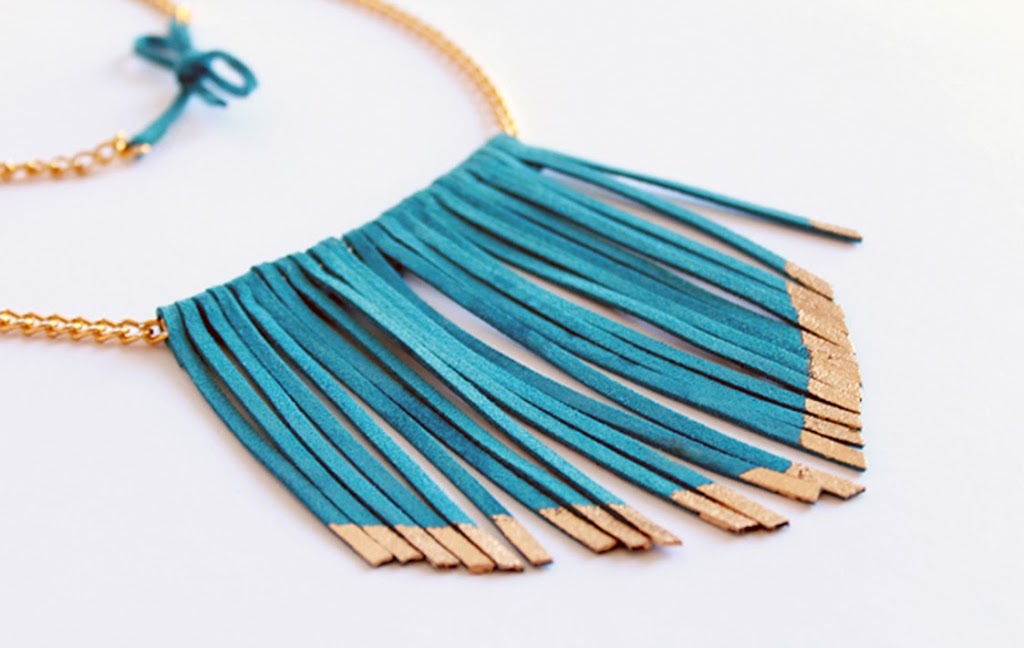
Well, I have very exciting news for you today! I am happy to announce that I have collaborated with Darby Smart to design this Suede Fringe Bib kit!

Photo: Darby Smart
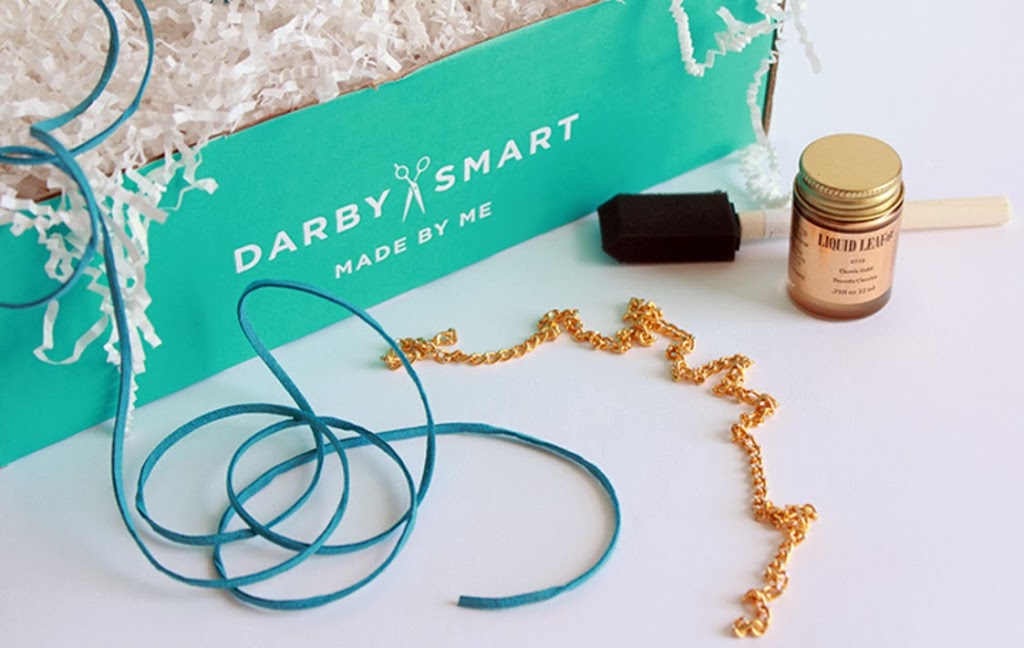
Photo: Darby Smart

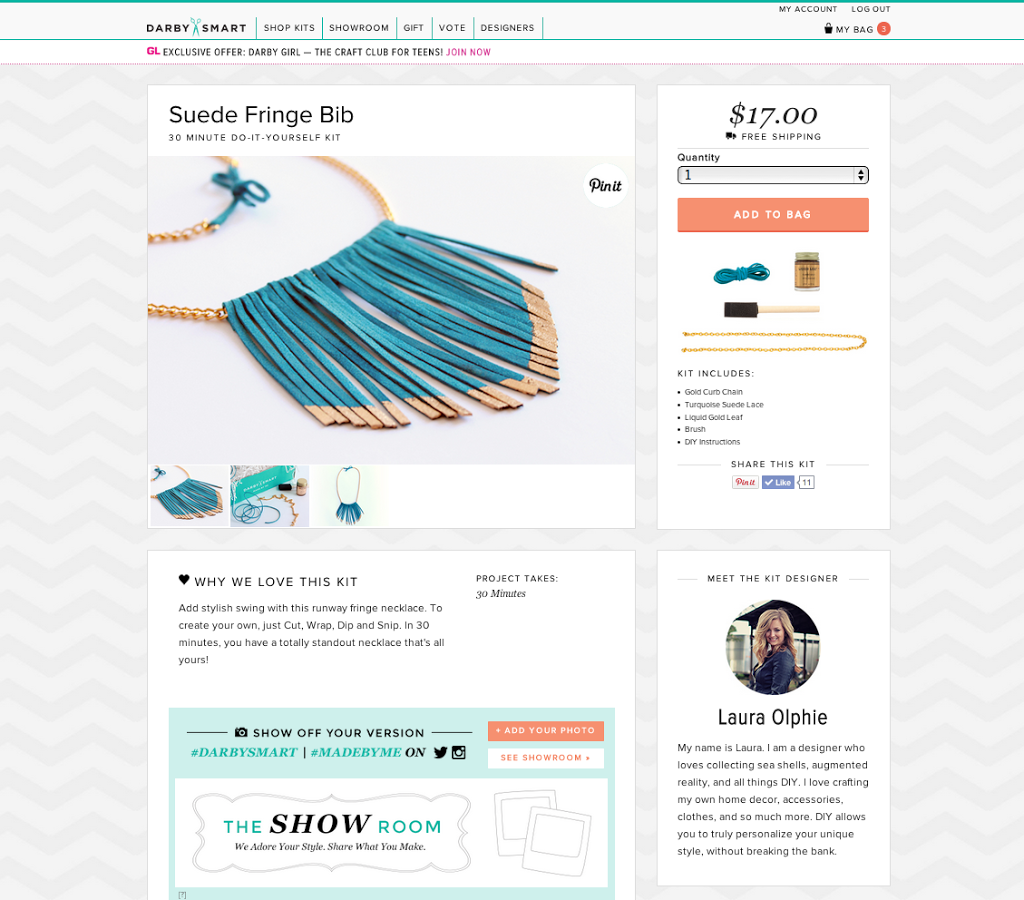
The kit is now available on their website for $17 (with free shipping), and includes the above supplies (and instructions) to make your own bold statement necklace. Check out more details here.

If you order a kit, I’d love to see how your take on this project! You can share your photos with the Darby Smart community by using #DarbySmart on Twitter or Instagram, and they’ll add them to their Showroom.

Excited to see what you make! Happy Crafting!

I am so excited to see my name on their website! It’s like seeing my name in DIY-world lights!

DIY Jewelry Display

Hello World,

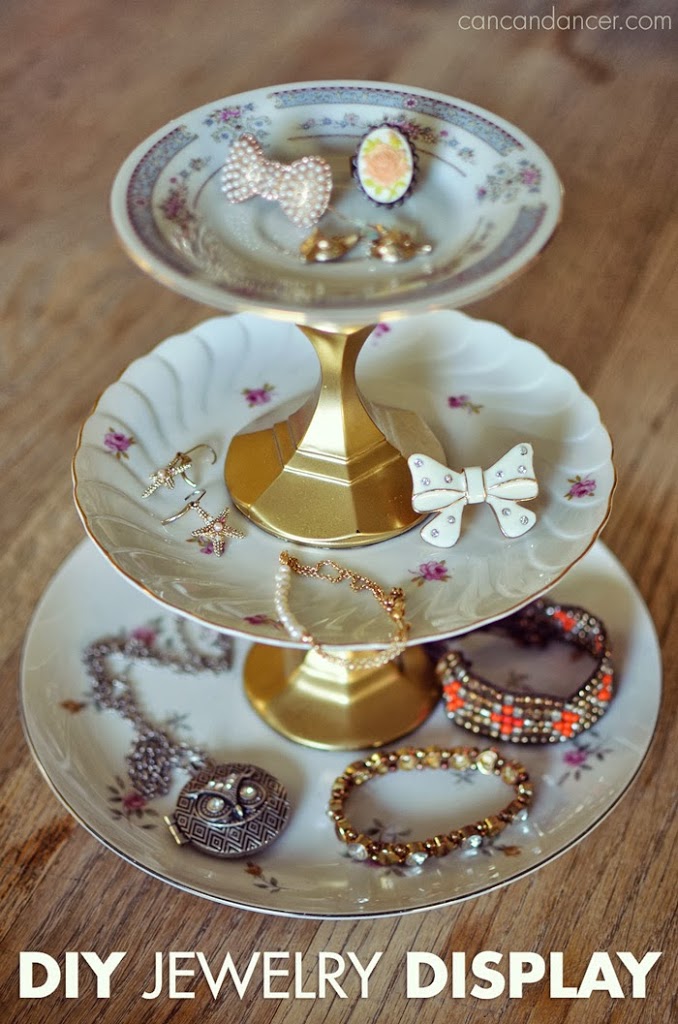
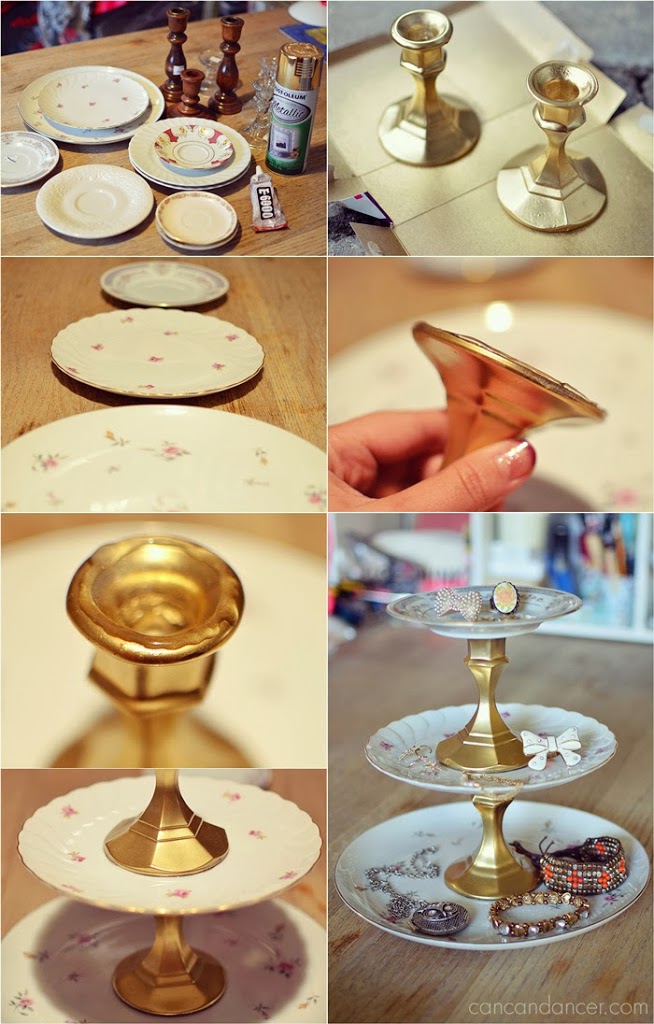
Have you seen those darling jewelry stands made with vintage plates at consignment shops or craft fairs, but not wanted to fork over $25-$40 for one? Well, I went thrifting, and found 3 plates and 2 candle sticks for less than $4!

Check out the tutorial below, to make one of your own:

1. Gather your supplies: vintage plates, candle sticks, E6000 or caulk, and spray paint if you don’t like the color of your candle sticks. (Maybe, I bought more plates than I needed, but some of them were only $0.35 each!)

2. Remove any stickers, wash and then dry your candle sticks and plates. Spray paint your candle sticks if you wish, I’m on a gold kick lately.

3. Decide on which plates to use. I used 3 different sizes so my display, with the smallest plate on top.

4. Apply a nice amount of E6000 or caulk to the bottom of your candle stick, and place that baby down on the top of your first plate.

5. Apply E6000 or caulk to the top of that candle stick, and then place your next plate on top of it.

6. Repeat for the last candle stick and plate.

7. Allow to dry overnight and then enjoy!

Happy Crafting!