gold

DIY Gold & Lace Flower Pots

Hello World,

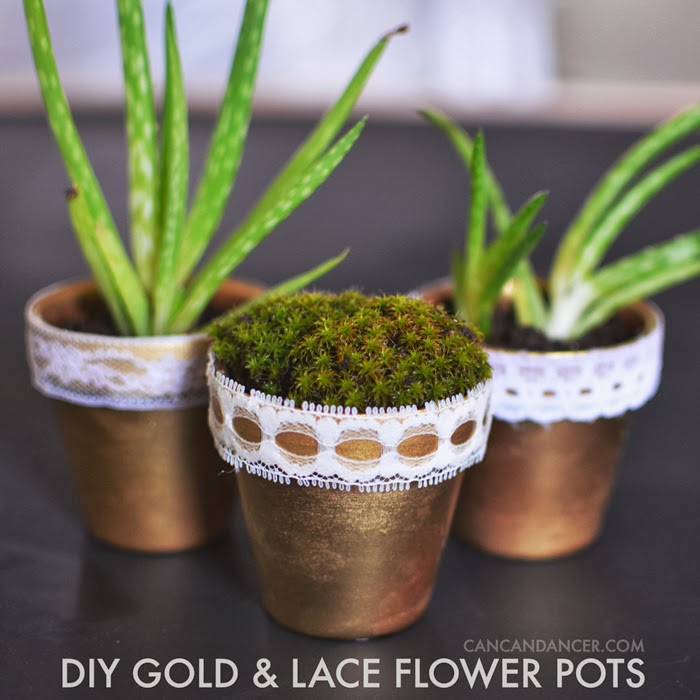
Spring is right around the corner, and I am so ready for it. Even though this winter wasn’t very harsh, I have always been a warmer weather girl. Today’s project is perfect if you want to bring some spring inside your home. Check out the tutorial below to make your own gold and lace flower pots:

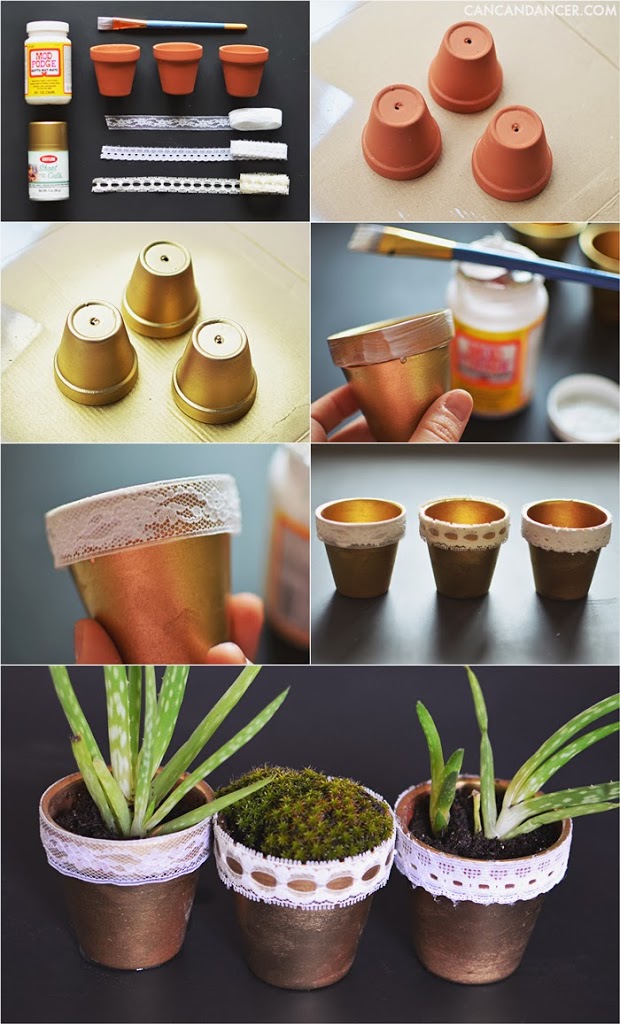
1. Gather your supplies: flower pots (I bought a 3-pack at Dollar Tree), spray paint, lace trim, Mod Podge, a brush, clear gloss spray paint (not pictured), and scissors (not pictured).

2. At first, I just spray painted my flower pots gold. Well, the paint didn’t stick and dusted off when I touched them. I then sprayed them with clear spray paint and allowed that to dry.

3. I then spray painted them gold, and the paint did stick. Allow colored paint to dry.

4. Apply Mod Podge to your flower pot lip.

5. Place your lace trim where you applied the Mod Podge. Trim lace so it barely overlaps.

6. Apply Mod Podge on top of the lace. Allow to dry.

7. Fill with soil and add some happy little plants.

Happy Crafting!

DIY Chain & Braid Necklace

Hello World,

When I go shopping at the mall, I don’t just look for items I can wear as is. I look through clearance sections for items that I can repurpose, update, or easily fix. I love it when I find a dress that has a broken strap or a missing button. I can fix that in no time and get a great deal.

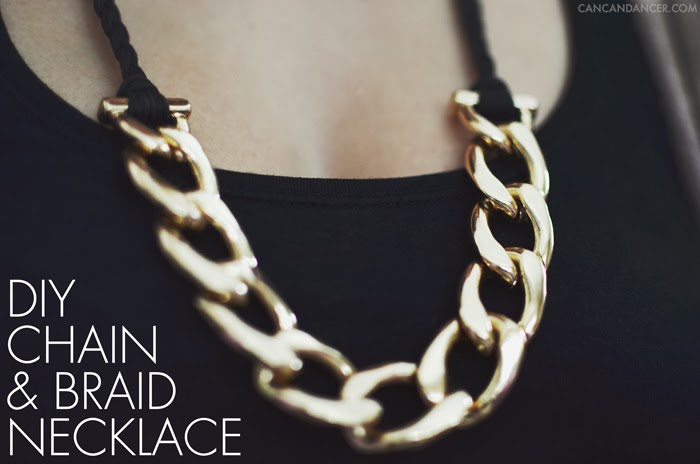
Sometimes it can be a better deal to buy an item and dissect than to go buy the supplies at a craft store. Last week, I went to Rue 21 and found a heavy gold chain bracelet for only $2. The only problem was it was way too big for my wrist. I simply removed the lobster clasp and repurposed the chain to make a necklace:

braidnecklace1

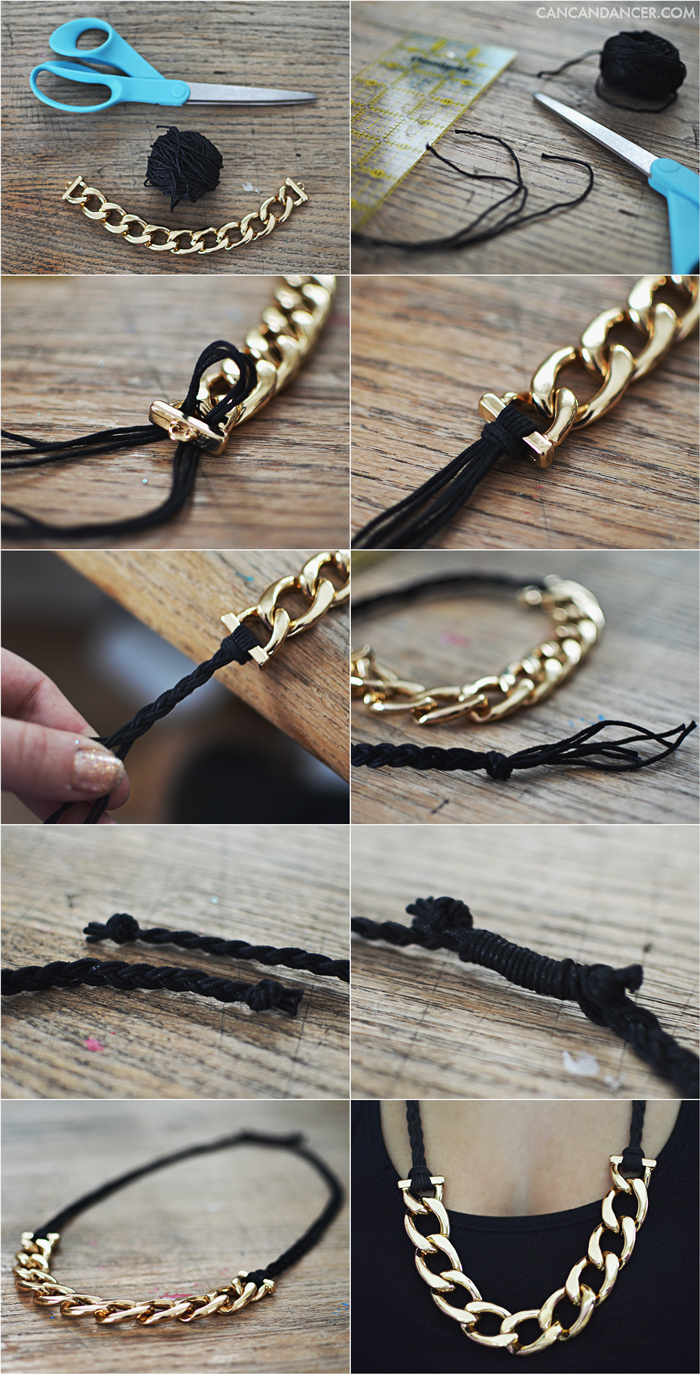
1. Gather your supplies: chain, jewelry cord, scissors, and a ruler.

2. Cut six strands of jewelry cord. I made each of my cords 34 inches long.

3. Fold three of the cords in half and feed these loops through one end of your chain.

4. Bring the tail ends of the cords through the cord loop and pull tightly.

5. Due to the loop, you will have 6 pieces of cord to work with. You can either braid two small braids, or one thicker braid.

6. Tie a knot at the end and repeat this process for the other side of your necklace.

7. Trim the tail ends of your braids.

8. Wrap some jewelry cord around both braids, and tie knots to secure it. If you are worried about it coming undone, add some glue to secure it.

Happy Crafting!

Going Stag Jewelry Holder

Hello World,

Guess what? I have another Darby Smart kit to show you today! The original kit was designed by Los Angeles-based designer, Joanna Reynolds. I think this kit is such a clever idea for a jewelry holder.

I live in Idaho, and most of my friends have actual animal heads mounted in their living rooms. I am not very outdoorsy, and have never been hunting. I know GASP. I went to a high school where the senior guys wore flannel cutoffs, thought mullets were cool, and would go hunting before school sometimes. It just was never my scene. (Plus, I don’t really like the taste of venison.)

So I thought this was a nice alternative to having an actual head mounted in my bedroom, and it can be completely customized to your own style!
Darby Smart even included this super cute lollipop in the Valentine’s Day spirit!

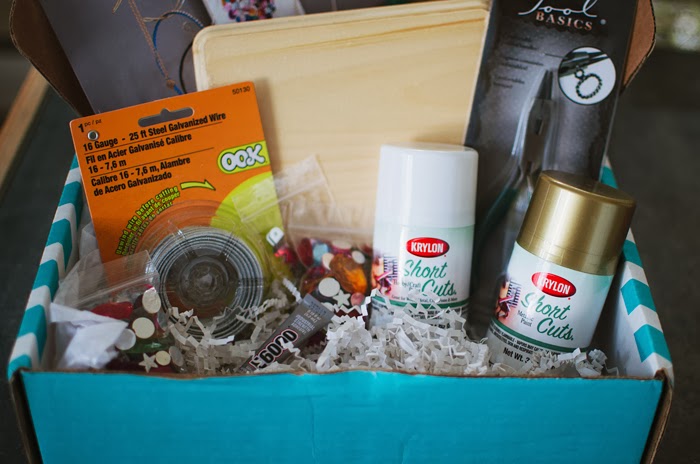
The kit originally comes with two mini cans of spray paint, a bunch of gem stones, glue, wire, pliers, a wooden plaque, and a metal hanging hardware. Note: I used other supplies in my stash to make my version.
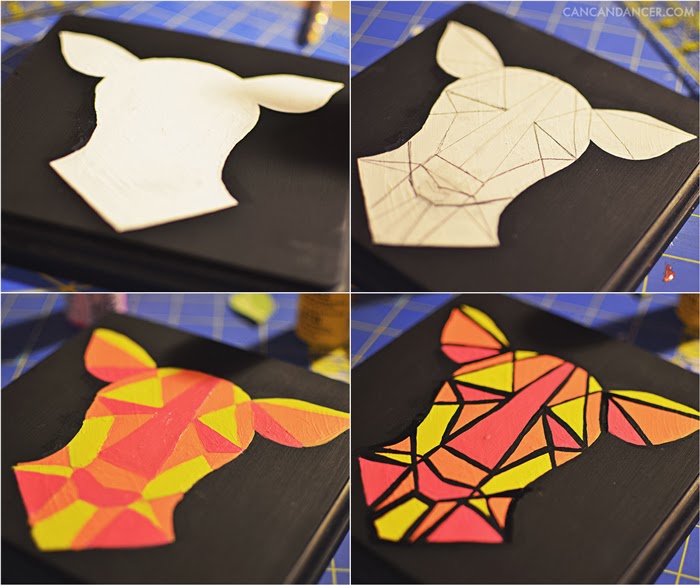
I originally painted the wooden plaque white and hand painted a realistic deer head on it. I was planning on gluing the gemstones onto the plaque as a necklace design on the deer, but I couldn’t get the ears right. In the middle of my perfectionist frustration, I painted the entire plaque black and went with a geometric design instead, in neon colors (using my own acrylic paint).

If you want to try this kit out, but want to paint a design, Darby Smart sells some acrylic paint colors separately too here. I didn’t end up using all the supplies from this kit, and will be saving the gem stones for another project.
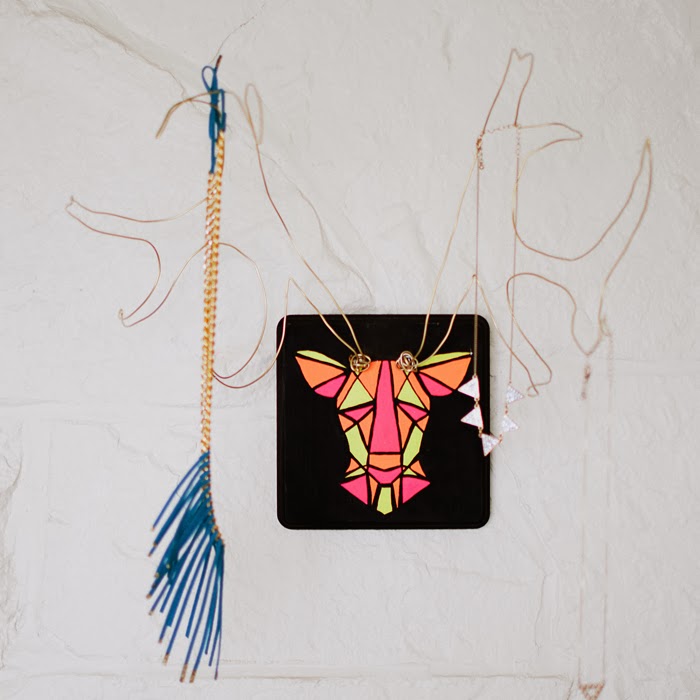
I really like the gold wire antlers with the brightly painted plaque. Does the fringe necklace above look familiar? That was my original prototype for my Darby Smart kit!
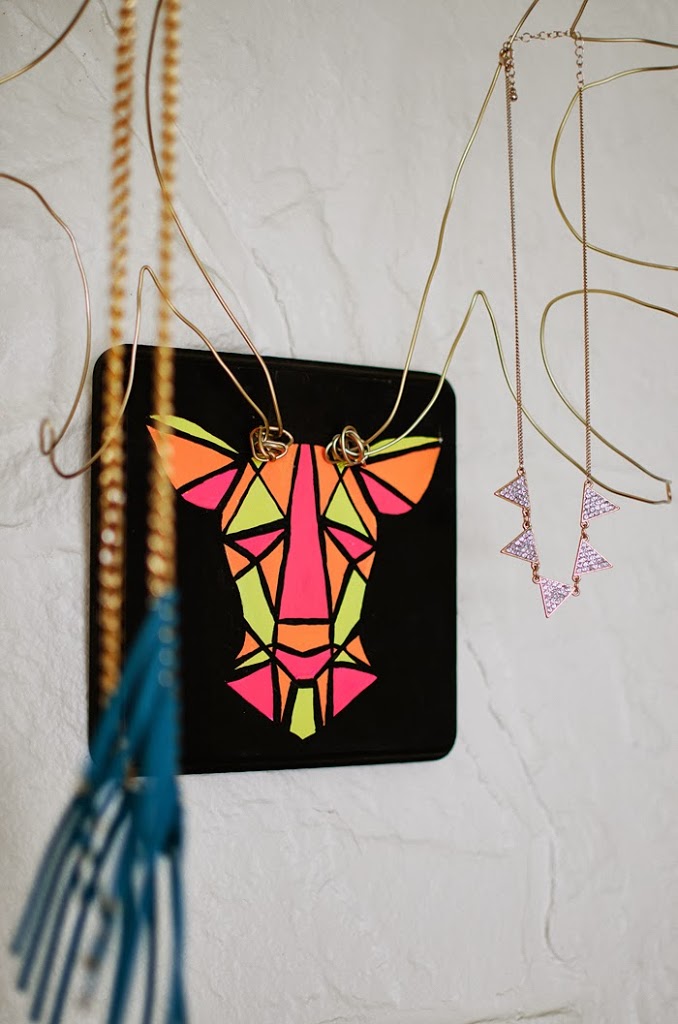
If you think this kit is a rad idea as well, you can check out the original gem-stone-tastic kit here. (I know I’ve said it a million times, but seriously sign up for their emails or follow them on Facebook, they send/post coupon codes periodically. Who doesn’t like a deal?)

Happy Crafting!

PS- Unlike my other kit posts, this was my first complimentary kit from Darby Smart and all opinions are my own.