Fresh Cherry & Lemonade Muffins

Fresh Cherry & Lemonade Muffins

Hello World,

Back in the homesteading days, my now neighborhood was farm land full of fruit trees. Many of the fruit trees were removed to make room for homes and such, but my yard still has a few fruit trees. I have apple, pear, plum, quince, and cherry trees, that all look so beautiful when they bloom in the spring! As it is cherry season, I recently picked some and decided to switch it up and make something besides a pie.

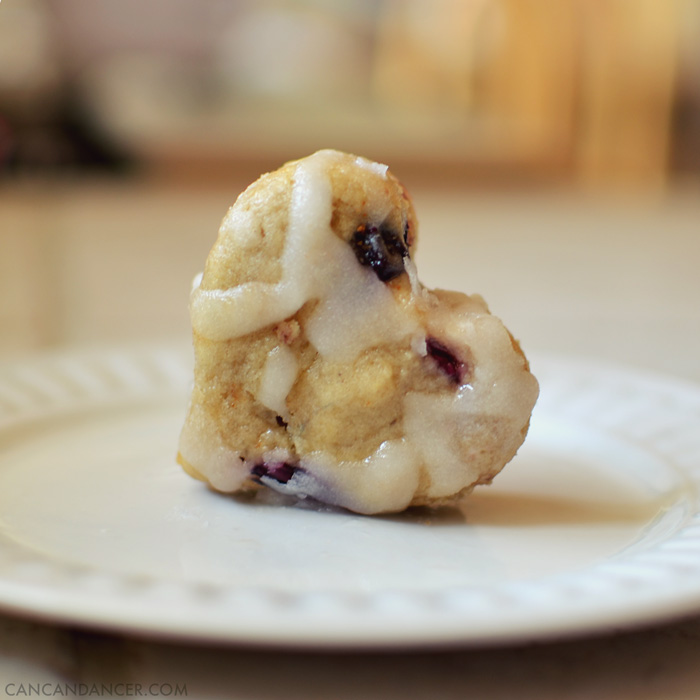
I searched online, and found this recipe to make cherry lemonade donuts. I didn’t have a donut pan, so I went shopping to find one in my city. I looked for one at Target, Walmart, T.J.Maxx, and Ross. I didn’t find one, but I wouldn’t say I came back empty handed, because that is near impossible for me to do in Target (the clearance end caps get me almost every time!). Instead of buying a pan online, I used some silicon muffins pans I already had. I slightly modified the original recipe, and they turned out great!

Fresh Cherry & Lemonade Muffins

Head on over to Inside BruCrew Life for the full recipe. For my muffins, I used fresh cherries, and powdered lemonade concentrate. And since I used silicon muffin pans, I baked them for 18-20 minutes (original recipe said 10-12 minutes).

Have you baked anything delicious with cherries lately? If so, share a link in the comment section below!

DIY Floral Letter

DIY Floral Letter

Hello World,

Want to know why I love DIY-ing so much? It’s an affordable and fun way to create items that are totally custom to your unique style! I love projects that I can make while watching a movie. Today’s project is just that! I had everything except the fake flowers in my craft stash, so this project only cost me $3.00 to make.

Check out the tutorial below:

DIY Floral Letter

1. Gather your supplies: fake flowers (I bought mine at Dollar Tree), cardboard, scissors, a writing utensil, and an adhesive. I took a photo of e6000, but didn’t want to wait for it to dry, so I switched to hot glue at the last minute.

2. Draw out your letter on your cardboard and cut it out.

3. Pop the leaves and flowers off of your fake floral stems.

4. Cover your letter with a base layer of the fake leaves. Glue each of them in place.

5. Glue your large flowers to the letter.

6. Continue gluing flowers to your letter until it is nice and full. I also glued some vintage-style keys to mine.

7. Prop on a shelf or glue some string to the back so you can hang it. And enjoy!

DIY Floral Letter

This could be a cute project to do with your initials, a decorative monogram, or an entire word.

Happy Crafting!


DIY Framed Agate Decor

DIY Framed Agate Decor

Hello World,

First off, I hope everyone in the US had a Murica-tastic 4th of July weekend so far! I definitely ate my fair share of junk food, and luckily didn’t get a sunburn this year. To finish off the weekend, here’s a simple crafternoon tutorial for making your own agate home decor:

DIY Framed Agate Decor

1. Gather your supplies: frame, white card stock, e-6000, agate stone, and gold paint.

2. Cut and place your card stock in your frame. (I bought my frame at Dollar Tree.)

3. Paint the outer edge of your agate stone. (I used this paint pen, which dried quickly.)

4. Apply glue to one side of your agate stone.

5. Now you either could glue your stone to the card stock and place under the glass if your frame is matted, or on top of the glass like I did with mine.

6. Allow glue to dry and enjoy!

Happy Crafting!