Freezer Paper Stenciling

Hello World,

I finally tried freezer paper stenciling! It took me a while to actually find it in my town, but I finally found some, and it was about $6 a roll at Walmart.

It’s actually really easy to do too! This was really cheap for me because I nabbed this tank top at a thrift store for a whole $0.50.
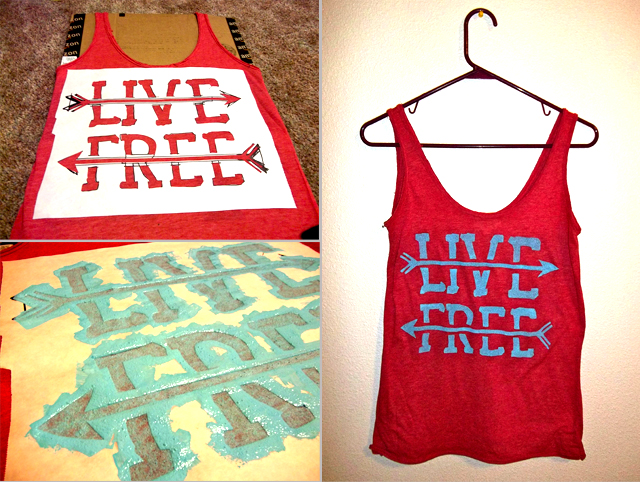
Here is how you do it:

1.  Cut your freezer paper to your desired size.  Now either draw or print on the paper side, not the waxy side. (Only with an ink jet printer!  If you use a laser printer the freezer paper will bind with your printer and ruin it! I have a laser printer, so I went back to my elementary school skills and freehanded/traced an image with the use of a window.)

2.  Next place a piece of cardboard in between the front and back of your shirt. (This way the paint doesn’t seep through.)

3.  Iron the freezer paper, waxy side down on your shirt.  Make sure that all edges and small detail points are nice and stuck on.

4.  Paint onto your shirt with a sponge-like applicator brush.  (I mixed acrylic paint with Monotype base, which I had leftover from a printmaking class… I’m not exactly sure if it will last, but the bottle does say it is permanent. (Fabric paint or textile ink might be safer.))

5.  Do as many layers of paint until you are satisfied with the color payoff.

6.  Allow your paint to completely dry. I was impatient and took a blowdryer to it.

7.  Gently peel off your freezer paper, it should come off very easily.

8.  Iron your shirt to set the paint. Place a layer of plain cotton fabric between your shirt and the iron if you are worried about it sticking to your iron. Then allow to cool and enjoy!

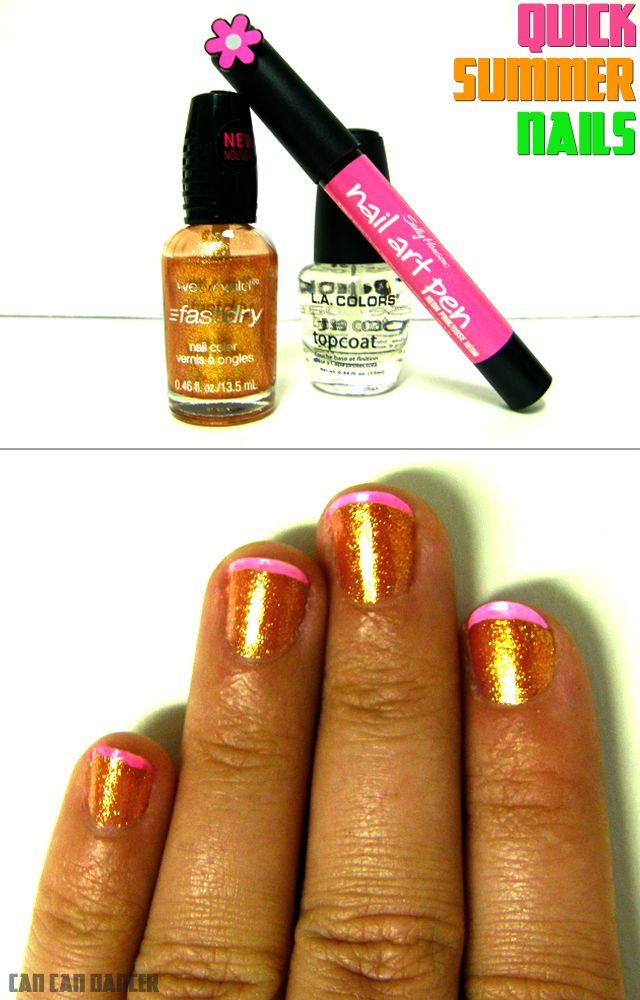
Quick (and Cheap!) Summer Nails

I love summer!  Its almost warm here, and the mall stores are full of bright colors! My Rite Aid is in the mall, and I thought it was about time I gave myself some bright nails.

The best part is these cheap products actually are pretty good quality. I usually have Gelish Nails, but I am out of one of my products, and until I hit a Sally’s, I’m just going to use normal polish.

To get these nails:

1.  Apply a basecoat if you wish, this L.A. Colors polish works as both a top coat and a basecoat.

2.  Apply Wet & Wild Fastdry polish (mine is 9.0.2.1.Orange).  Allow to dry, and then repeat a second coat.

3. Use a Sally Hansen nail pen to draw on your tips (mine is Neon Pink). Make sure you shake it up first, otherwise the color isn’t consistent.

4. After everything is dry, apply a top coat.  

I did these nails before I went to work, and they dried pretty fast!  One of my friends has a instant-dry spray for nail polish, and I will need to go get some for nails on the go.

Etsy Treasury- Love of the Sea

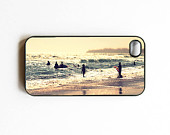
I have been spending a lot of time on Etsy lately, with updating my shop and looking for gifts. Today, I made a treasury inspired by summer and the sea.  I wish I lived near water and I also wish that iPhone case was made for older generations, I love it!

Enjoy!

‘Love of the Sea’ by Laura Olphie

Beautiful items, perfect for a summer day.


Starfish photography – …

$15.00

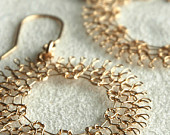
Crocheted dream catcher…

$36.00

Iphone case. “Surf…

$35.00

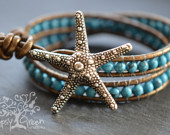
Silver Starfish Beaded …

$38.00

Eco-friendly Native Ame…

$19.00

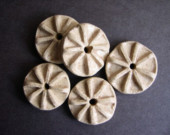
Bursts Stoneware clay b…

$20.00

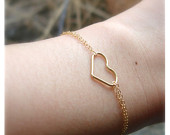
SET OF 5 Gold heart br…

$119.80

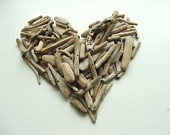
100 Driftwood Supplies …

$20.00

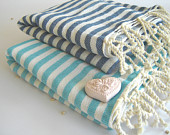
SALE Set of 2 Turkish B…

$46.00

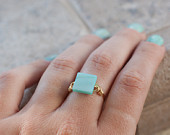
Teal shell wire wrapped…

$10.50

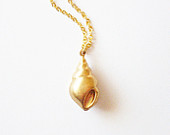
Conch Shell Necklace – …

$25.00

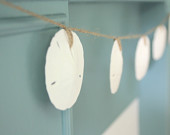
sand dollars garland

$22.00

Adjustable Crochet Summ…

$45.00

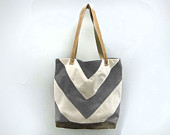
Canvas & Leather City M…

$95.00

Cotton Diamond Mesh cro…

$35.00

Beach Pillow Set of Thr…

$40.00