Hello World,
If you follow me on Pinterest, you probably notice that my Recipes board is full of sweet, carb-based, or probably not-the-healthiest-of recipes. I can’t help it- desserts and I are pretty much best friends. I probably should pin more salads to balance out all the junk food.
Actually, maybe I will make that one of my New Year’s Resolutions- to pin more healthy recipes. Maybe that will motivate me to make better balanced meals in the future.
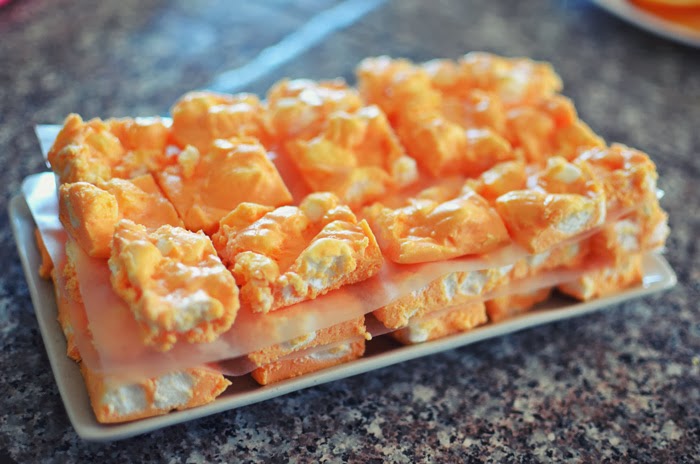
But since the new year isn’t here yet, I’m going to go ahead and share a recently tested recipe- Creamsicle Fudge! You can find the original recipe over on Frugal Family Home, or see my version below for my spin on it:

Ingredients
- 1 container of vanilla frosting
- 1 package white chocolate baking chips
- 1/2 cup Tang drink mix
- Red Food Coloring
- 1/2 bag mini marshmallows
Instructions
1. Melt (in a heat safe bowl) and stir the chocolate chips in the microwave at 30 second intervals. Do not overheat them- otherwise they will dry out and get crumbly instead of liquified.
2. Stir the frosting into the chocolate once it is completely melted.
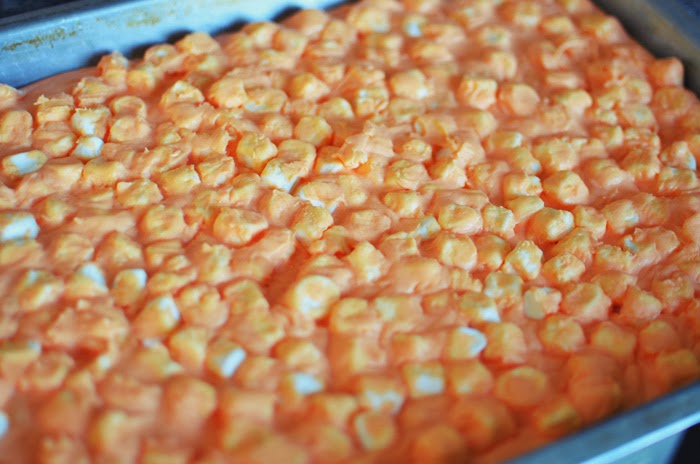
3. Once completely mixed, stir in the Tang, a few drops of red food coloring, and mini marshmallows.
4. Spoon the entire mixture into a greased pan or baking dish. (I used a huge pan, so the fudge came out thinner than the original recipe.)
5. Chill until firm and then enjoy!

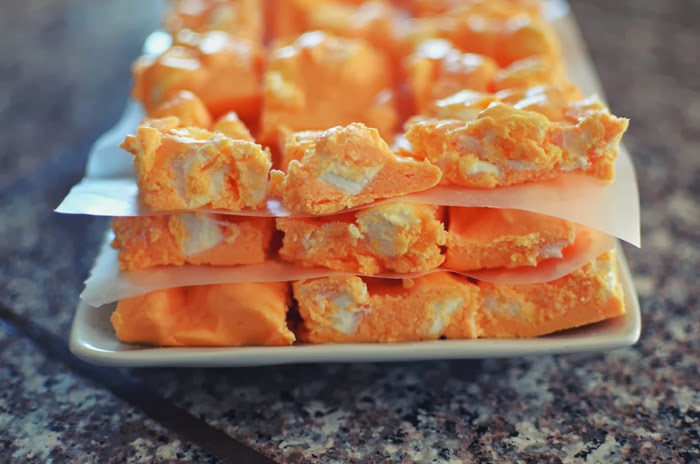
Marshmallow, tang and white chocolate goodness.

These puppies are very sweet! I think the smaller sizes worked well for them.


