Uncategorized

Christmas Tree Decorating

Here is another post courtesy of my mom. My parents have multiple Christmas trees in their house each with a different theme- purple/girly, angels/pastel, santas/red and sometimes a cowboy tree. My mom took step-by-step pictures of how she decorates her red tree.

Check out below to see how:
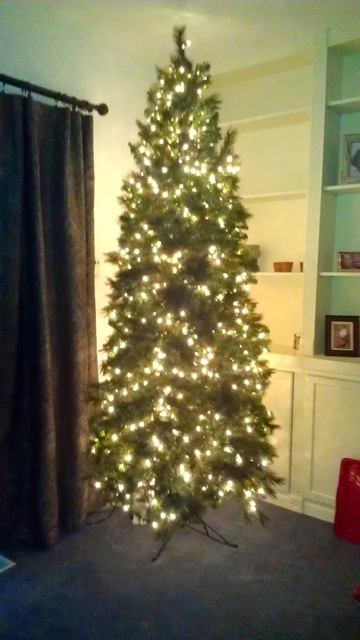
Here is a naked 9 ft pre-lit tree.

This is a tree skirt that my mom has had for over 20 years. My aunt made it. It even is reversible with green on the other side.
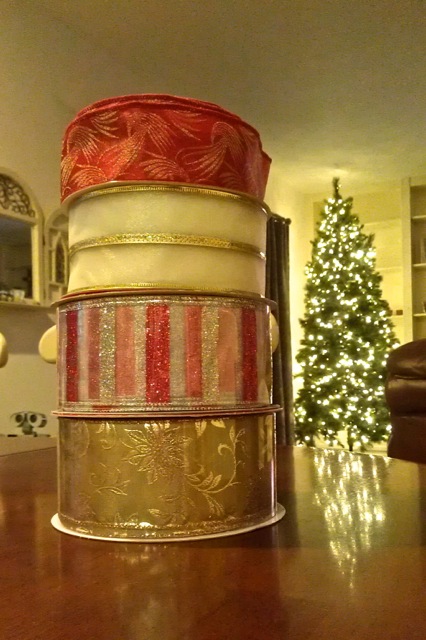
Find some large ribbon to decorate the tree with. (I have sparkly purple on my own tree and I got it on clearance at Michael’s after Christmas last year- leftover from the custom floral department.)
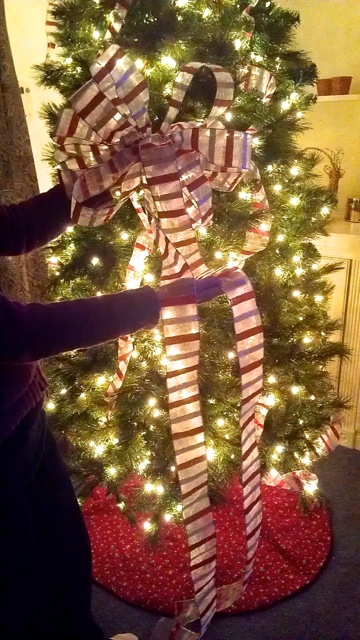
This year my mom decided to use candy-cane looking ribbon. She gathered 12 loops and left the two tail ends free. She secured the 12 loops with thin wire. (She bought her ribbon from Costco for $7ish)
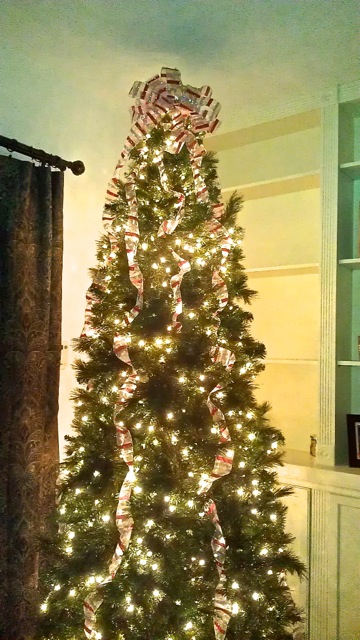
Wire the bow to the top of your tree and cascade more ribbon down the body of your tree. (6-8 rows of cascading ribbon depending on the thickness of your wire.)

My mom bought red Christmas ornaments at Kmart.
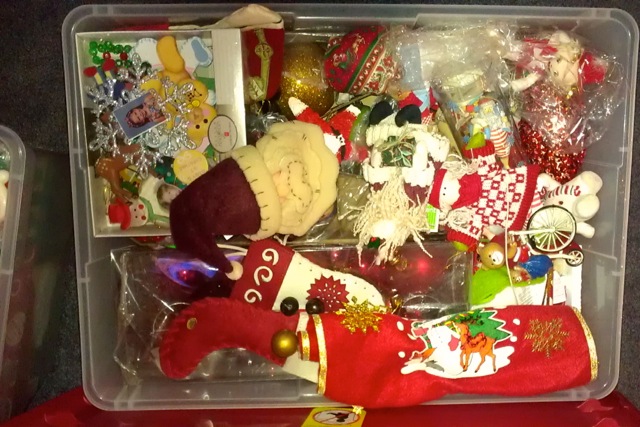
She also gathered personal ornaments that matched the tree. (I made some of them a LONG time ago. lol)
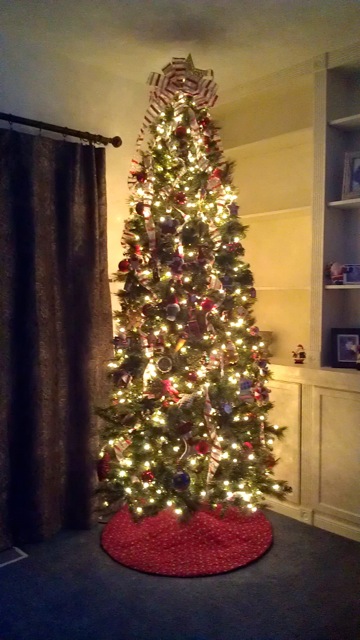
Here is the tree with ribbon, red balls and homemade ornaments.
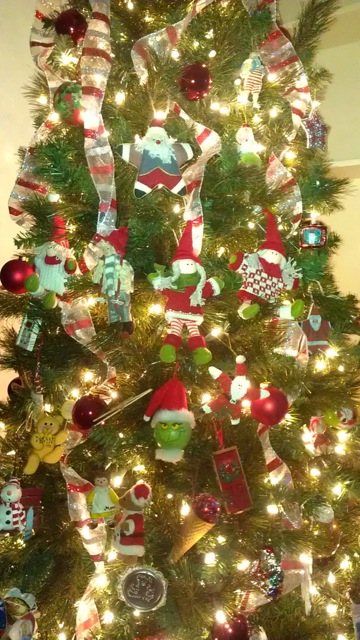
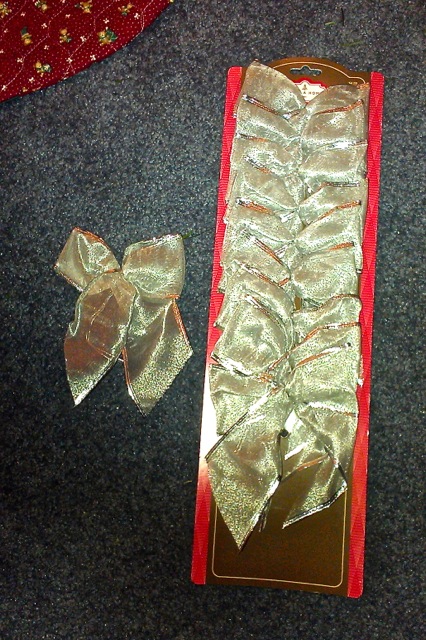
She also bought simple metallic bows at Kmart to fill in any gaps.
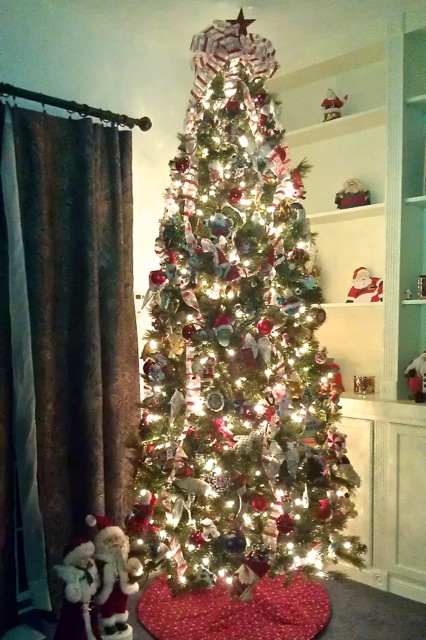
She also added a star to the top of the tree (It’s hiding behind the ribbon. lol)
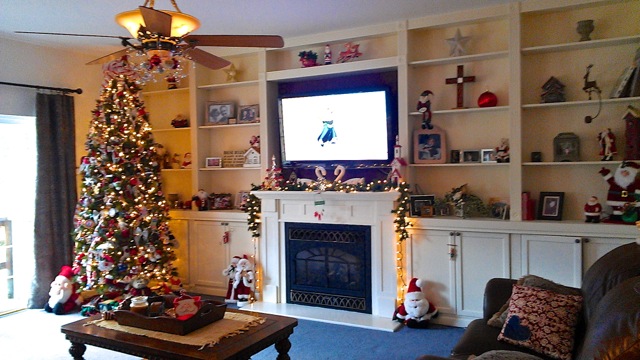
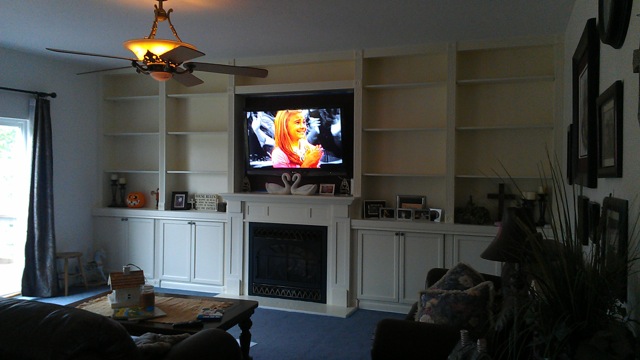
Here are their new custom cabinets- with the shelves all filled. Check out how they built them here: link.

Cinemagraphs

Hello World,

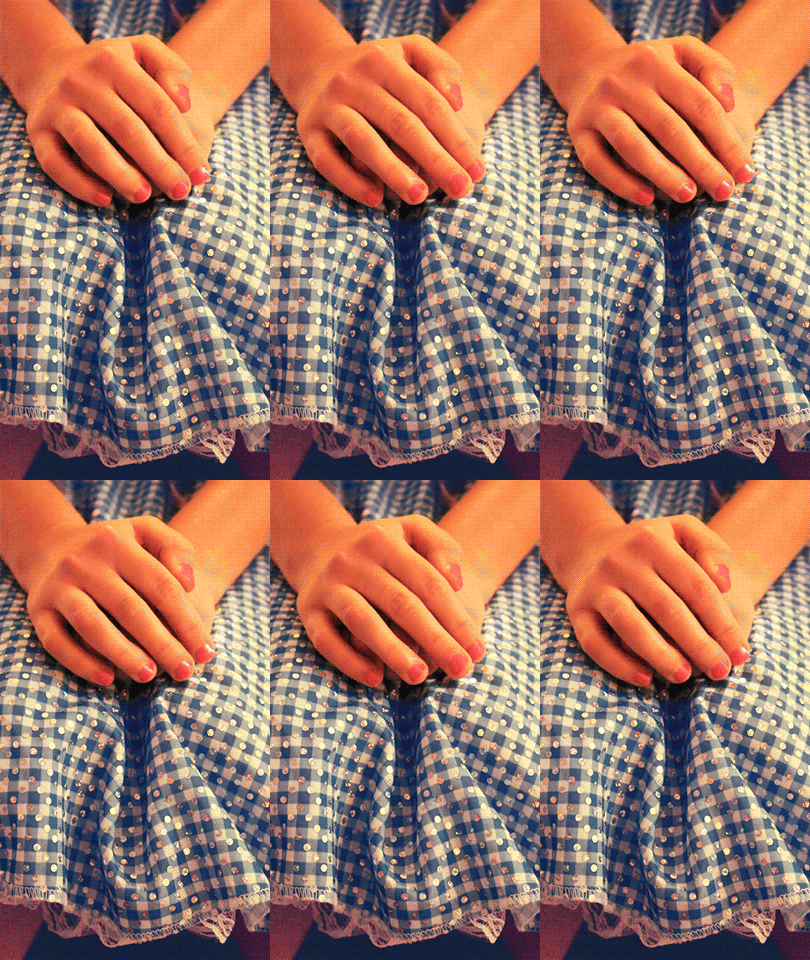
I currently am in a Digital Imaging class and our latest project was to revise an icon. I have always adored Dorothy, and I made cinema-graphs for the first time!

And now that I have used an expensive digital SLR, I am hooked. I am now saving up for one, along with a less expensive lens.  The only problems I came across with my cinemagraphs was I could not get the file size small enough with CS6. I compressed these puppies multiple times and they still are not small enough.

I only used the last three for my project, but I had them arranged in a different formation and the title is “Waiting to __________.”

Enjoy! And have a great Thanksgiving!

DIY Built in Bookshelves

Hello World,

In a previous post, I blogged about how my parents installed custom cabinets in the dining room and saved themselves $5,000.  My parents also recently installed built-in bookshelves in the living room.

Check out below for pictures (thanks to my mom):

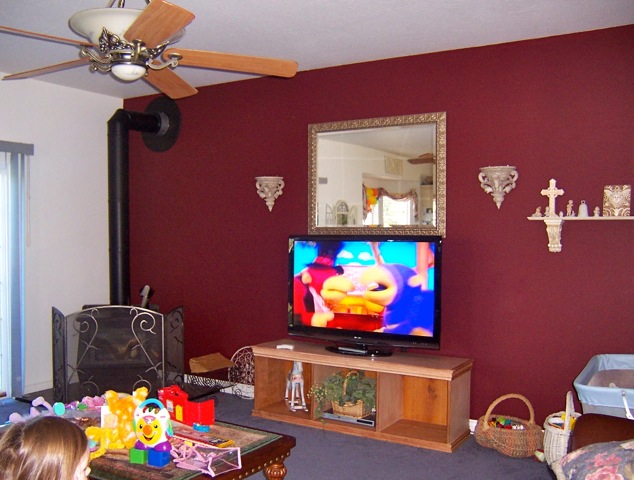
Here is the living room before. My mom thought the TV looked weird with the way the room looked. We also have a stove because we live in Idaho… and the winters can be rough! (The National Guard actually had to shovel snow off of my high school a few years ago because the roof was starting to cave- and the school was only 10 years old.)

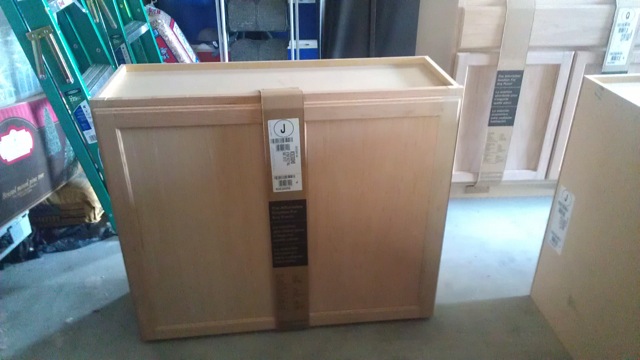
My parents bought unfinished cabinets from Home Depot.  (4 upper kitchen cabinets were bought total)

They bought a discounted fireplace mantel. (Note from my mom: Double check the measurements you need for the fireplace- including cabinet spacing and trim.)

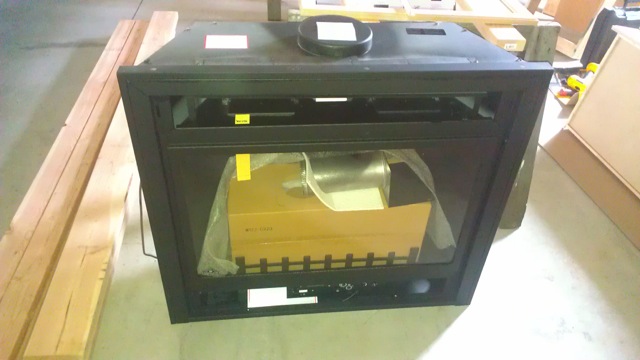
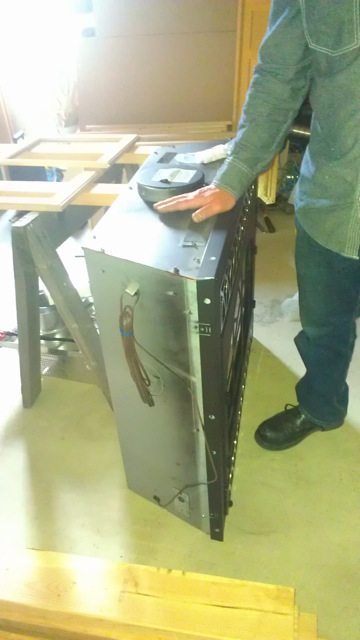
They also bought a discounted gas fireplace insert.

They picked a fireplace that was narrow- so it wouldn’t eat up too much space.

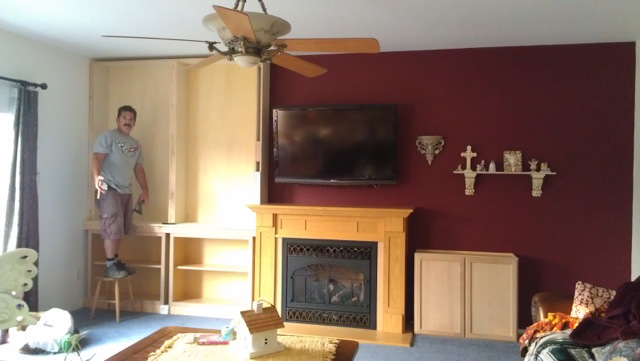
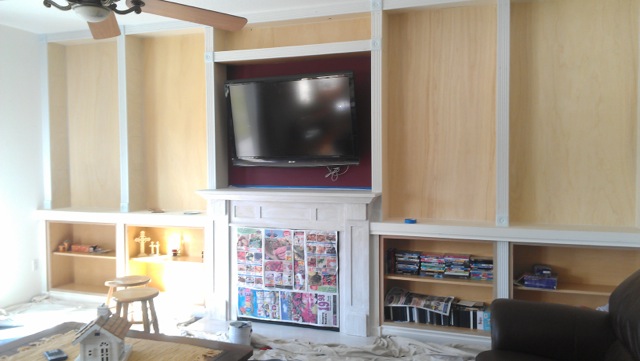
My dad build the top frame out of 2×4’s and plywood.  His piece is sitting on top of the kitchen cabinets. He cut them to size and made the back panels with thin plywood sheets.

He installed the fireplace and added trim to finish the edges.

My mom painted all the trim in our garage on saw horses and over drop cloths.

My mom used one gallon of primer on the build-ins. She also would sand a little between paint coats.

My mom used 1.5 gallons of semi gloss paint- with 2 full coats of cream paint.

My dad also cut oak plywood to size for the shelves.

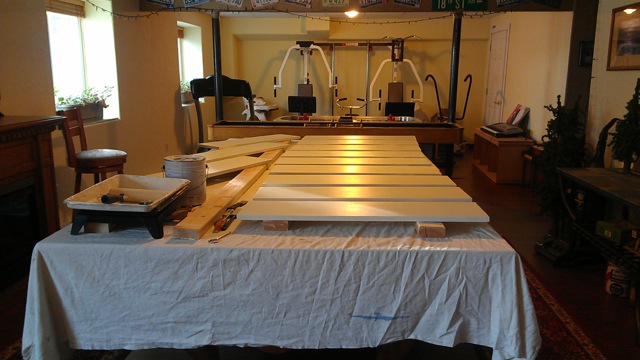
Because it is chilly in Idaho, they primed and painted the shelves inside.  This actually is our basement with drop cloths on our pool table.

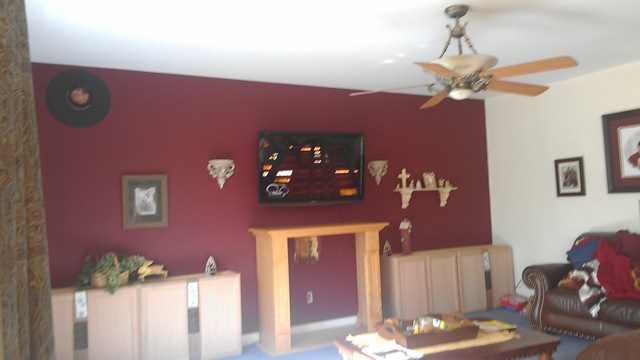
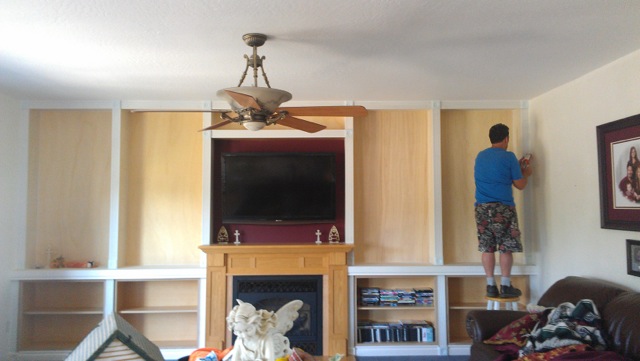
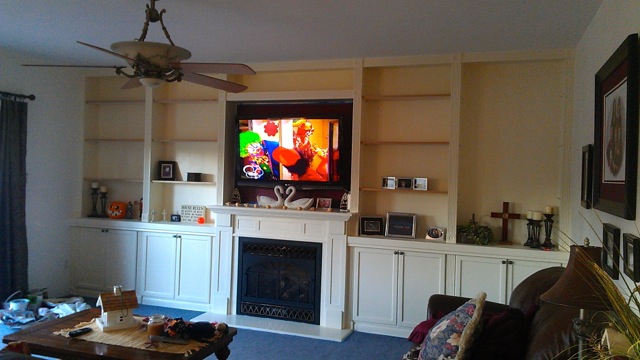
Almost finished- still needs to be staged/put items on the shelves.

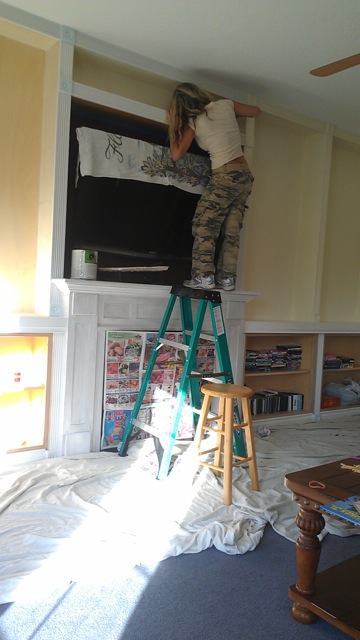
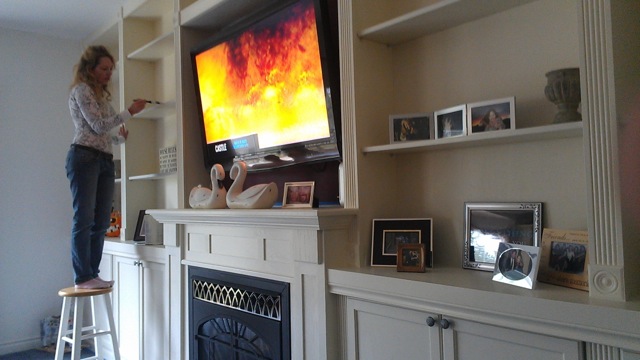
My mom doing final touchups.

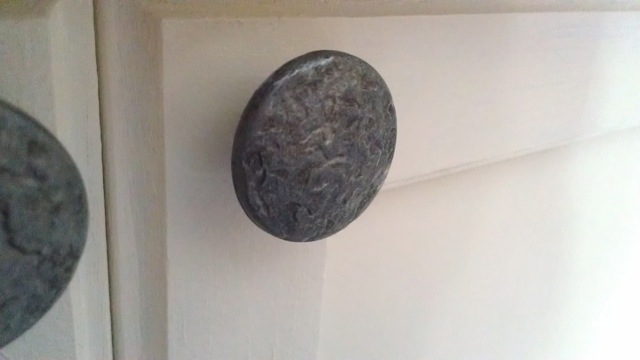
My parents bought these hammered metal knobs at Habitat for Humanity for $0.50 each.

Check out how the living room looks now here: link.