Uncategorized

From the Junk Drawer+100 Followers!

Hello World!  I apologize for not having a new post for almost a month now!  School started up again, and being my final year, there was no easing into the assignments and projects. I also am working two part-time jobs, so I have little-to-no free time.

I am really excited to say that Can Can Dancer now has 100 followers on Blogger!  To the random person who pinned my neon t-shirt reconstruction on June 14th- Thank you!  That was the moment I actually started getting traffic.  I have had this blog since 2009, and up until June 14th, 2012 I only had 10,000ish views. Now I have had over 308,000 views!

Here is are some pieces I recently made. I have broken necklaces, keychains and earrings and I finally gave some of them new life.

Check out below!
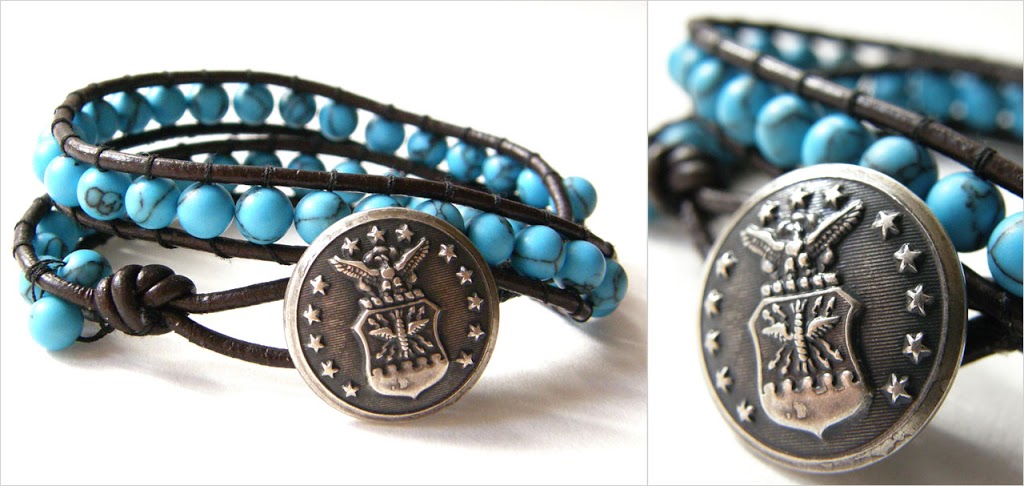
You may have seen this button on one of my zipper flowers.  It seems really high quality, and might even be from an old uniform.  I used it for the closure on this wrap bracelet. I bought leather cording and the turquoise beads at Michael’s.  Making wrap bracelets is really time consuming, so if you try to make one, do it while watching a long movie.
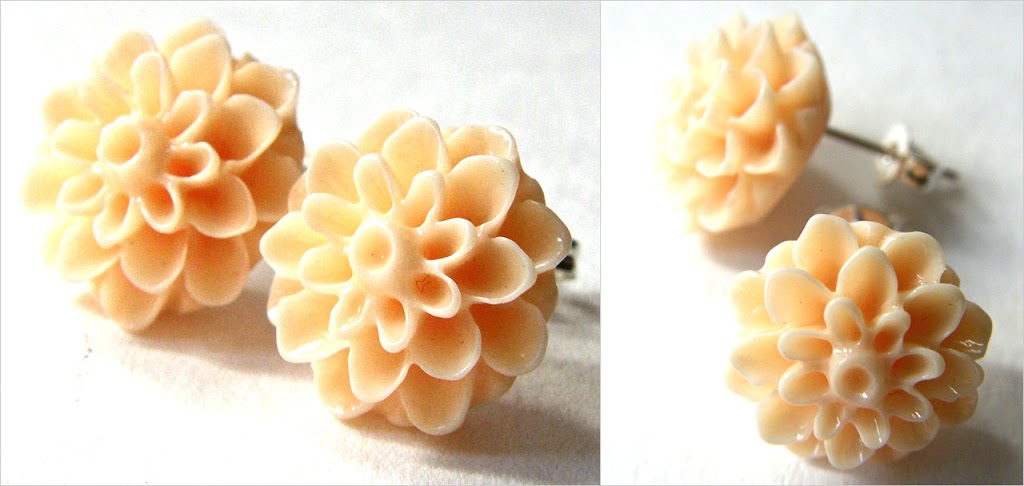
I finally bought some earring posts. I bought a new type of glue, and this is my guinea-pig pair. I have been wearing them everyday (even in my sleep) to see how the glue holds up. If the glue is strong, I wil be making earrings for Etsy soon.
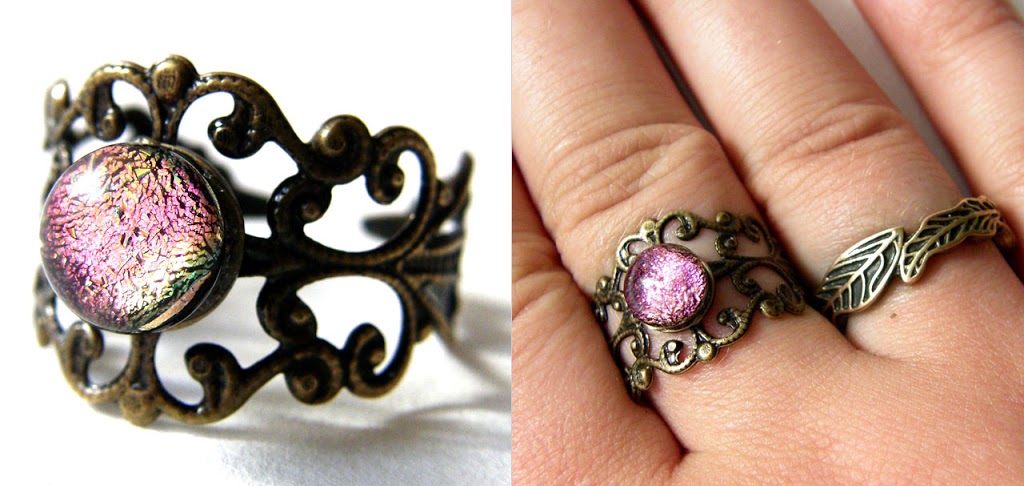
I bought some filigree ring bases, and I am testing them out as well.  Last year I bought a nice pair of fused-glass post earrings, and I lost one while walking to class. I took a shortcut through a grassy lawn that day, and was never able to find the missing earring.  I took pliers, yanked the post off, and then glued it to the ring base.  The ring base has not turned my finger green and is really comfortable (and adjustable).  Once this one makes it past inspection, I’ll start using these bases for Etsy as well.
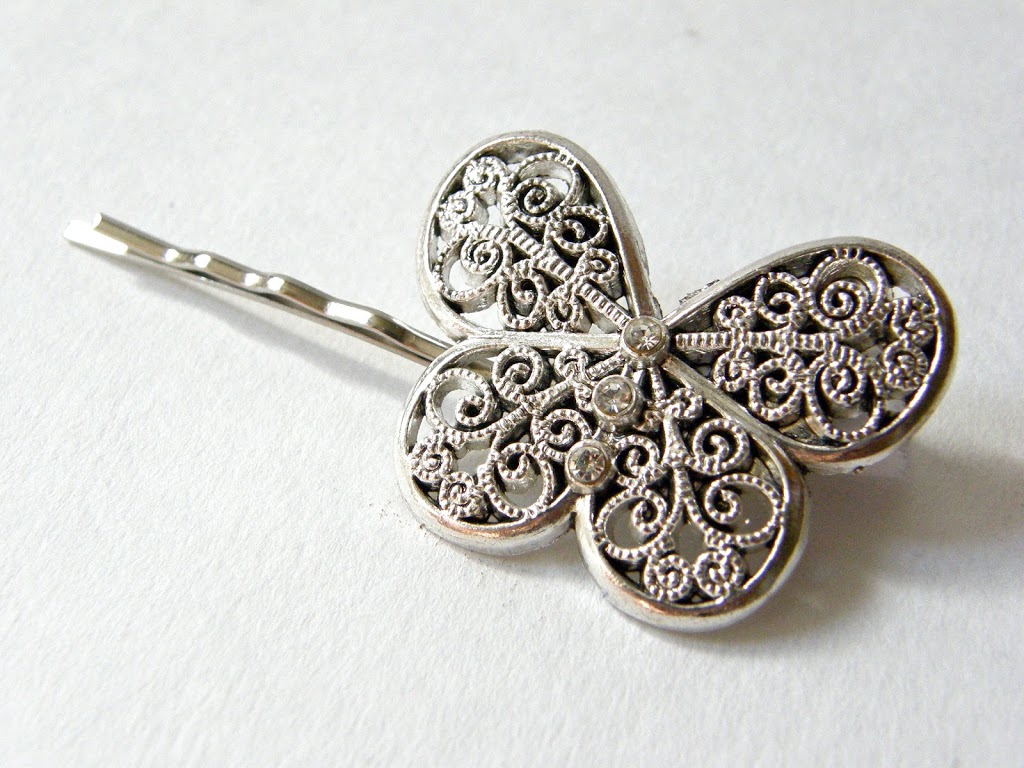
This cute little butterfly is from a broken keychain. (At least I think that is what is was.  My friends like to give me their broken accessories instead of throwing them away…) I bought bobby-pin bases and man they are study. Once I have ore free time I will start making sets and selling them on Etsy as well.
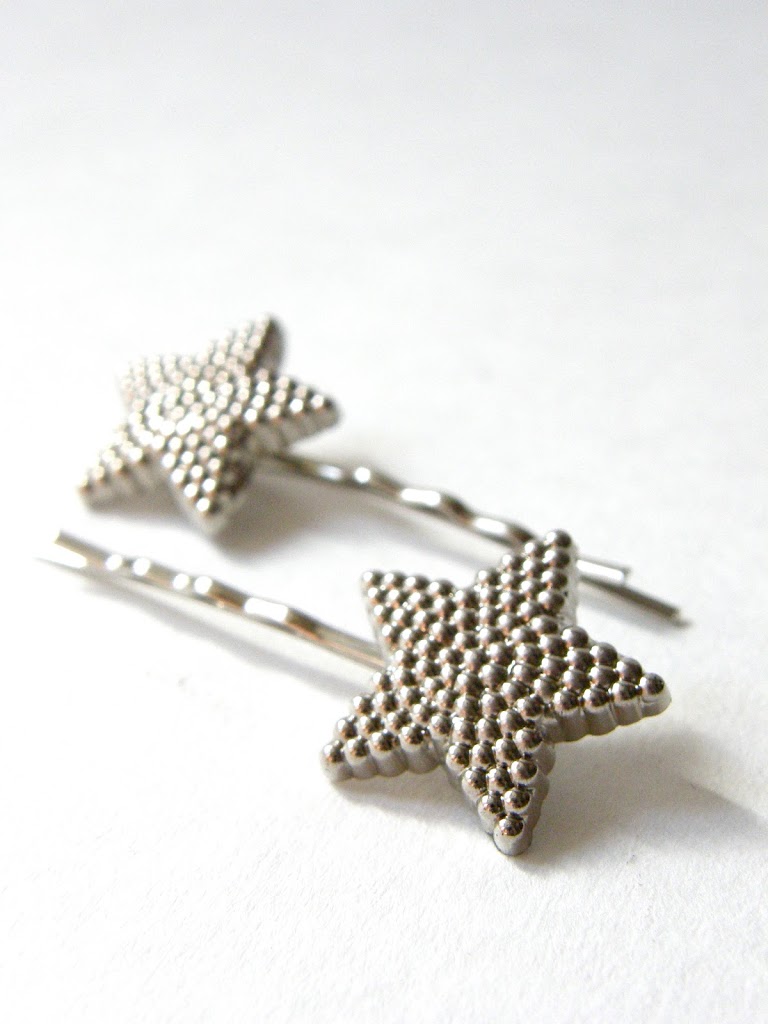
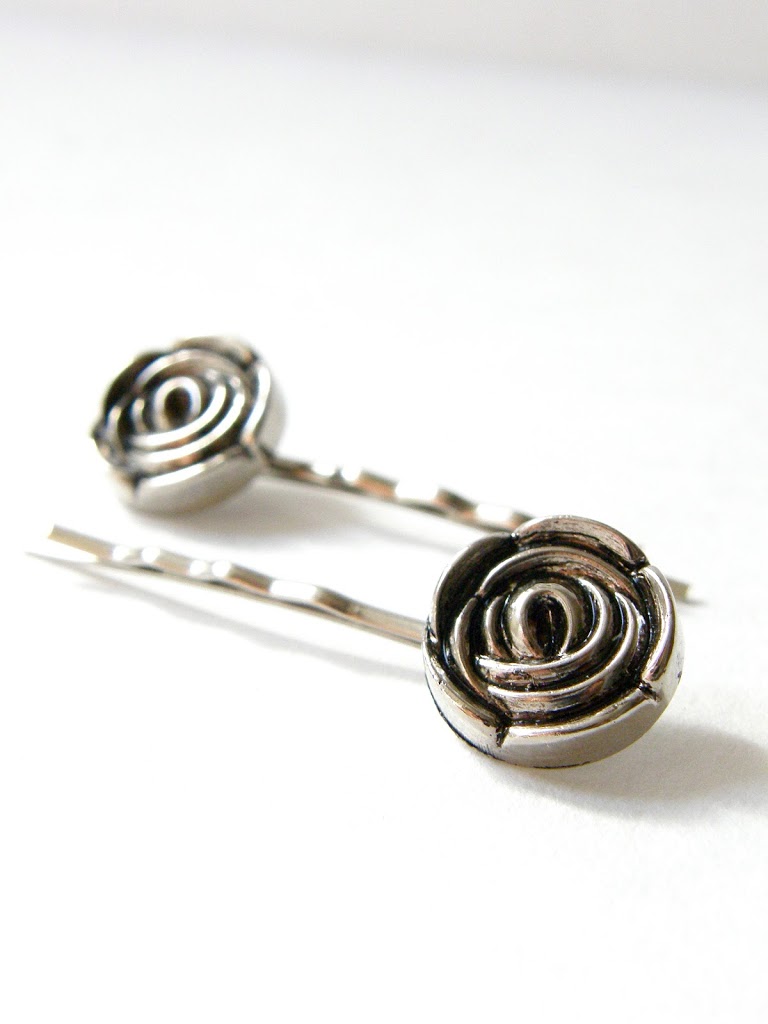
These ones are actually made with old buttons.

These ones are made with vintage buttons as well.

As you can see, I have a large crafting to-do list ahead of me. I have a day or two off next week, so I actually might get to have a crafternoon for once!

Happy Crafting!

DIY Chain Bottle Cover

Hello World,

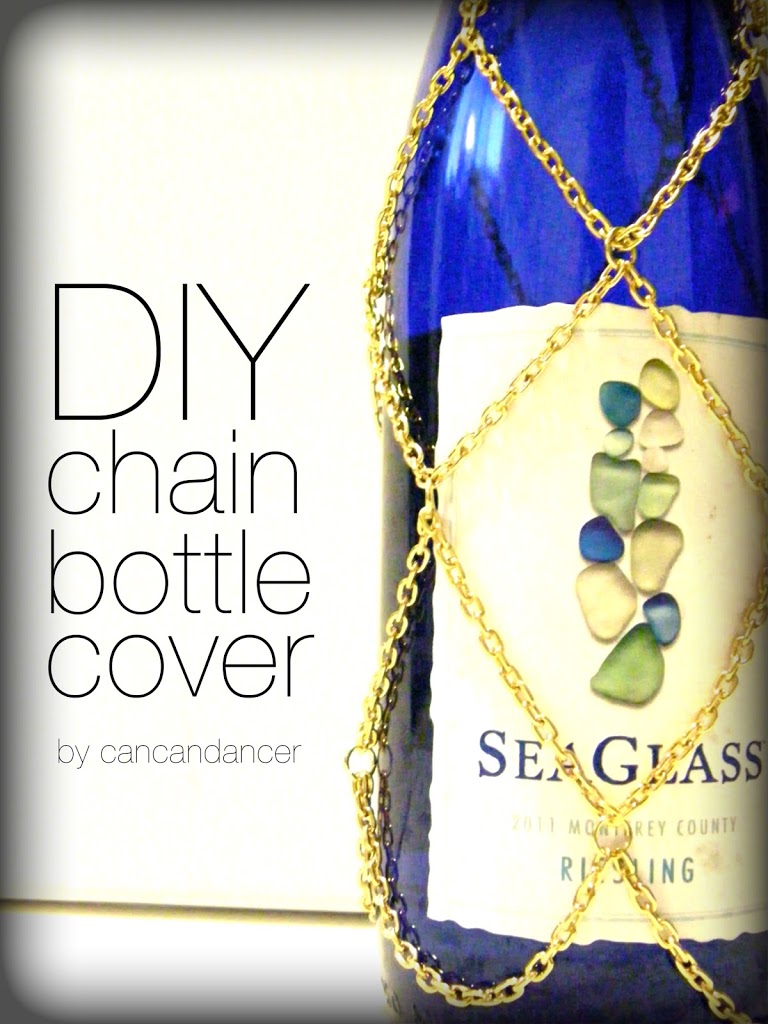
I have been seeing chain bottle covers recently, at places like Pier 1, but even on clearance they are more than $10.  They didn’t look too difficult to make, so I made one myself!  It was super easy to make, and could be a great to give along with a bottle of wine as a present.

Check out below, to see how to make one as well:

15-tutorial

1. Gather your materials: chain, jewelry wire, jump rings, pliers, and a bottle to use as a template.

2.  Use the jewelry wire to measure around the neck of your bottle. The shorter you cut your wire, the higher on the bottle it will sit.

3.  My wire measured about 5 inches, after I bent a hook shape at each end.

4.  By making a hook on each side, you can easily slide the cover on and off in the future.

5.  I used four jump rings, but you could use more if you want your cover to be more dense.

6.  Measure a section of chain.  I used the same length of chain for every layer.  Each of them were 4 inches long.

7.  Lay out your first round of chains, I made 4 loops.

8.  I attached 2 chain ends attached to each jump ring.

9.  Place what you’ve made so far on your tester bottle, to see if you are happy with the chain draping.

10.  Add a jump ring to the middle of each chain section, and drape 2 chain pieces, like the previous layer.

11.  Continue until you reach the bottle of your bottle.  You could add beads, sequins, or charms if you want to spice up your cover even more.

PS. I bought the Sea Glass wine while at the Washington coast, because I thought the bottle was pretty. It tastes okay.  It would be better in sangria than just by itself.

DIY Denim Feather Earrings

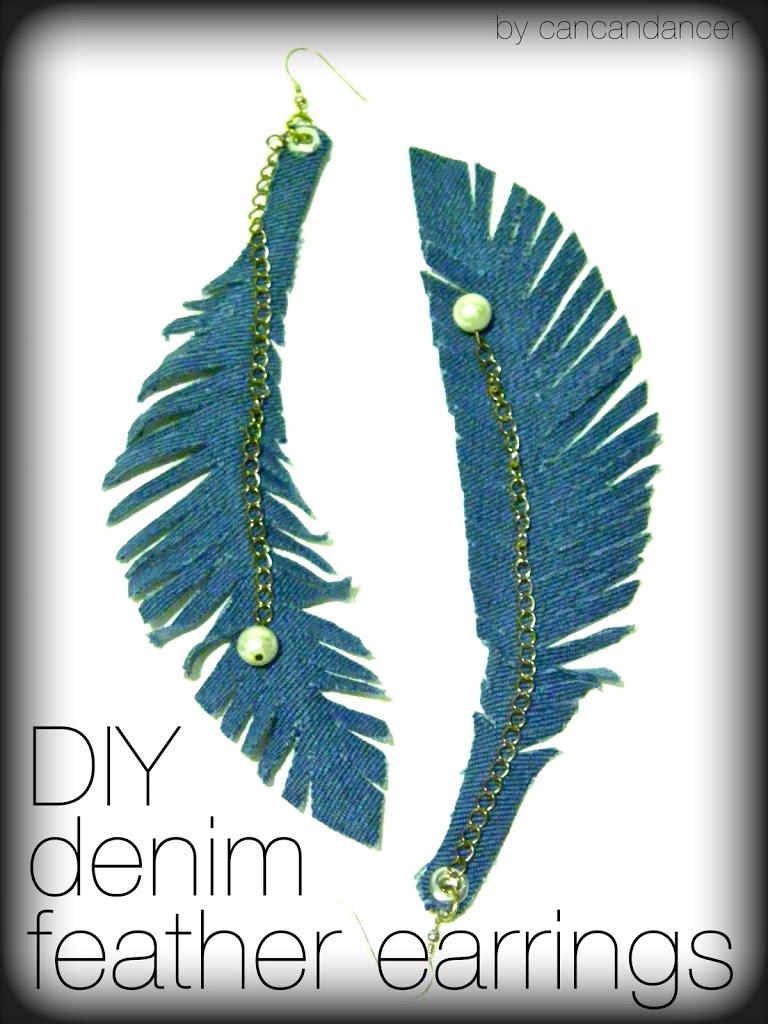
Over the years, I have collected quite a pile of jeans- some were my parents’, my boyfriend’s, and my own.  Denim is such a sturdy and classic fabric.  Here is a tutorial to make earrings with denim. This would be a great project for denim scraps.

Check out below, to make your own pair too. 🙂

14-tutorial1

1.  Gather your materials: denim, scissors, pliers, a grommet kit, hammer, flathead jewelry pins, some beads (I used faux pearls), jump rings with matching chain, and earring hooks.

2.  Cut a piece of denim, large enough to fit both feather pieces you will cut out.

3.  I drew a feather shape with a water-soluble pencil on the backside of the fabric.

4.  Cut out two feather pieces.  If they aren’t exactly identical, it’s not a big deal because you will be fringing them later.

5.  I looked at a seagull feather, and noticed that feather barbs are angled down towards the center.  Make small cuts down each side, making sure to not touch the spine line you drew.

6.  After you have fringed your denim, stretch it length-wise to slightly curl the feather.

7.  Make a small hole in the end of the feather, and place a grommet in the hole.  (This way your earring won’t tear apart.

8.  Use a grommet kit (usually comes with the grommets at Michael’s) to secure the grommet.

9.  Place your anvil on a counter or table, then the denim feather right side up, and the grommet in the hole with the sharp-side down. Hammer the setting tool on top of this setup. (This will curl all the sharp edges down on the grommet.)

10.  Attach a jump ring through your grommet, along with some chain and your earring hook.

11.  At the end of the chain, I attached a pearl bead on a flathead jewelry pin.

Imagine what else you could make with denim! Happy Crafting!