decor

Thrifted Dresser Facelift

Hello World,

I bought this dresser two years ago for $25 at a thrift store. I liked that it was made of real wood and with some TLC it would be like new again. I even has ‘Massachusetts’ stamped on the back, so I’m guessing that is where it was made. Well, two years passed and I didn’t do anything to it except line the drawers with pretty contact paper.

Fast forward to last week, and I finally decided to give my dresser a well-needed makeover. I have started replacing or updating my mismatch broke-college-student furniture, and am aiming to decorate my room in neutrals with pops of metallic.

dresser2

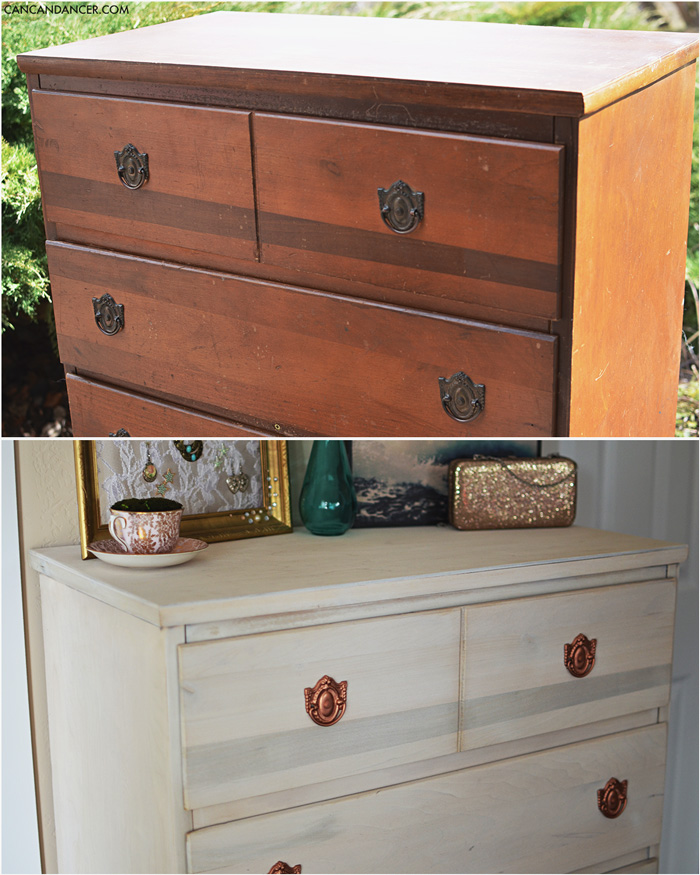
This dresser needed some love. It had a crooked drawer, and dings and dents like nobody’s business.  I started by removing all the hardware. These drawer pulls in particular left dents in the drawer faces, so using a different set of knobs would mean intense sanding.

dresser

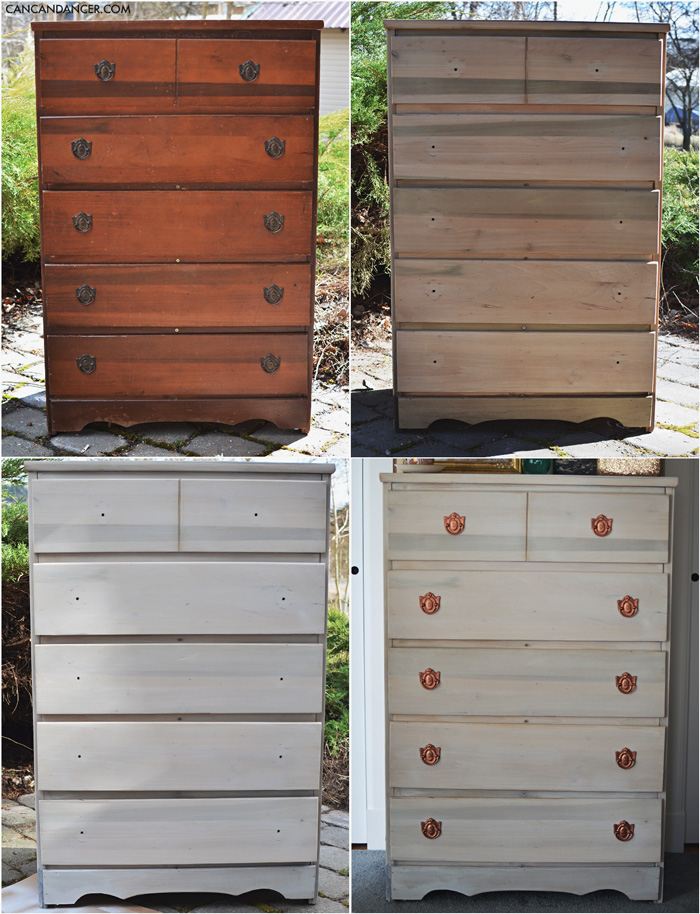
At first, I hand-sanded the drawers, but that was going to take hours, so I borrowed my dad’s electric sander. I used a rough grid sandpaper first to remove the stain and most of the dents. Some of the edges were hard to get with the electric sander, so I folded sandpaper and sanded those areas by hand.

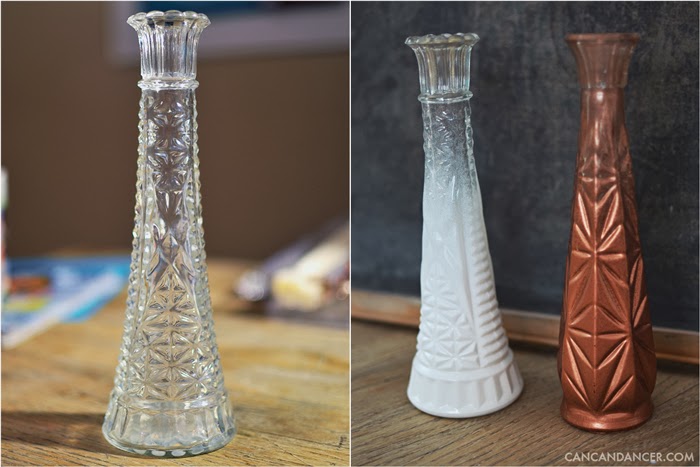
Next, I sanded the entire dresser with a finer grit sandpaper to smooth it out. After sanding, I wiped the dresser down with a damp rag and let it dry. To paint my dresser, I whitewashed it by watering down interior satin-finish paint. (Roughly 1/4 paint 3/4 water in a small bucket.) I did two coats of the whitewashed paint, and spray painted my knobs.

I actually wish I had left the knobs in their original color, but for now I am just letting them be. My dresser matches my room so much better now, and I might go in and sponge darker paint on some of the edges, for a more distressed look.

Happy Crafting!

DIY Gold & Lace Flower Pots

Hello World,

Spring is right around the corner, and I am so ready for it. Even though this winter wasn’t very harsh, I have always been a warmer weather girl. Today’s project is perfect if you want to bring some spring inside your home. Check out the tutorial below to make your own gold and lace flower pots:

1. Gather your supplies: flower pots (I bought a 3-pack at Dollar Tree), spray paint, lace trim, Mod Podge, a brush, clear gloss spray paint (not pictured), and scissors (not pictured).

2. At first, I just spray painted my flower pots gold. Well, the paint didn’t stick and dusted off when I touched them. I then sprayed them with clear spray paint and allowed that to dry.

3. I then spray painted them gold, and the paint did stick. Allow colored paint to dry.

4. Apply Mod Podge to your flower pot lip.

5. Place your lace trim where you applied the Mod Podge. Trim lace so it barely overlaps.

6. Apply Mod Podge on top of the lace. Allow to dry.

7. Fill with soil and add some happy little plants.

Happy Crafting!

Spray paint all the things!

Hello World,

Spray paint can work wonders. In just a few minutes, you can transform a thrifted item into a chic piece of home decor. I also recently bought my first can of chalkboard paint, and am now obsessed. I keep finding more and more items to make into chalkboards.

I bought the plaque above at a thrift store, spray painted it with a glossy white paint, and then added two layers of chalkboard paint to the center. It also has a hanging mechanism on the back, so now I just need to decide what room to hang it in.

In my spray painting frenzy, I randomly grabbed a starfish off my bookshelf and painted it gold. Next thing you know, I’m grabbing the rest of them and painting them each a different metallic color. I love how metallic spray paint makes items look more expensive.

I previously did posted tutorial for creating ombre/gradient vases. I used the same technique on these $0.25 vases I bought at a thrift store. Now I am just waiting for spring so I can pop some fresh flowers from my yard in them.

Happy Crafting!