Month: November 2012

New Display for Zipper Hair Pieces

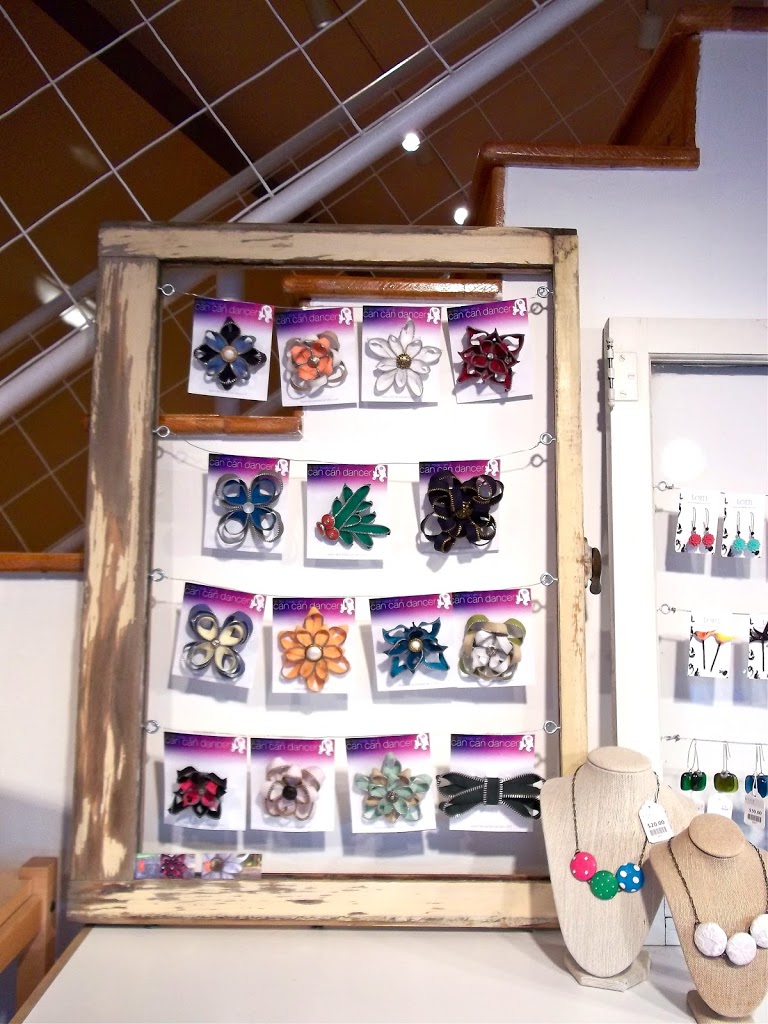
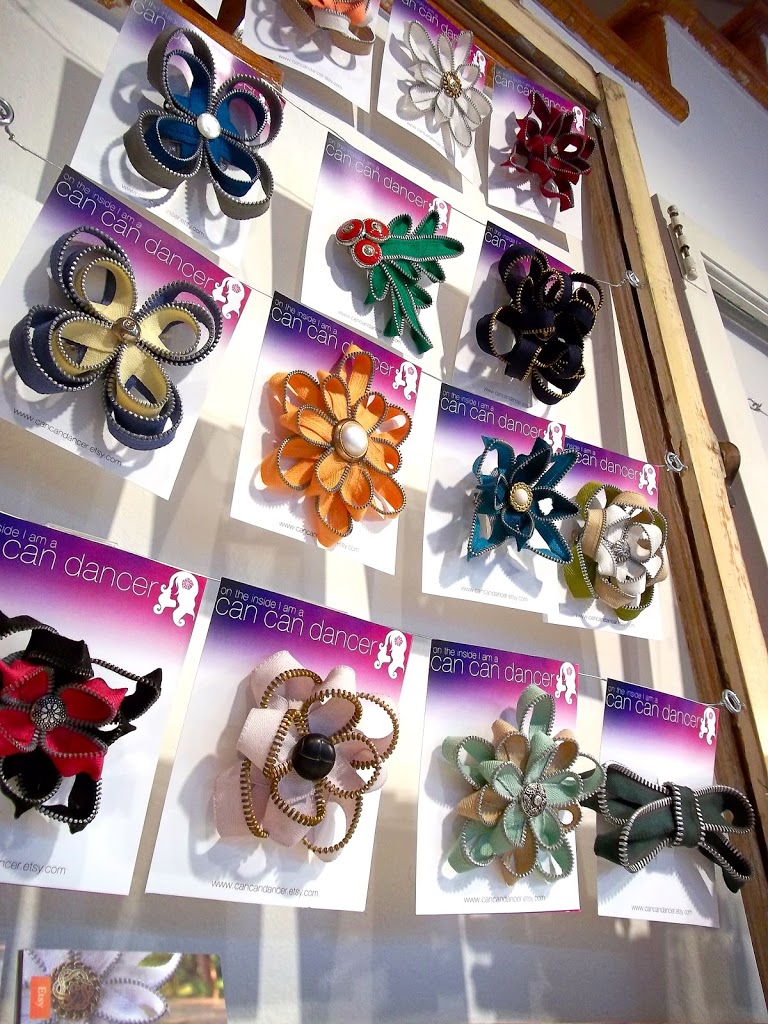
I not only sell my zipper flowers online at Etsy, I also sell them at the Prichard Art Gallery here in my college town. Previously, they were displayed in a wooden jewelry box, but I think this new display will encourage more sales since they are all visible instead of flipping through them like a book.

I took an old window, broke the glass out, and then used a putty knife to remove the cracked/leftover glass and sealant.  I then scrubbed the chipped paint off where-ever it was loose (so it didn’t shed all over the shelf).  I put 8 hooks in the window frame and strung wire between each set to hang my items on.

100_3788 100_3786 100_3783

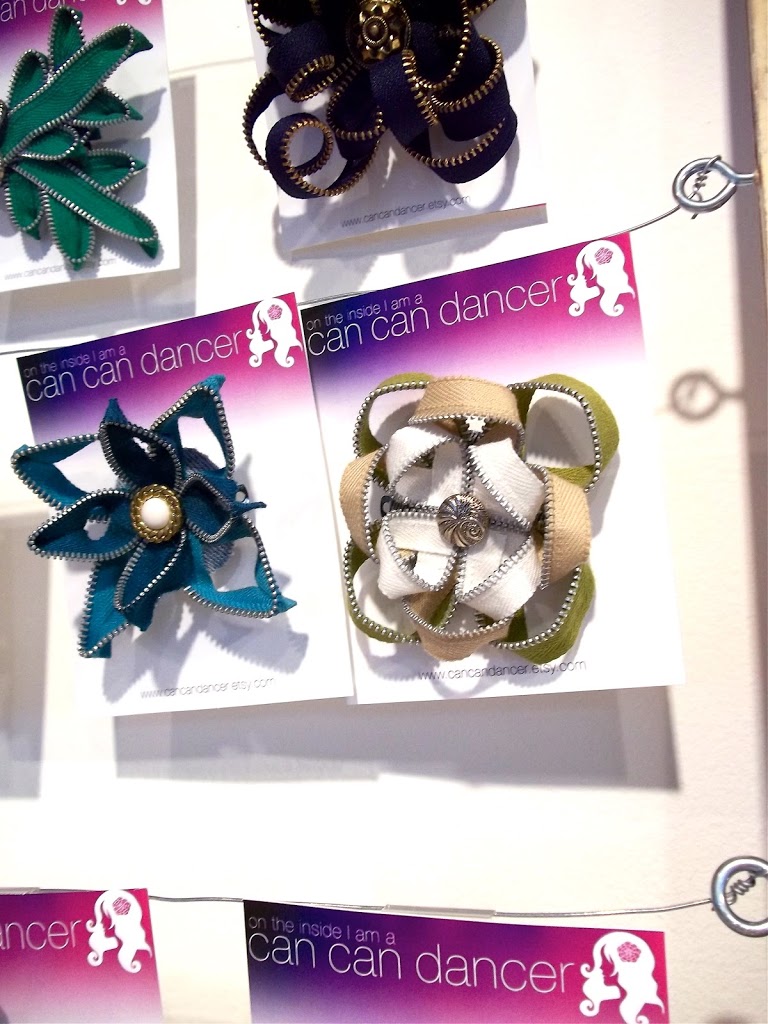
Look at my new professional tags! Fancy!

100_3785

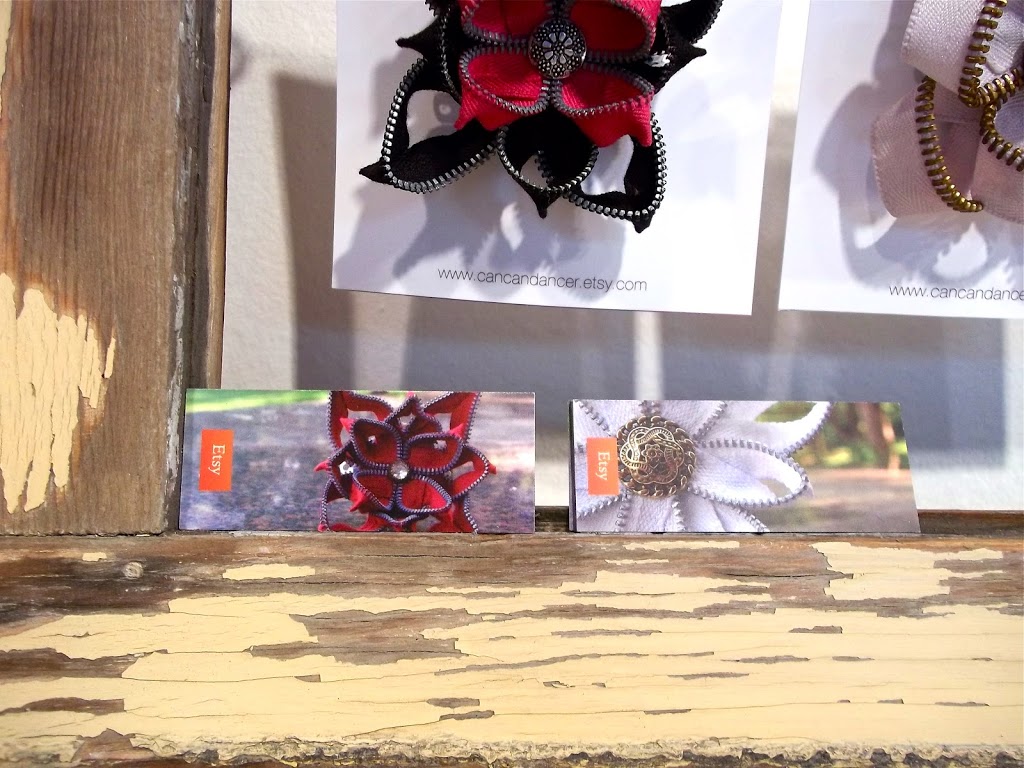
And of course I had to include some of my Moo Minicards. I actually have to bring some more to the Prichard, my business cards are almost all gone!

DIY Custom Cabinets (saved $5000!)

Hello World,

My parents recently installed custom cabinets in our dining room.  The original estimate from Home Depot for the cabinets and trim was around $7,000 (not including the countertop and hardware).

They wanted the cabinets in the dining room to match the kitchen, but our kitchen Thomasville cabinets were discontinued. So, my parents DIY-ed and made their own cabinets/counter for $2,000, saving themselves $5,000!

Check out below for pictures (thanks to my Mom):
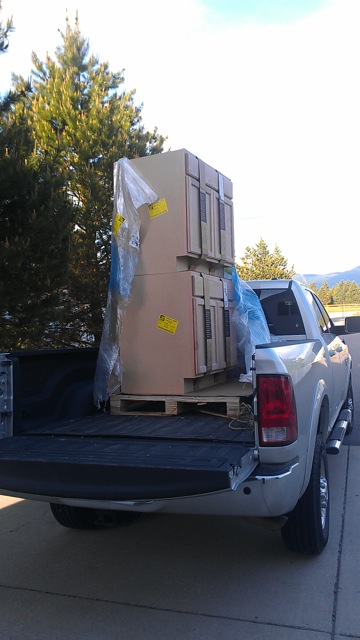
My parents ordered and picked up standard, unfinished, oak cabinets from Home Depot.
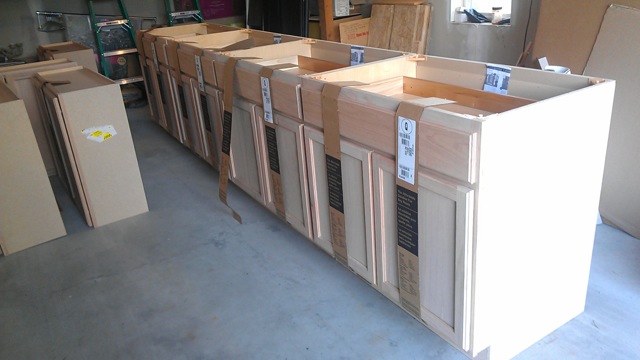
Here is a closer look at the plain cabinets.
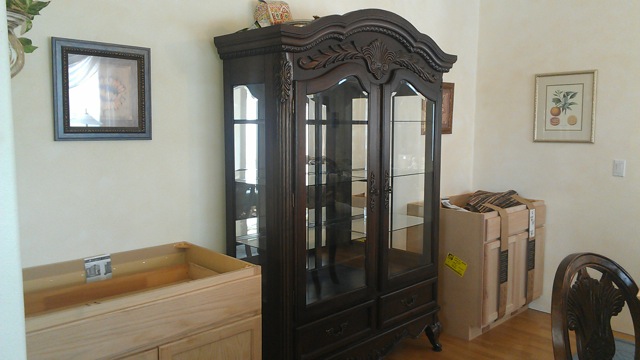
Previously, there was a china cabinet in the dining room. (But they needed more storage- that thing was packed previous to this picture.)
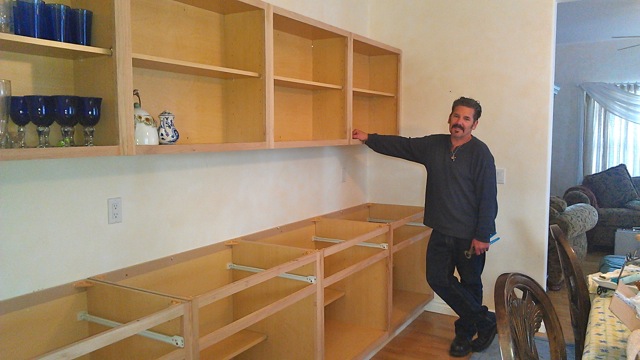
Here are the plain cabinets installed thanks to my Italian father.
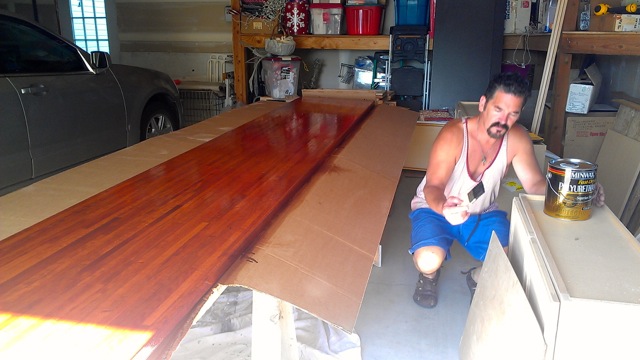
My dad bought a long butcher-block countertop, which he sanded and stained. (My dad mixed black acrylic paint and stain together to get this color because the stain alone wan’t dark enough.)
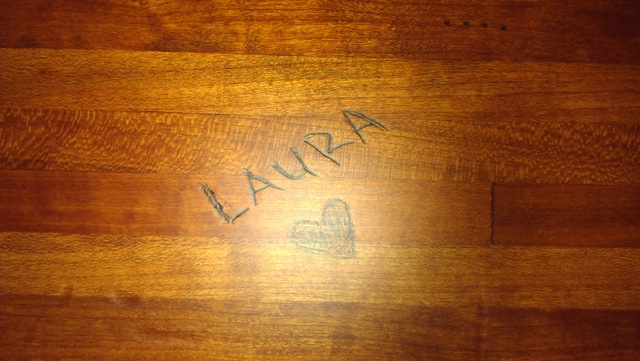
My mom carved everyone’s names in the countertop.
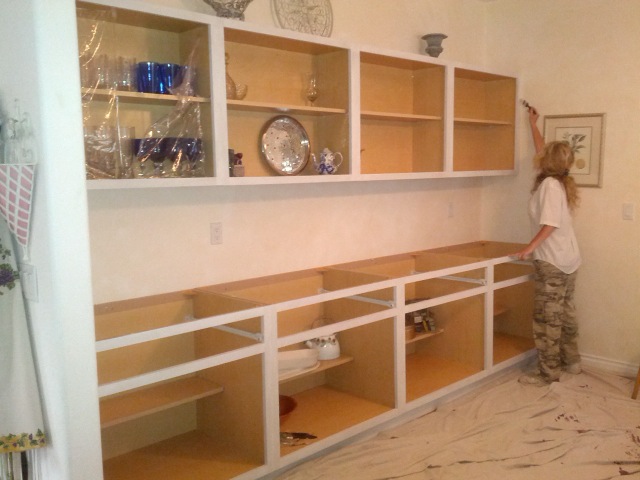
My mom used a primer on the outside surfaces of all the cabinets.
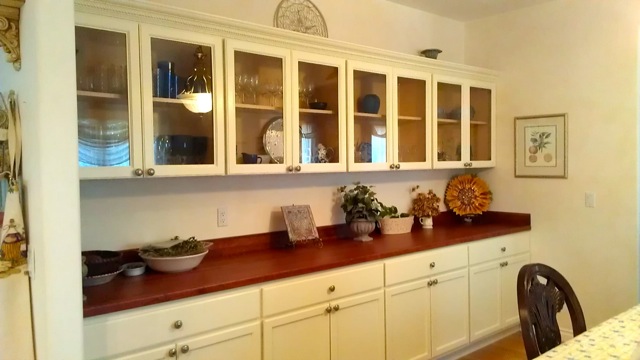
My mom sanded, primed, and painted all the doors of the cabinets.  She painted the doors and trim a light cream color to match our current kitchen cabinets.

Then my dad installed the finished countertop. My dad also installed the glass panels.  He bought glass for $8 a door (compared to $120 per cabinet door through Home Depot), cut out the wooden faces of the doors with a router saw and popped the glass in place.
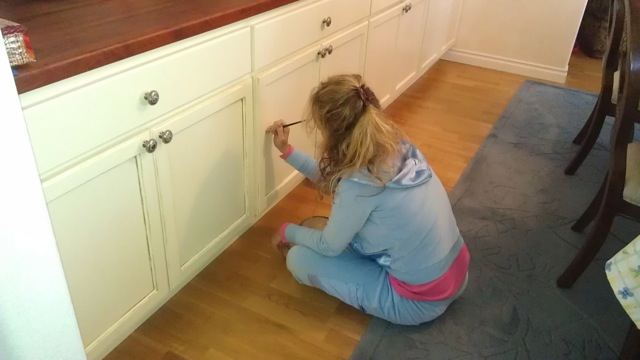
My mom then painted all the edges of the cabinets with a mushroom brown paint. She rubbed the paint in random areas with a sponge to make them look more vintage.
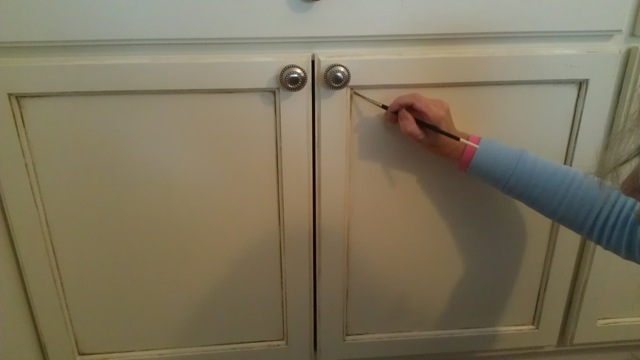
She painted in all the crevices with a tiny paint brush.
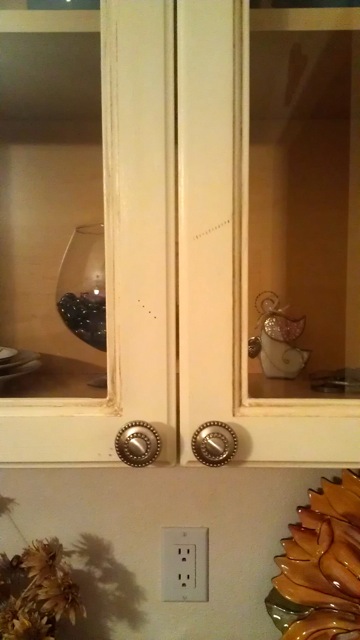
My mom also aged the cabinets to make them match the kitchen. She used forks and screws, and lightly hammered them into the wood surface.  Next, she rubbed brown paint into the dents and wiped off the excess with a damp cloth.

She also found the knobs at Lowe’s for $3.00 each.
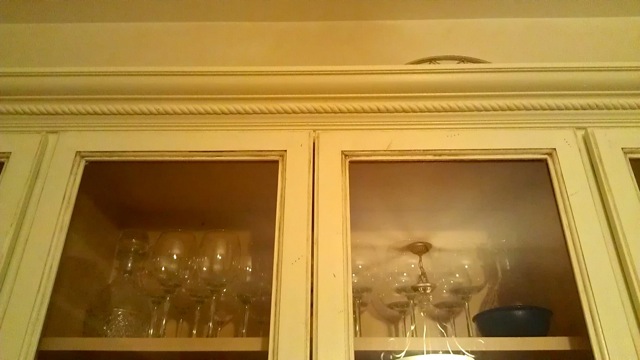
They added braided trim and crown molding to the top of the cabinets to match the kitchen,
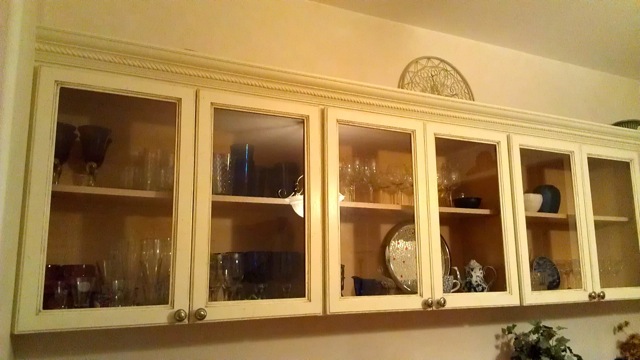
Plenty of visible storage!
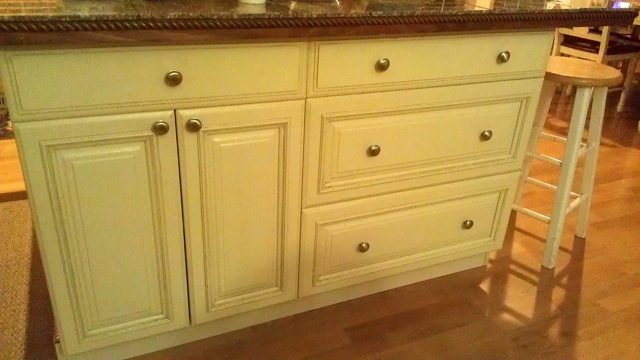
And here is a picture of or kitchen island with the old cabinets.  Pretty decent match huh?

JoAnn’s Remnant Bin Fabric to Pillows!

Hello World,

I recently went to JoAnn’s and actually found great fabric in their remnant bin. For those of you that aren’t familiar, on the ends of each quilting fabric aisle, or hiding in the back of the store, there usually is a four/five level bin, full of leftover fabric.  When someone buys fabric off of a bolt, there sometimes is leftover fabric that isn’t enough to make a full outfit/blanket/ect.  The fabric is then rolled up, taped into a roll shape and marked as 50% off. Usually there is plain cotton or reject fabrics in the bin at my local JoAnn’s, but this last time I found some gems.

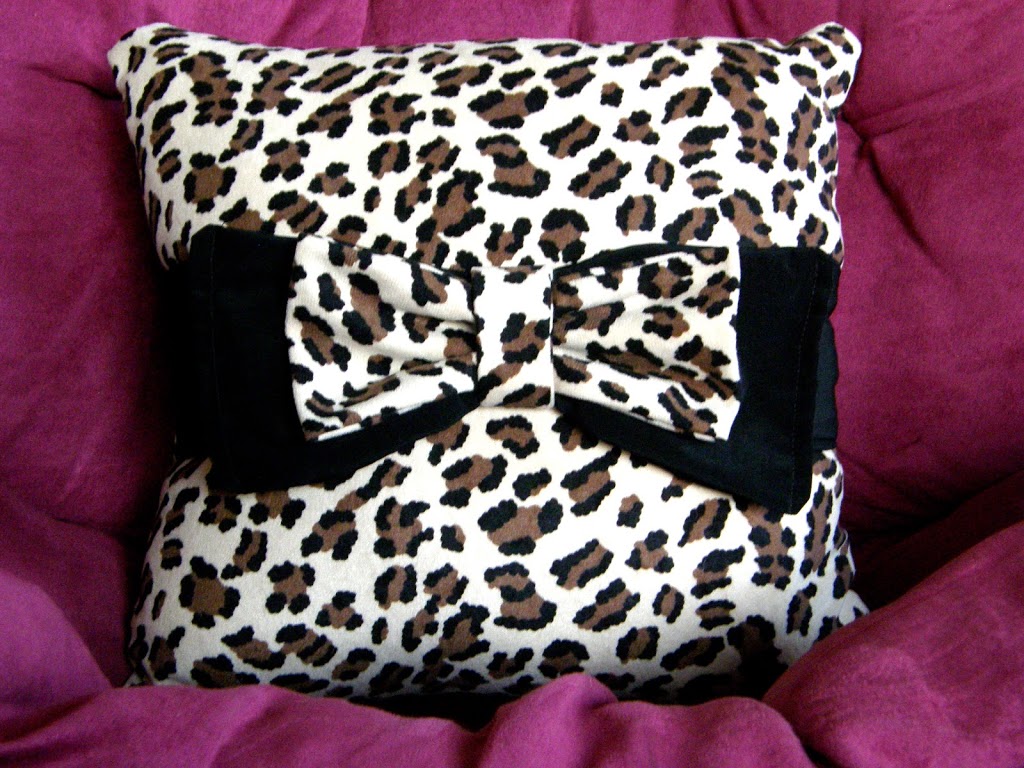
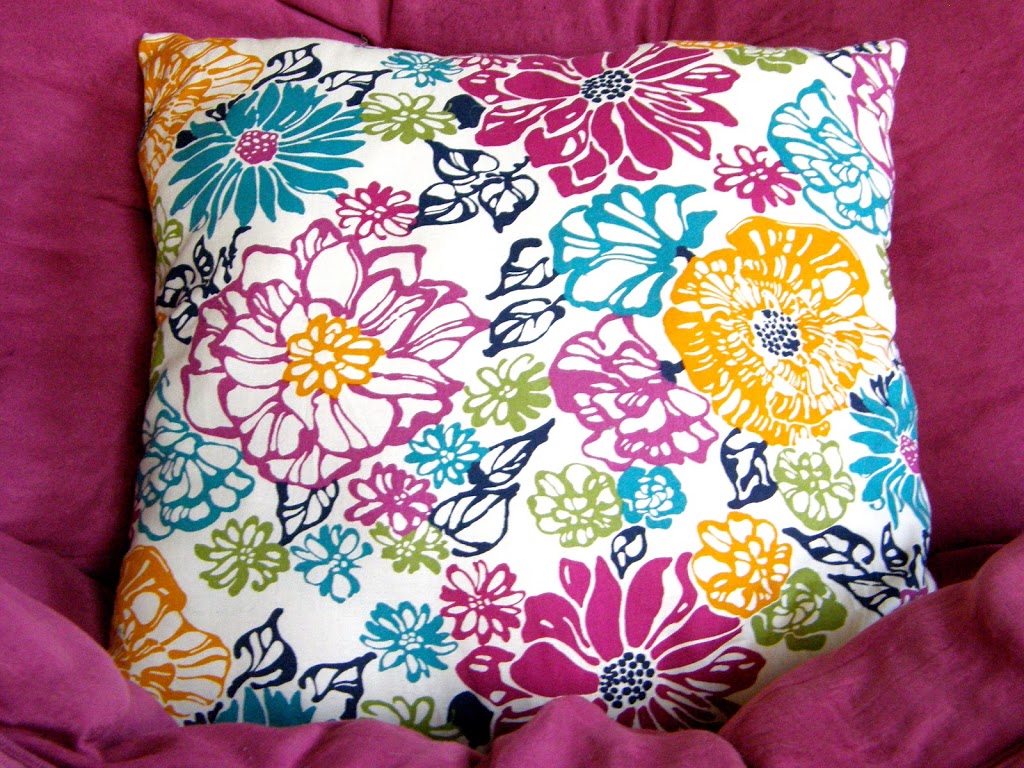
I found some super soft leopard fabric, the pretty floral print below as well, along with tie-dye, damask print and some jersey.

I decided to make some pillows with some remnant fabric. The pillows on my couch needed a makeover. They were stained, lumpy and flat from being laid on so many times.

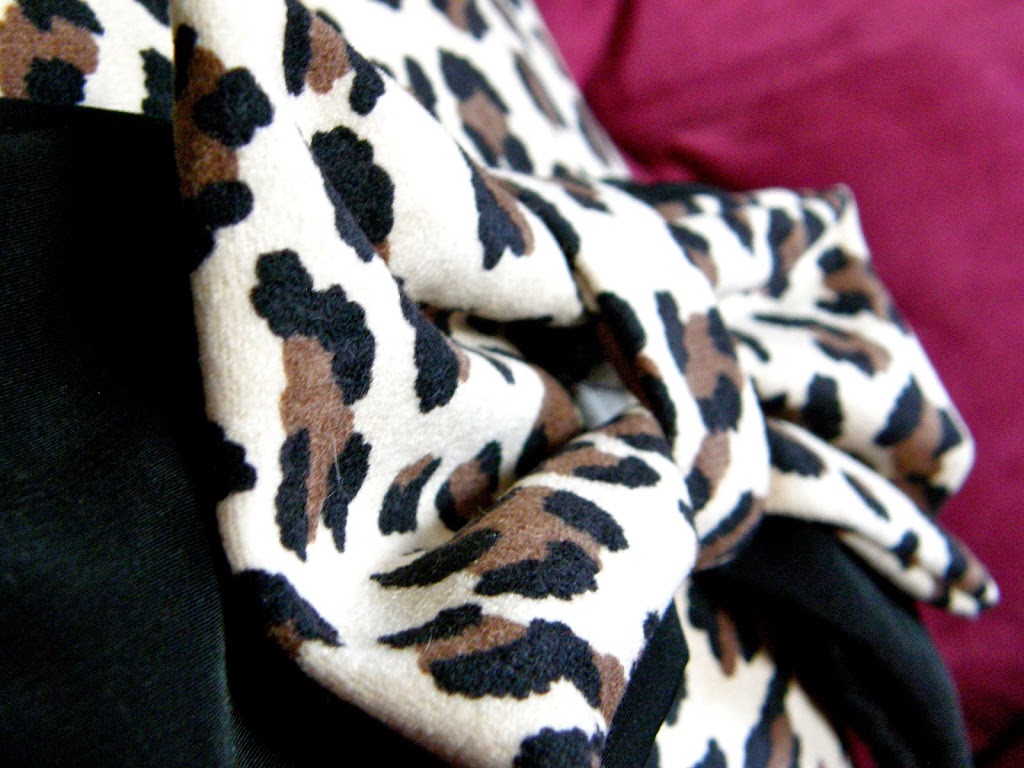
I partially followed this tutorial: Link, to make my pillow. I made my pillow smaller due to the fabric I had, and I did a double bow on the front. I now wish I had made a triple bow for more volume and to make the black bow more visible.

I used some of the filling from my old pillows, and also bough new filling with a 50% off coupon. (I usually find my coupons here: Link.)

PB020022 PB020016

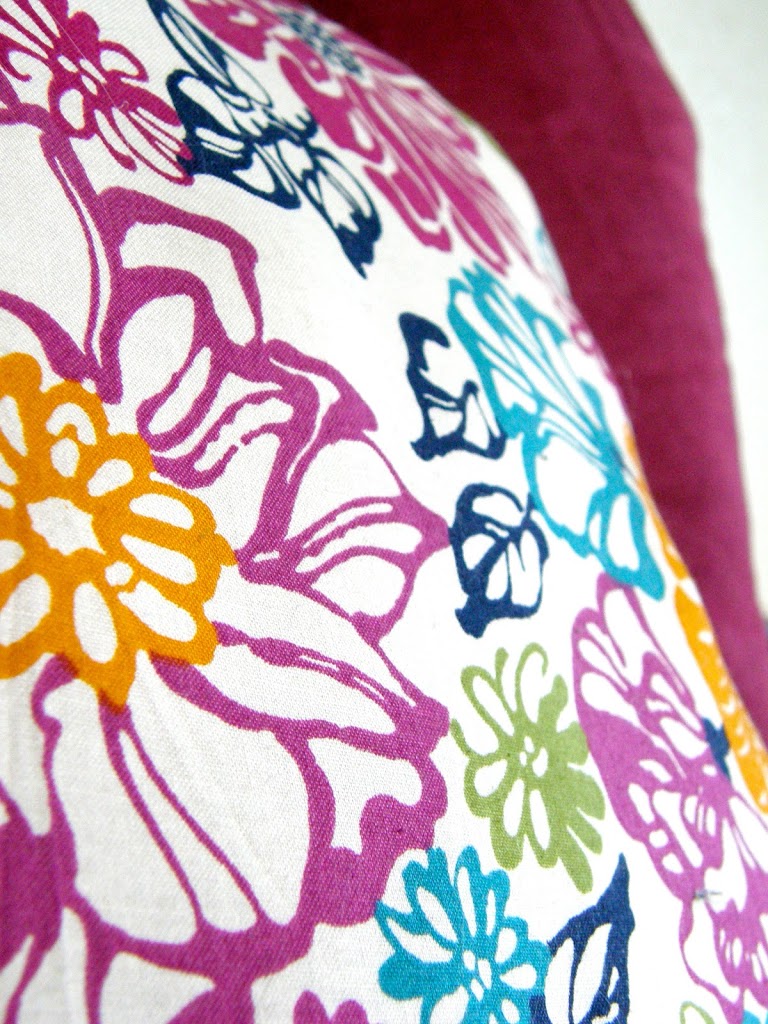
I also made a plain pillow with two squares of fabric. I really loved the pattern and wanted a pillow I actually cold rest my head on. It is a little lumpy in this picture because I didn’t let it flatten out properly by using it.

PB020024 PB020027

What have you made with remnant fabric or fabric scraps?

Happy Crafting!