Hello World!
Boy, am I excited to share today’s DIY project with you! Back when I was 16, my family built our own in-ground pool, and my mom documented the entire process. (You could say I come from a DIY type of family.)
My parents bought a premium in-ground pool kit for $7,309 in 2006, and the website they bought it from still has similar prices in 2014. The total project came to $13,929 for the kit, installation, the patio, and the fence. Making this DIY $16,000 cheaper than having someone else do it for us for $30,000. (Final price breakdown at the end of this post.)
The pool kit arrived in a huge box so big, I could stand up in it. It was a fort as is. Sadly, my mom didn’t get a picture of this magnificent box. She did get photos of almost everything else though, so check out the process below:
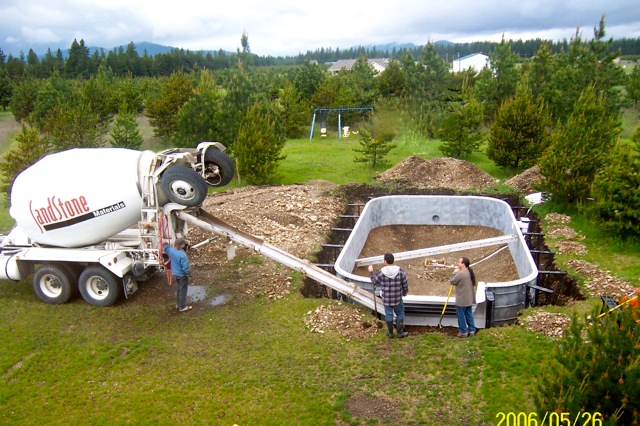
We had a family friend dig the hole for the pool $200. My dad followed the instructions that came with the pool and assembled part of it in the ground. Next, $400 worth of cement was delivered and poured around the pool footings and walls. One of my dad’s friends helped him that day to level out the poured cement.
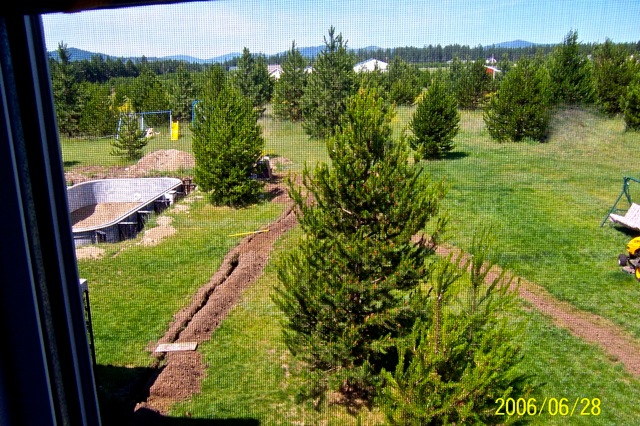
My dad rented a ditch digger ($70) to put in the natural gas and electric power lines. These lines were used to heat the pool, power the filters, and the lighters. Always call your local utility company before you dig. My parents paid about $400 for: the electric wire, ground grid, and feed wires.
Next, all the sand arrived for the bottom of the pool. #Throwback to my natural brunette, 16 year old self.
For the bottom of the pool, we borrowed a cement mixer from a friend and created a cement-sand mixture and spread it evenly on the floor of the pool.
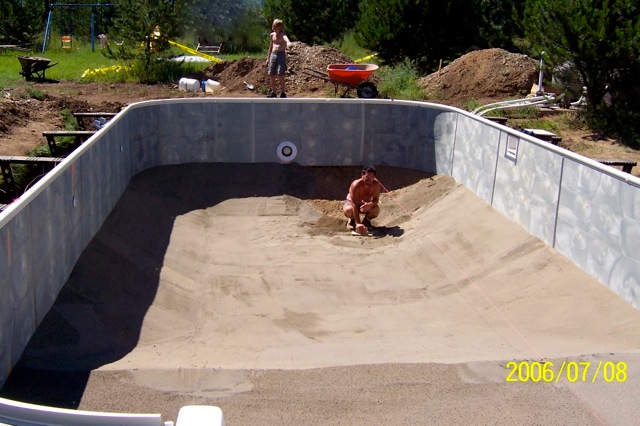
My brother and I took turns mixing the sand/cement, and shoveling it into the pool.
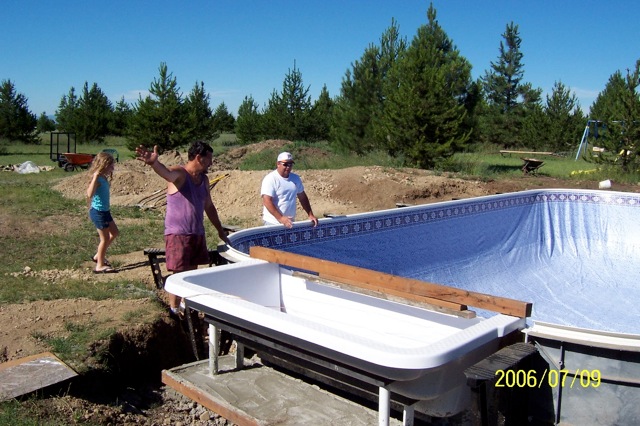
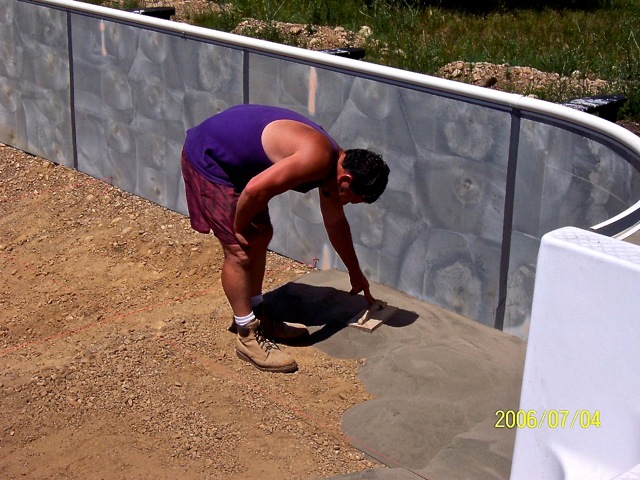
Next, we installed the pool liner and the stairs. We also poured level cement to hold the stairs in place.
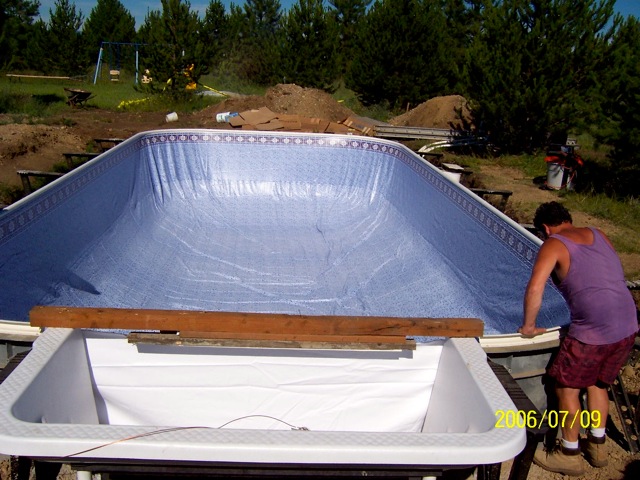
We suctioned the pool liner to the pool, but it still had wrinkles in it.
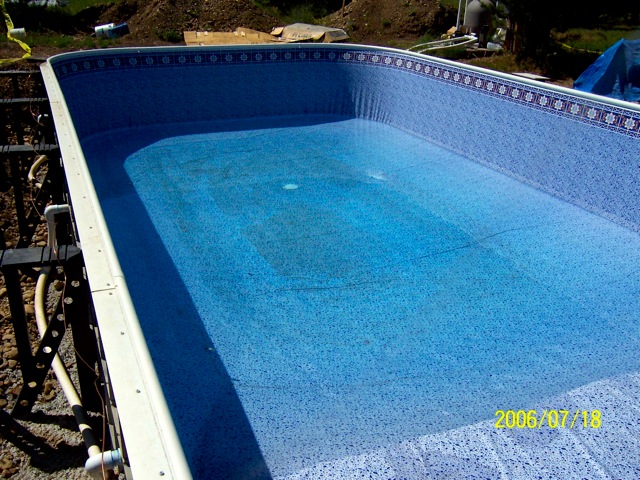
We filled the pool with water and checked for leaks.
My mom removed the leftover wrinkles with a plunger. She did this gently to the pool liner, as otherwise she could have caused uneven bumps in the sand under the liner.
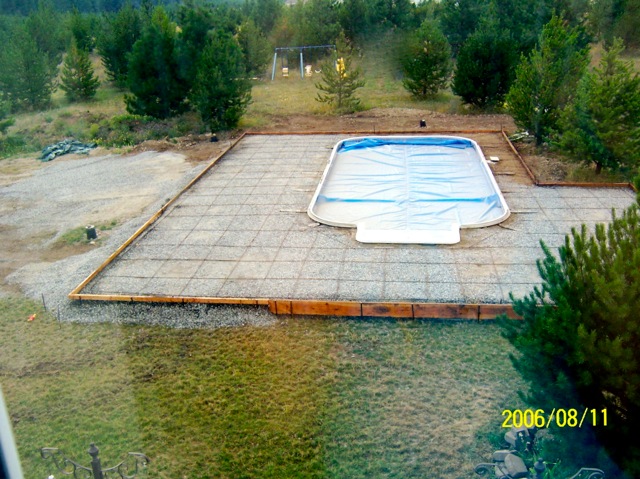
The trench around the pool was then back filled, and leveled. My parents paid a local company $2,200 to build the patio frame, add the rebar grid, and pour aggregate cement around the pool yard.
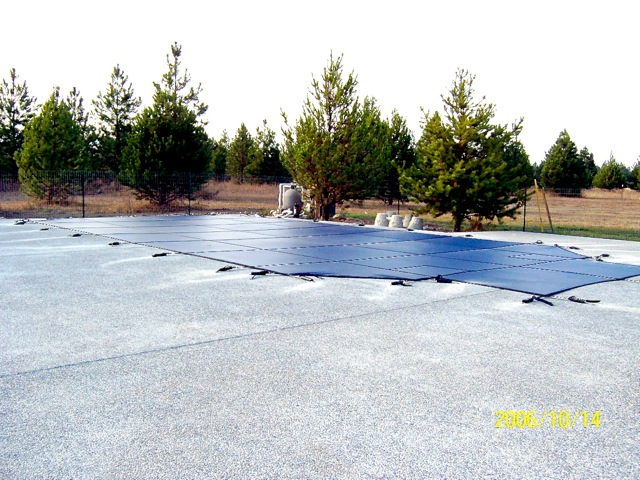
My parents added a temporary safety fence around the pool, and bought a safety cover.
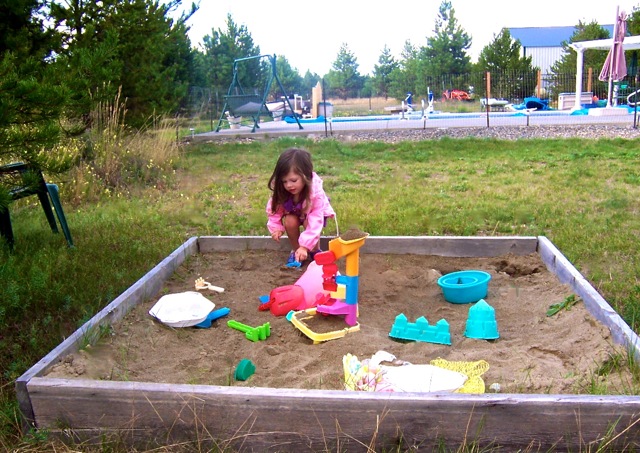
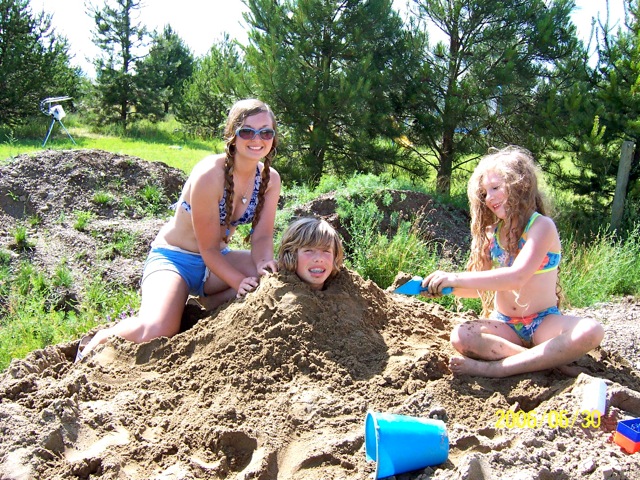
Some of the leftover pool sand was used to make a sandbox for my little sister.
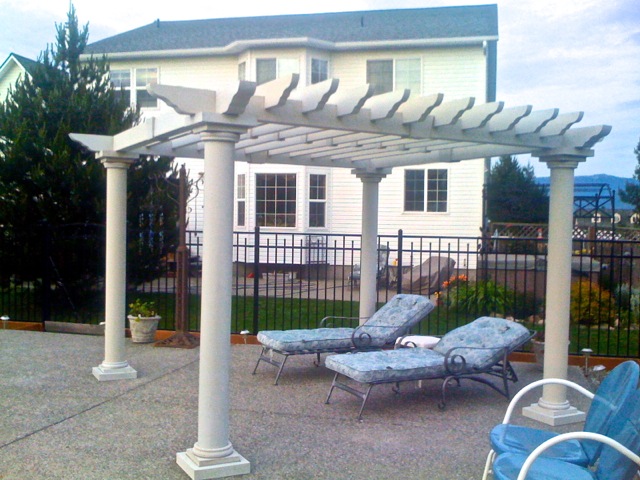
My mom bought two aluminum pergolas at Costco for $699 each for the pool area. My dad installed the black aluminum fence above himself, and paid $2400 for the materials.
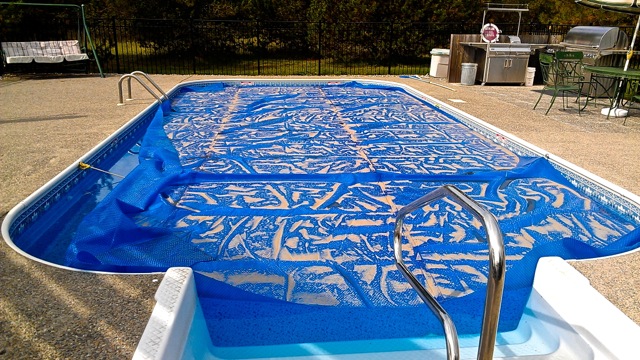
The pool kit we ordered included a solar heating cover, so we can reduce our natural gas costs for the warmer months in Idaho.
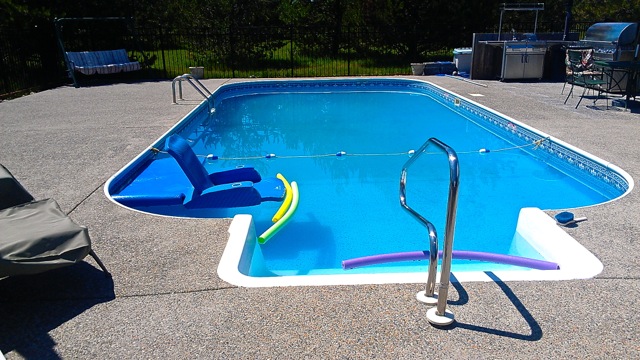
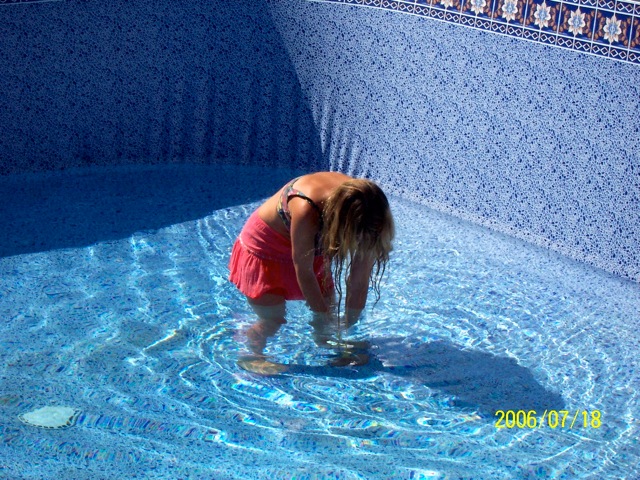
It took an entire summer for us to DIY it, but eight years later, it still works like new!

Price breakdown:
- $7309 – premium in-ground pool kit (with heater and solar cover)
- $200 – to a family friend to dig the hole for our pool with his own equipment
- $400 – cement for pool walls and footings
- $400 – electric wires, ground grid, and feed wires
- $250 – piping for the natural gas
- $70 – ditch digger rental
- $250 – permits for the pool
- $150 – miscellaneous wood for the structure and stairs
- $200 – temporary safety fence
- $100 – water to fill the pool
- $2200 – aggregate patio supplies and installation
- $2400 – black aluminum fence
- free – borrowed cement mixer, previously owned wheelbarrow and shovels
Cheers!