guest book

DIY Halloween Costume #7 – Beetlejuice

DIY Halloween Costume #7 - Beetlejuice

Hello World,

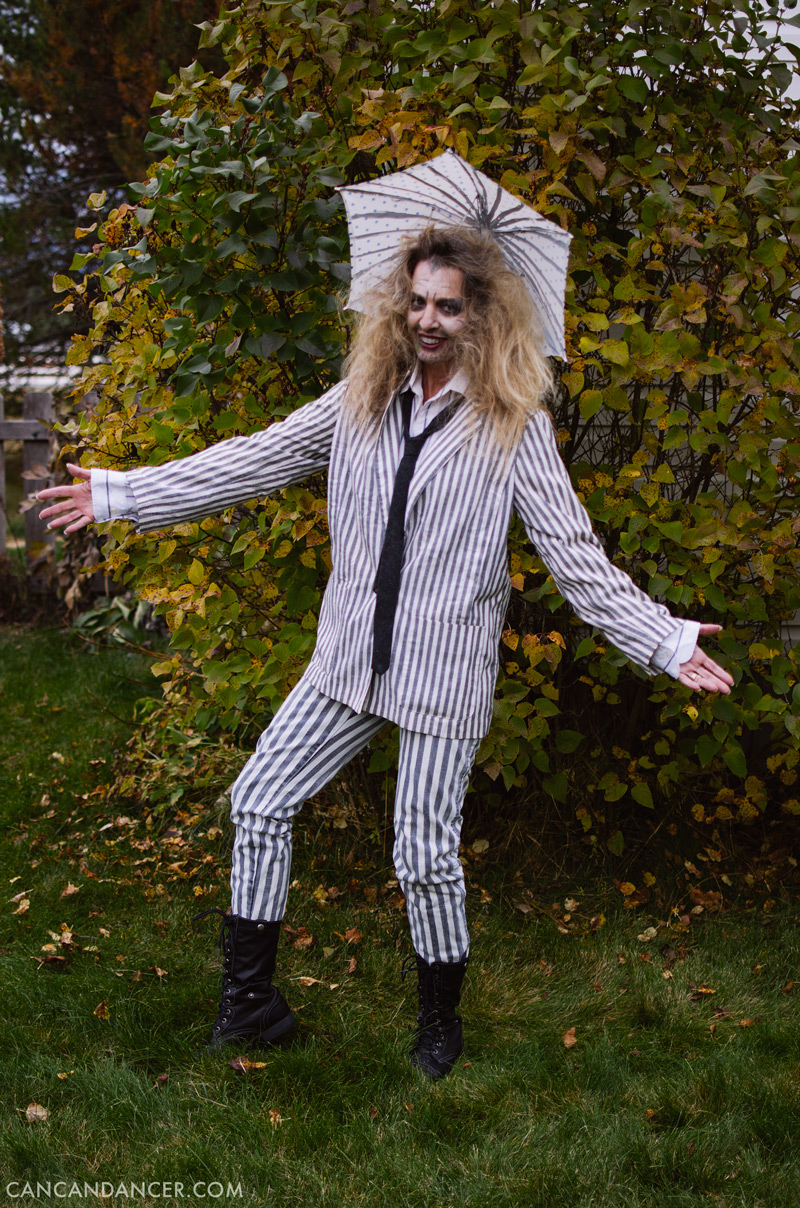
Today I’m sharing my hands-down favorite DIY costume that my mom has worn. Beetlejuice! My mom wore this costume when I was 5 and again last year because it is just that fun.

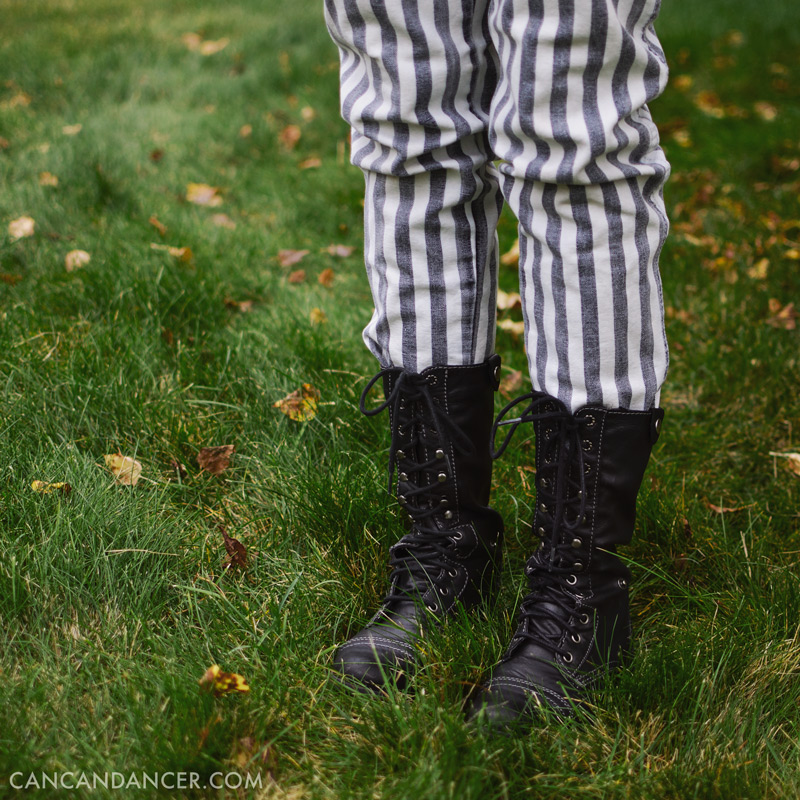
She wore a grey and white striped suit that she’s had since the 80’s (she would like me to say that she has never worn the pieces together except as a costume, haha), a striped men’s button up, a skinny black tie, and black boots.

DIY Halloween Costume #7 - Beetlejuice

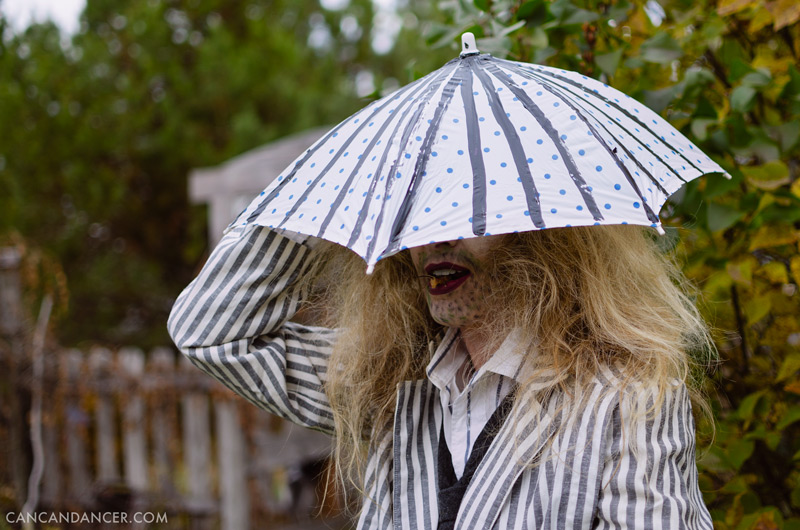
She found an umbrella hat and painted black lines on it to make it look more like Beetlejuice’s. (PS that’s a plastic beetle in her mouth)

DIY Halloween Costume #7 - Beetlejuice

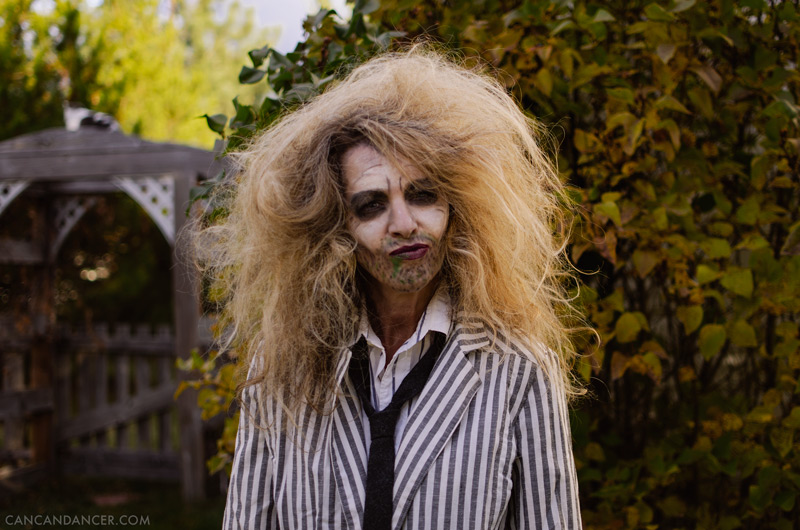
For her makeup she applied too-light foundation, and hollowed out her eye area with dark eyeshadow. She used green and black eyeliners and tabbed on stubble and bug guts.  She also used the black eyeliner to give herself an exaggerated widow’s peak and harsh wrinkles.

DIY Halloween Costume #7 - Beetlejuice

DIY Halloween Costume #7 - Beetlejuice

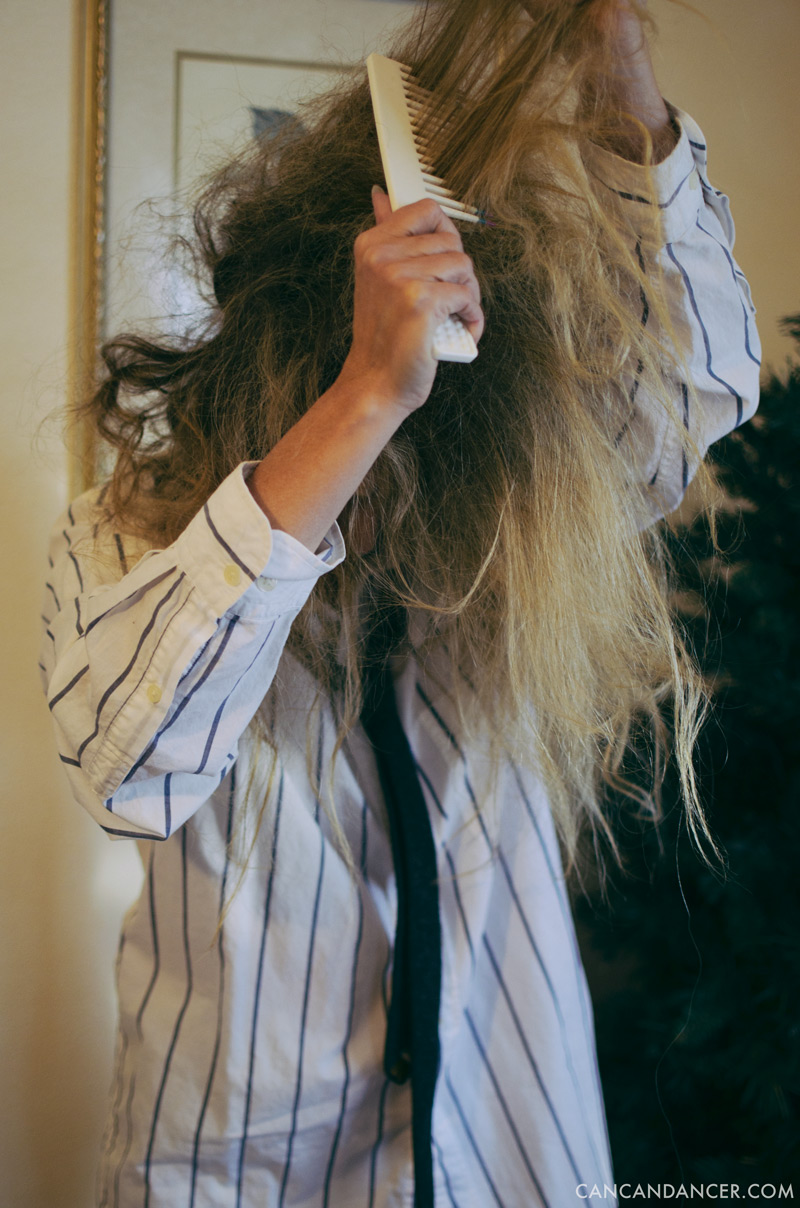
For her hair, she backcombed and hair-sprayed her hair like crazy. Whenever it felt a little flat, she flipped her hair over and added a little more teasing with her fingers throughout the day.

Looking for more Halloween costumes ideas? Well, it’s your lucky day, because I have all my DIY costumes (and decor tutorials too!) listed here.

DIY Wedding Guest Book

Hello World,

One of my friends was married last weekend, and she asked me if I would make her a guest book. She wanted a non-traditional guestbook, where each guest can sign a leaf instead of a bookpage. After the wedding, it can become a piece of home decor.

For this project, you will need plenty of free time, patience, and a steady hand.

june-2-intro21

Check out how to make own below:

june-261

1.  Gather your supplies: canvas, frame, acrylic paint, paint brushes/rollers, and chalk/pencil. (I had contact paper, but ended up not using it to isolate areas.)

2.  Head outside or in a ventilated area, cover your work area to protect it from paint.

3.  I bought this frame for $30 (originally $60) at Michael’s. I couldn’t find a simple silver frame, so I bought some spray paint to cover it. I did 3 coats of spray paint, allowing my paint to dry between coats.

4.  Paint your canvas. I used a roller for the grey base to avoid visible brush strokes.

5.  After letting two coats of paint dry, I disliked how the grey seemed greenish. Instead, I made my own dark grey paint by mixing generic black and white paints from Michael’s together.

6.  Determine how large you want your tree to be, and sketch it out with your chalk/pencil.

7.  Paint in your tree body and draw out every single leaf. I numbered each of them to keep track. I ended up with around 150 leaves once I was finished.

8.  Paint inside your leaves. I did two coats of blue paint. TIP: Completely cover your chalk/pencil marks when you paint your leaves. I thought I could just wipe the outlines away, but it removed my grey paint. I had to repaint around the edging of my leaves (which was time consuming).

9.  I added a small heart with their initials, to the tree trunk, with a thin sharpie. Then, frame your guest book.

10.  Tada! If you ship this, I recommend not procrastinating. My shipping cost just as much as the project did because I had to expedite it.

Happy Crafting!

P.S. The two other no-sew tutorials are still coming, I just wanted to blog about this first. 🙂