decor

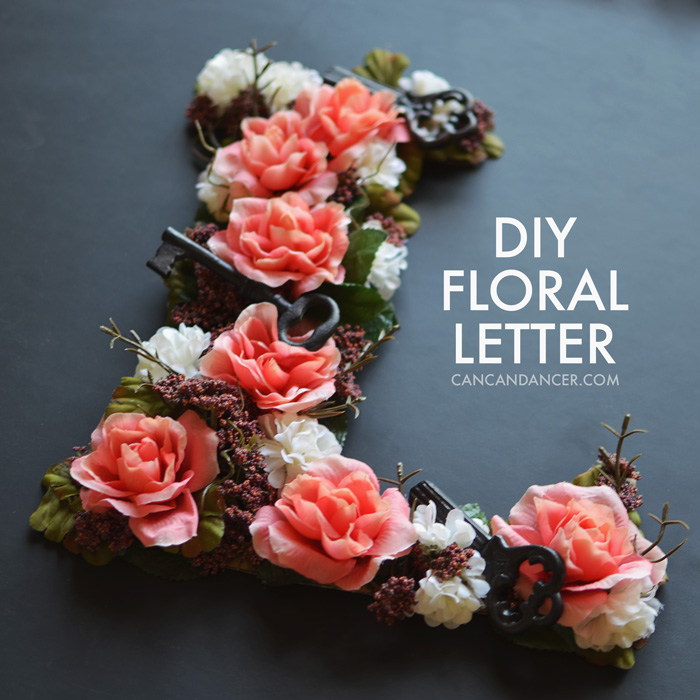
DIY Floral Letter

DIY Floral Letter

Hello World,

Want to know why I love DIY-ing so much? It’s an affordable and fun way to create items that are totally custom to your unique style! I love projects that I can make while watching a movie. Today’s project is just that! I had everything except the fake flowers in my craft stash, so this project only cost me $3.00 to make.

Check out the tutorial below:

DIY Floral Letter

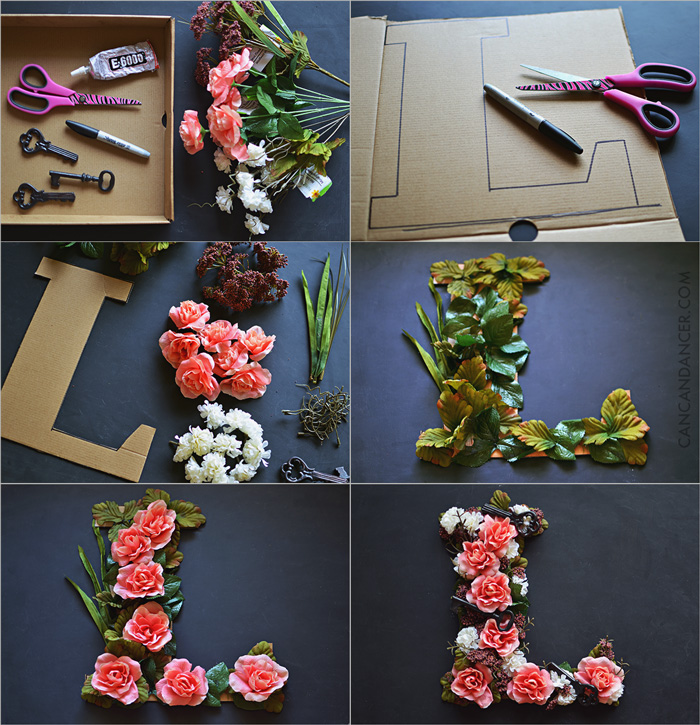
1. Gather your supplies: fake flowers (I bought mine at Dollar Tree), cardboard, scissors, a writing utensil, and an adhesive. I took a photo of e6000, but didn’t want to wait for it to dry, so I switched to hot glue at the last minute.

2. Draw out your letter on your cardboard and cut it out.

3. Pop the leaves and flowers off of your fake floral stems.

4. Cover your letter with a base layer of the fake leaves. Glue each of them in place.

5. Glue your large flowers to the letter.

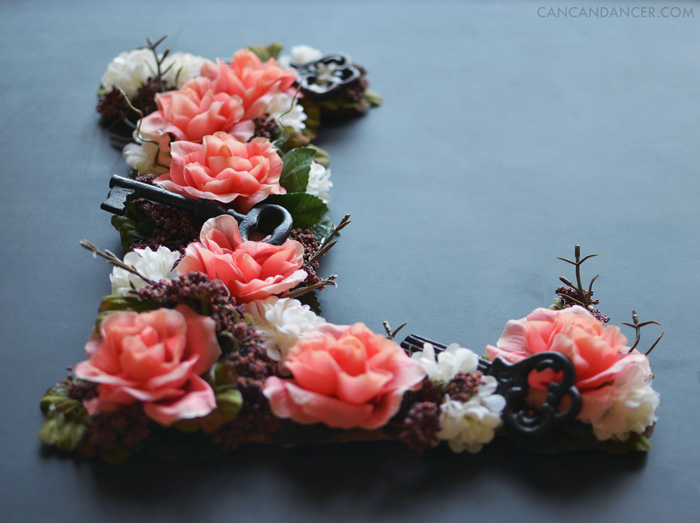
6. Continue gluing flowers to your letter until it is nice and full. I also glued some vintage-style keys to mine.

7. Prop on a shelf or glue some string to the back so you can hang it. And enjoy!

DIY Floral Letter

This could be a cute project to do with your initials, a decorative monogram, or an entire word.

Happy Crafting!


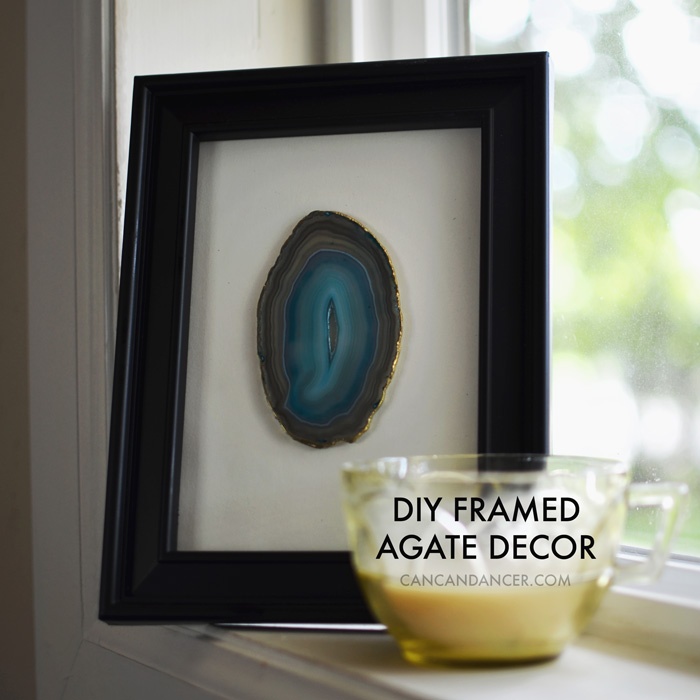
DIY Framed Agate Decor

DIY Framed Agate Decor

Hello World,

First off, I hope everyone in the US had a Murica-tastic 4th of July weekend so far! I definitely ate my fair share of junk food, and luckily didn’t get a sunburn this year. To finish off the weekend, here’s a simple crafternoon tutorial for making your own agate home decor:

DIY Framed Agate Decor

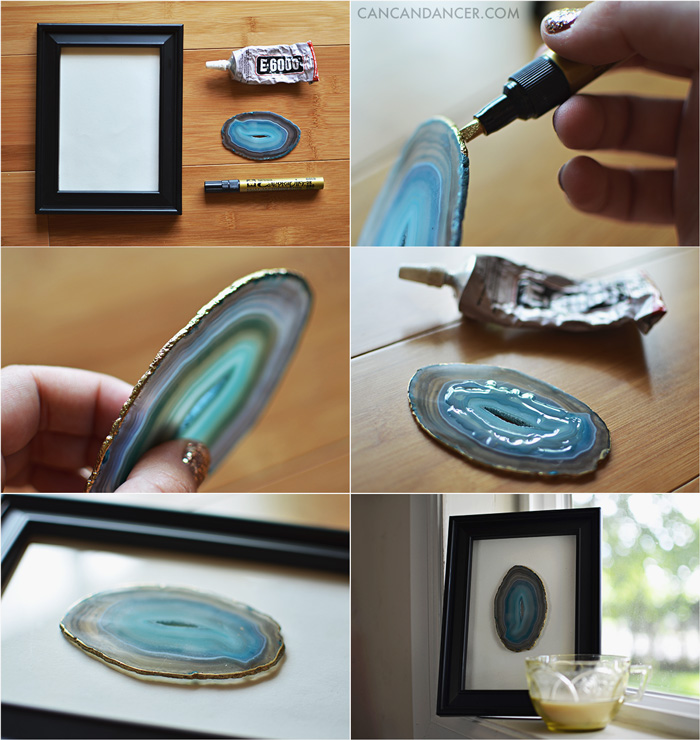
1. Gather your supplies: frame, white card stock, e-6000, agate stone, and gold paint.

2. Cut and place your card stock in your frame. (I bought my frame at Dollar Tree.)

3. Paint the outer edge of your agate stone. (I used this paint pen, which dried quickly.)

4. Apply glue to one side of your agate stone.

5. Now you either could glue your stone to the card stock and place under the glass if your frame is matted, or on top of the glass like I did with mine.

6. Allow glue to dry and enjoy!

Happy Crafting!


DIY Constellation Canvases (now a Darby Smart kit!)

Hello World,

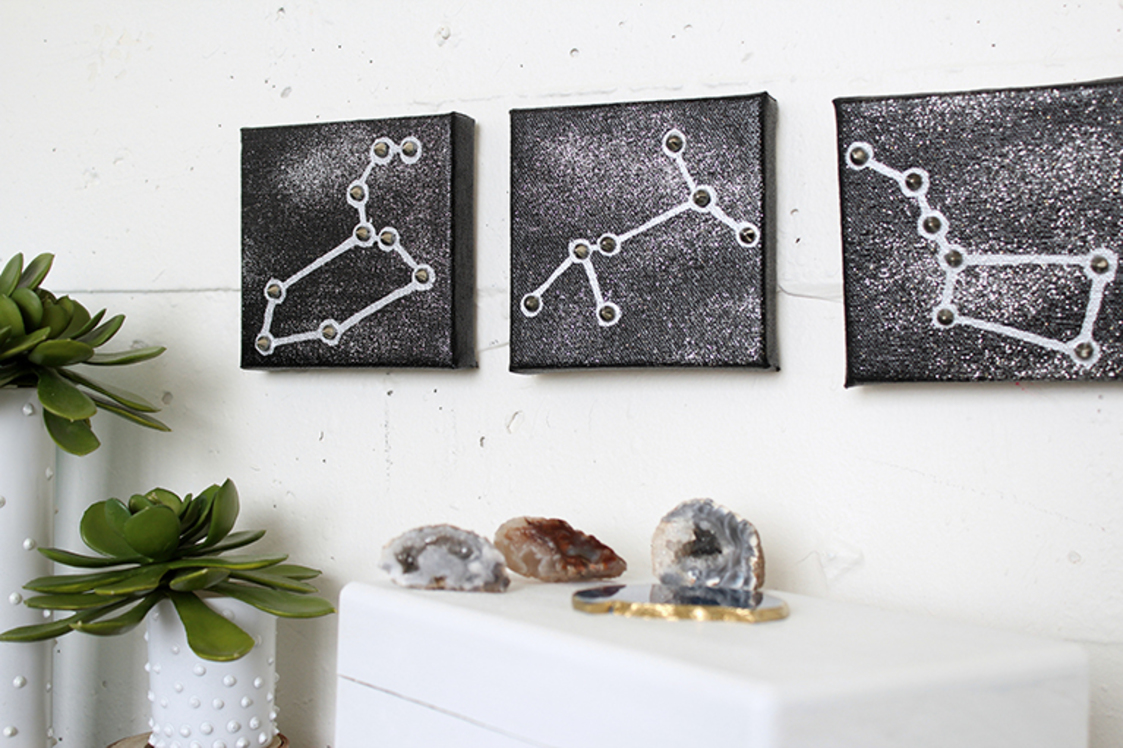
Back in January, my first Darby Smart kit launched. The kit included all the craft supplies needed to make your own Suede Fringe Bib. Well, today I have exciting news! Remember my DIY constellation art tutorial? It just launched today as a Darby Smart kit!

Constellation-Canvases-Lifestyle-3
Photo Credit: Darby Smart

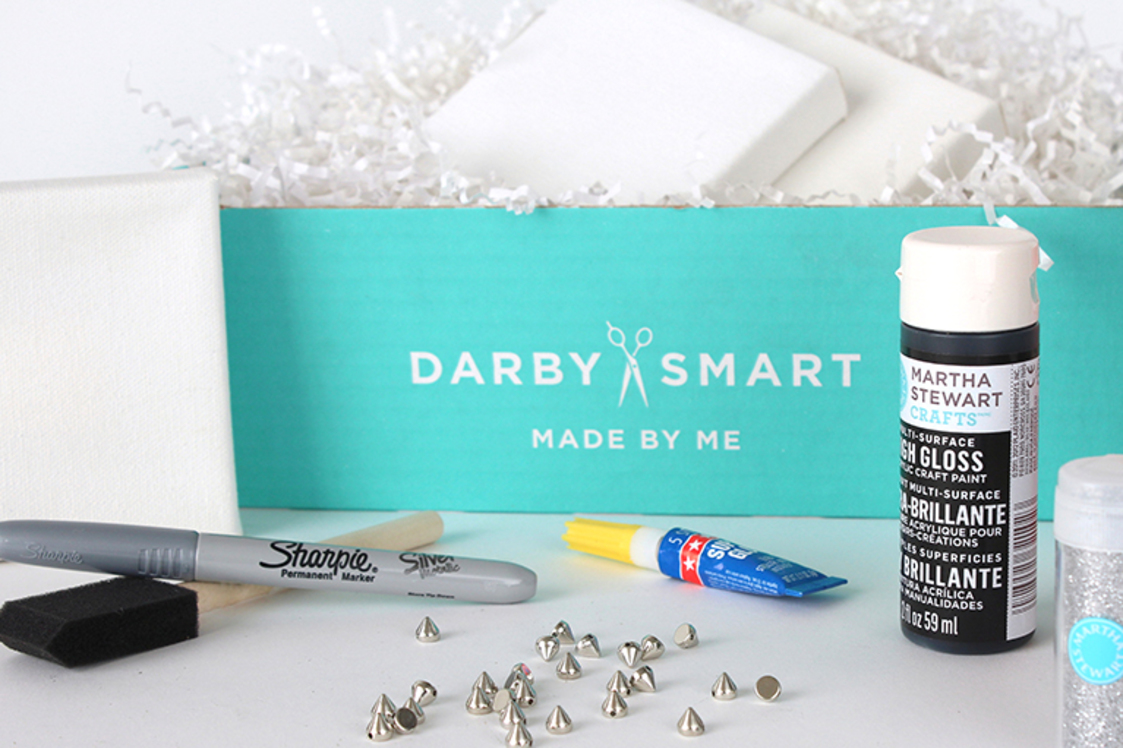
The kit includes all the supplies needed to make your own out-of-this-world home decor! Materials include: 3 mini canvases, Martha Stewart paint, Martha Stewart glitter, super glue, a silver sharpie, a foam brush, and (my favorite) silver spikes!

Constellation-Canvases-Kit-1
Photo Credit: Darby Smart

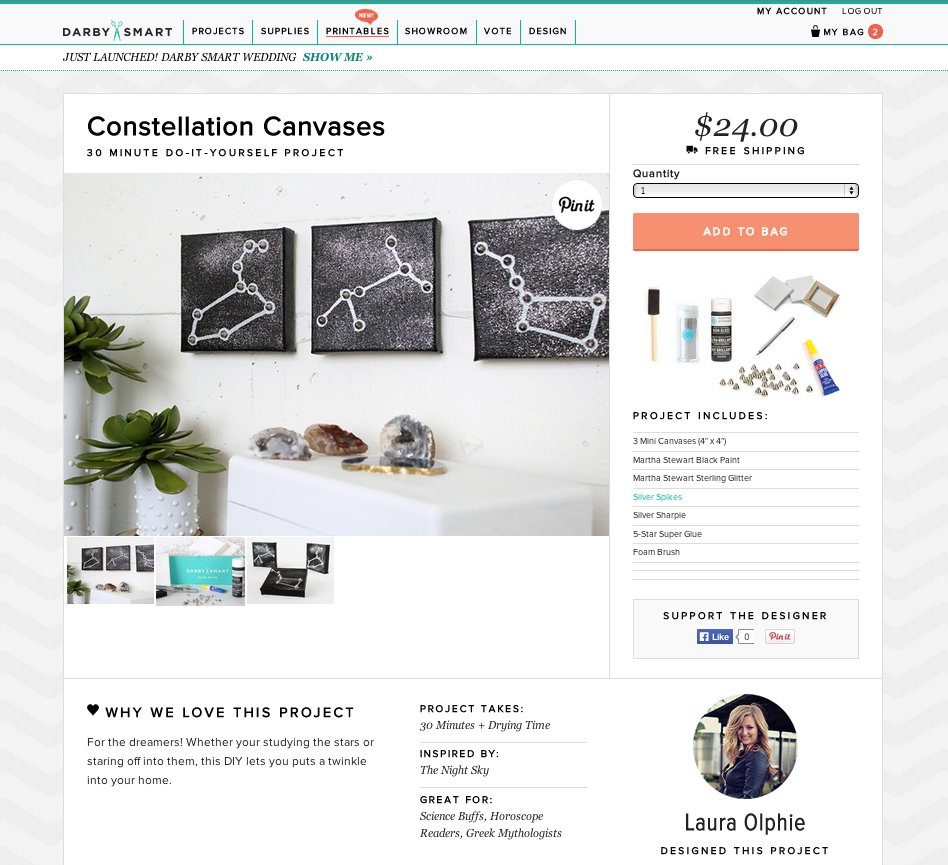
Head on over to Darby Smart’s website for more details, and if you make your own version, show it off it on Twitter or Instagram with #DarbySmart or #madebyme!

Happy Crafting!

Constellation Canvases - a Darby Smart kit designed by Laura Olphie