Hello World,
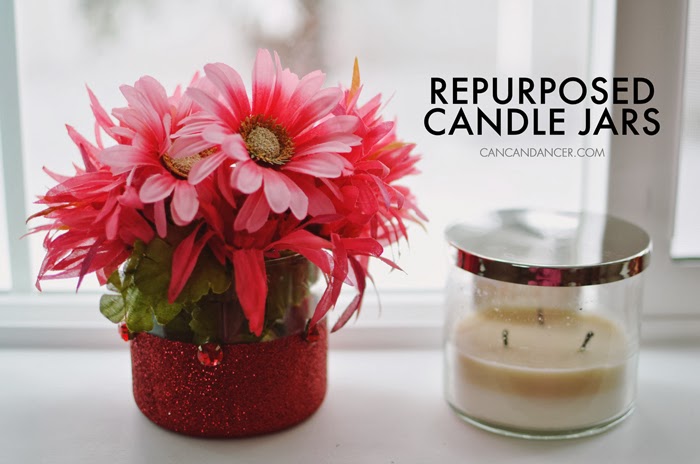
I’ll admit it. I have a candle problem. Whenever Bath and Body Works has their large 3-wick candles on sale, I can’t help but at least buy two. (And I stack the sale with a coupon, so the savings are even greater.) With that said, I have quite a collection of empty candle jars. I can’t just throw them away, so here is a project to repurpose them into a glitter colorblock vase:

1. Gather your supplies: a burnt out candle, glitter, Mod Podge, painter’s tape, a paint or foam brush, rhinestones, and glue (not pictured).
2. Either melt the candle on a candle warmer or in a saucepan full of simmering water. You also could pop out the wax with a spoon. Pour the melted wax into an unwanted plastic/glass container.
3. Remove all labels and tape off part of your jar with painter’s tape. Rub down any edges to avoid your Mod Podge bleeding through.
4. Cover your jar with your first layer of Mod Podge.
5. Pour glitter all that baby. Place a paper or mat on your work surface so you can later pour your leftover glitter back into its container.
6. Allow to set for a few minutes and repeat with a second layer of Mod Podge and glitter.
7. Allow to dry completely and remove your painter’s tape.
8. If you have messy edges, just scratch off the imperfections with your fingernail. Super or hot glue rhinestones onto your jar.
9. Fill your sparkly vase with fake/fresh flowers, twigs, pens, makeup brushes, etc.
Do you have a candle problem too? Check out this other tutorial to repurpose candle jars and this tutorial for using the leftover wax.
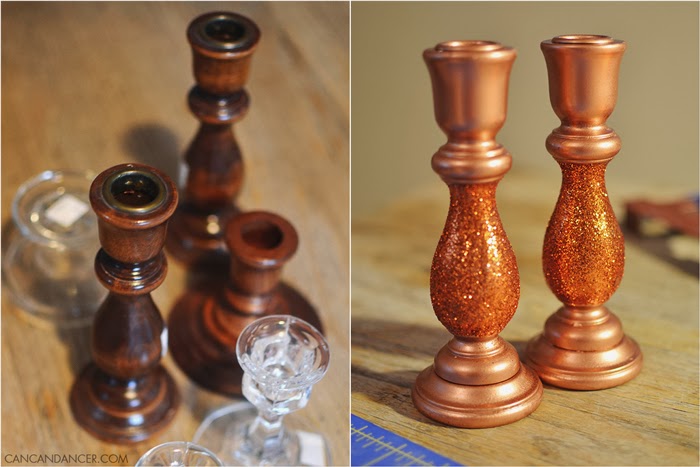
After covering the candle jar with glitter, I got a little excited and started glittering other items. I bought these candle sticks at a thrift store and planned on using them for another tiered jewelry display, but instead spray painted and added glitter to them.
Happy Crafting!