
Hello World,
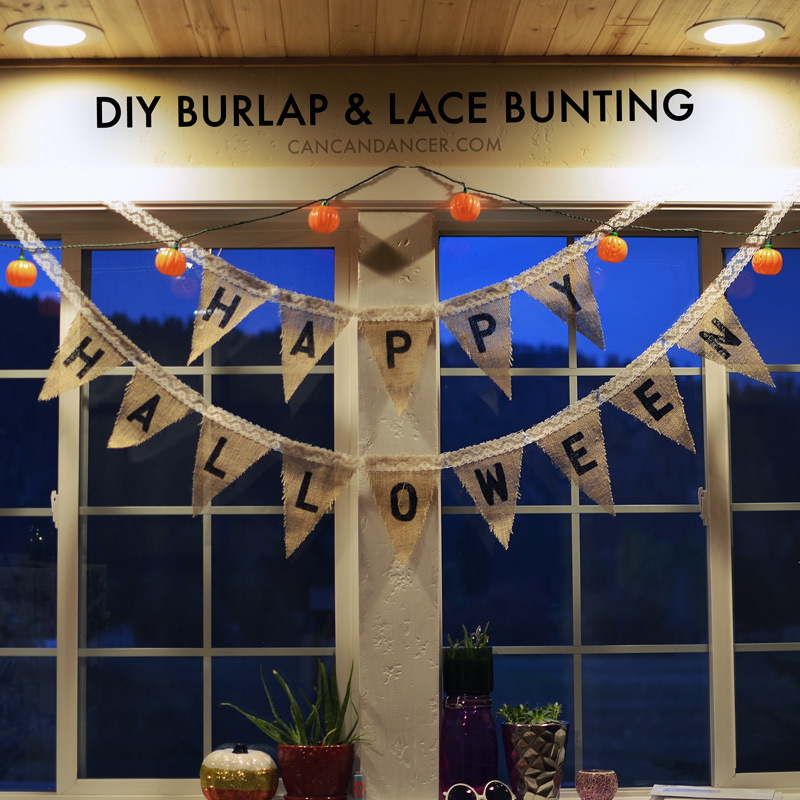
I’ve been seeing bunting on Pinterest and Etsy lately being used for birthdays and weddings, using fun fabrics or different papers. I made some of my own, but my own spin of it and used thrifted lace trim and burlap.
I made mine say “Happy Halloween,” but I think I’ll make another set near Christmas too. Maybe even another one that just says “love” for all year round decor.
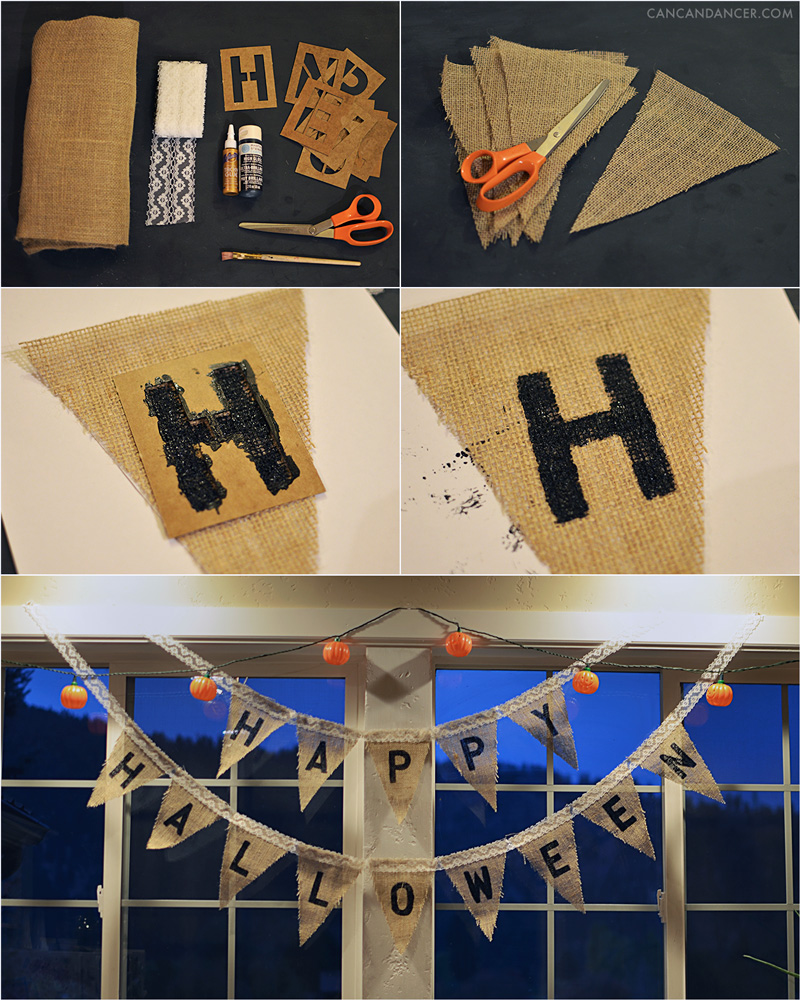
1. Gather your supplies: burlap fabric, lace trim, glue (I used Aleene’s tacky glue), scissors, a paintbrush, paint, and alphabet stencils (mine were from this Darby Smart kit).
2. Cut out as many triangles as you need from the burlap. I bought a yard, and used only a third of it for 14 triangles.
3. Place a piece of paper under your first burlap triangle, to protect your work surface. Place your first stencil letter down, and gently paint within the stencil.
4. Remove the stencil, and a fill in the stencil spaces if you want a full letter. Allow to dry, and repeat with all your other letters.
5. Line all your painted burlap triangles in a row, and apply glue to the top of each triangle. (I did two bunting strands, so HAPPY and HALLOWEEN were separate pieces in the end.) (I forgot to take a photo of this step.)
6. Leave at least a foot of lace trim free at each end, and press the lace trim onto the glued areas. Allow to dry flat overnight. (I get an F- and forgot to take a photo of this too.)
7. Hang and enjoy!
Happy Crafting!