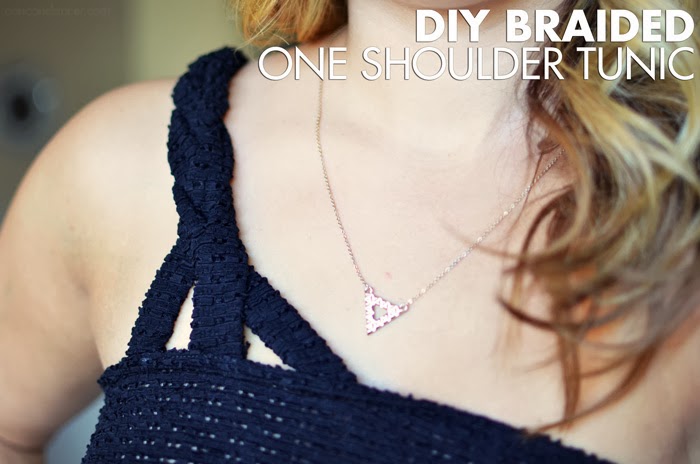
braid

DIY Chain & Braid Necklace

Hello World,

When I go shopping at the mall, I don’t just look for items I can wear as is. I look through clearance sections for items that I can repurpose, update, or easily fix. I love it when I find a dress that has a broken strap or a missing button. I can fix that in no time and get a great deal.

Sometimes it can be a better deal to buy an item and dissect than to go buy the supplies at a craft store. Last week, I went to Rue 21 and found a heavy gold chain bracelet for only $2. The only problem was it was way too big for my wrist. I simply removed the lobster clasp and repurposed the chain to make a necklace:

braidnecklace1

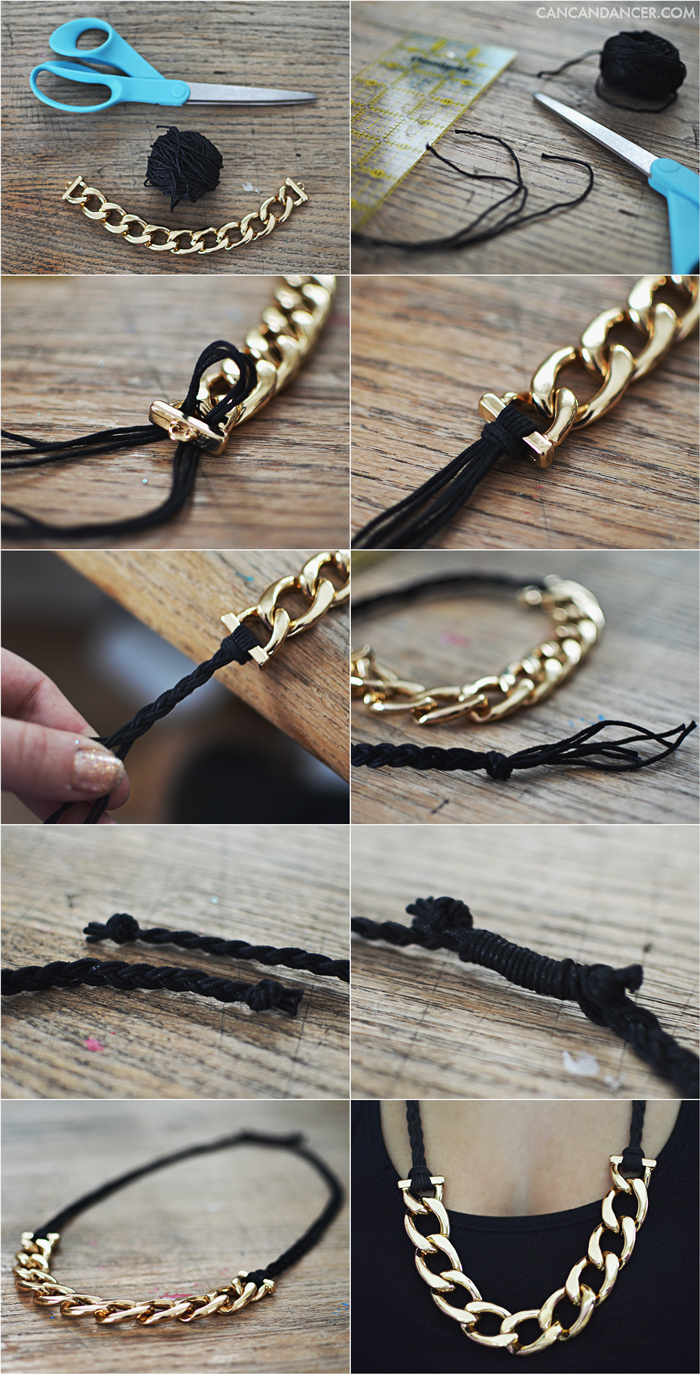
1. Gather your supplies: chain, jewelry cord, scissors, and a ruler.

2. Cut six strands of jewelry cord. I made each of my cords 34 inches long.

3. Fold three of the cords in half and feed these loops through one end of your chain.

4. Bring the tail ends of the cords through the cord loop and pull tightly.

5. Due to the loop, you will have 6 pieces of cord to work with. You can either braid two small braids, or one thicker braid.

6. Tie a knot at the end and repeat this process for the other side of your necklace.

7. Trim the tail ends of your braids.

8. Wrap some jewelry cord around both braids, and tie knots to secure it. If you are worried about it coming undone, add some glue to secure it.

Happy Crafting!

Braided One Shoulder Tunic

Hello World,

I reconstructed a sweater similar to this a few years ago, but I never made a tutorial for it. Check out the tutorial below to see how to turn an over-sized shirt into a one-shoulder tunic or dress:

1. Gather your supplies: an long-sleeved over-sized shirt, elastic, scissors or rotary cutter and board, pins, a safety pin, and a sewing machine. (You could hand sew this project, it would just take longer.)

2. Lay your shirt flat. Cut off the sleeves and neckline.

3. Take one sleeve, and cut off the side seam.

4. Lay the sleeve out flat.

5. Cut 3 long strips from that sleeve. Mine were each 2.5″ x 18.”

6. Fold each of those strips in half lengthwise and sew, right sides together.

7. Sew the other two strips this way.

8. Place a safety pin at the end of your first strip, and feed it back through the tube you made. This will turn the tube right side out. Repeat will the other two strips.

9. (I don’t have pictures of this step, but take the large portion of your original shirt and sew up the side seams (right sides together) and hem the top of it. This will create a baggy tube top.)

10. If your tube top is super baggy, sew elastic to the back top hem. Stretch the elastic as you sew so that it gathers evenly.

11. Try on your baggy tube top, and mark with pins where you want each of your braid strips to hit. Also note where you would like the strap to connect on the back. I used my bra strap as a guild and just marked a pin there.

12. Remove the tunic, and pin your three strips where your front pins were located.

13. Sew your strips to your top hem. Make sure your seams end up inside the dress of the tunic.

14. Braid your strips and then pin and sew the other ends to the back of your tunic.

Add a belt if your tunic is a little too baggy, and enjoy.

Happy crafting!