Year: 2014

Peanut Butter & Apple Snack Wraps

Peanut Butter & Apple Snack Wraps

Hello World,

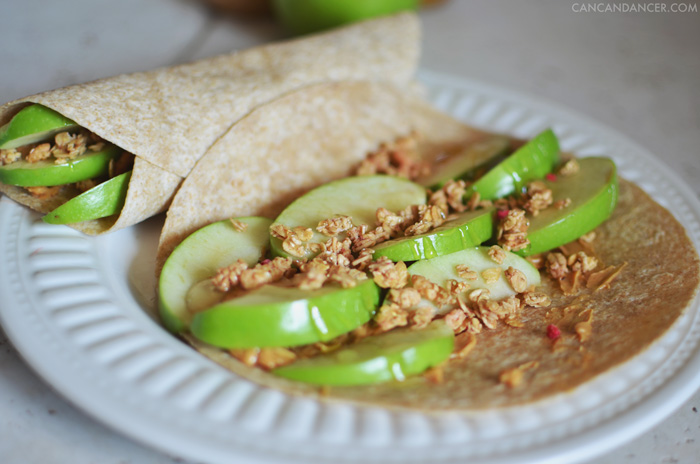
When the weather is blazing hot, I love meals and snacks that are both refreshing and filling. Back when I was in college, one of my roommates would make snack wraps filled with peanut butter and apples. Sometimes she would dip the snack wrap in yogurt. I built upon her recipe, and made some snack wraps of my own recently, and they were pretty tasty!

Peanut Butter & Apple Snack Wraps

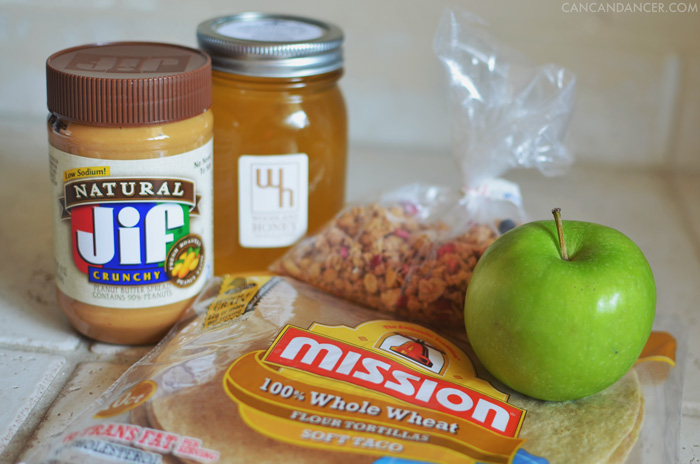
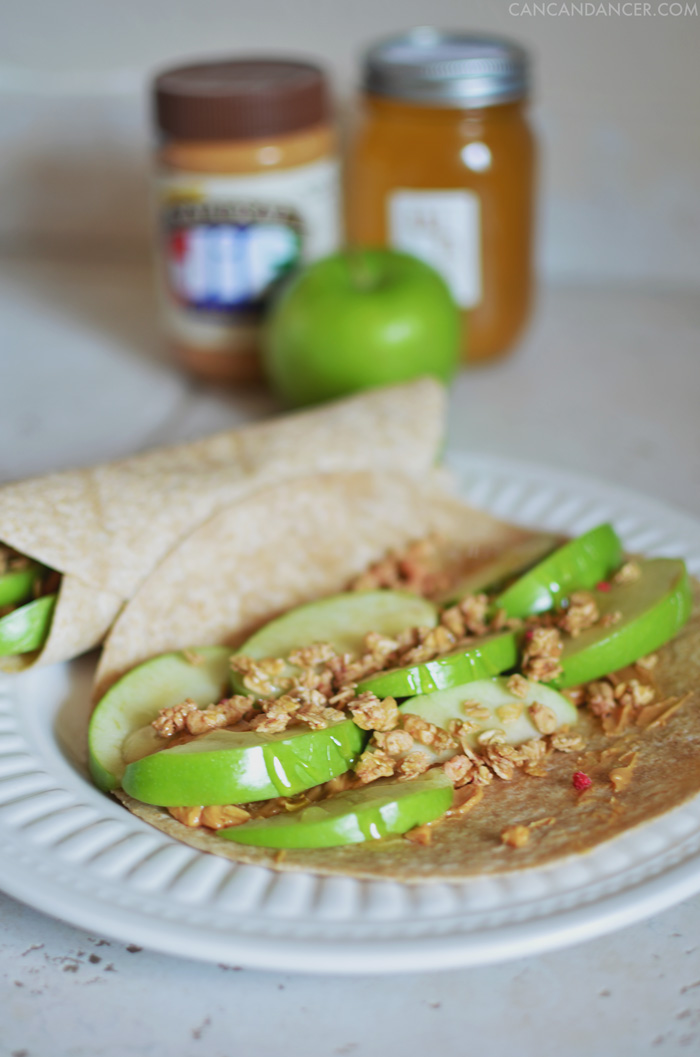
I love recipes that don’t have exact measurements. They are quick, easy, and you just add more or less of an ingredient to make it to your liking. To make your own snack wraps you will need:

  • Whole Wheat Tortillas
  • Peanut Butter
  • An Apple
  • Granola
  • Honey
  • Optional: Vanilla Yogurt

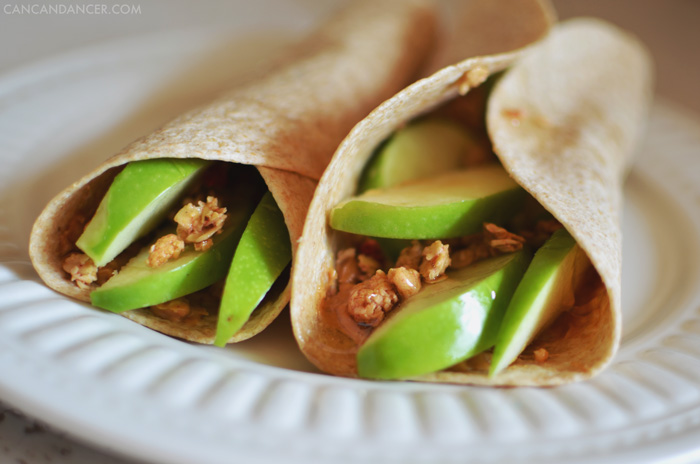
Simply just spread peanut butter on your tortilla, cut/chop up your apple, and place in the tortilla. Sprinkle granola on your tortilla, and drizzle honey over it. Fold your tortilla closed, and warm up your snack wrap in the microwave for 10 seconds. Eat it plain, or dip in vanilla yogurt.

I found that one apple can make two snack wraps.

Peanut Butter & Apple Snack Wraps

If you cut up your apple into smaller pieces, you totally could slice your filled wraps into smaller pieces, and arrange them on a platter as finger food for a party/BBQ.

Peanut Butter & Apple Snack Wraps

What’s your go-to summer snack?

Driftwood Jewelry Organizer

Driftwood Jewelry Organizer

Hello World,

I love the beach. Having sand between my toes, sun on my skin, and a beach bag full of found treasures makes me happy as a clam at high tide. Because I don’t live near an ocean, I collect rocks and driftwood instead of sea shells. (Fun Fact- I have never found a whole sand dollar, only bits and pieces. The Pacific Ocean is rough on those guys!)

Back to my driftwood collection- I have long ones displayed in a vase, other interesting ones decorating my shelves, and then a pile of make-something-with-mes sitting outside. Well, I finally put a little dent in that pile, and made two jewelry organizers:

Driftwood Jewelry Organizer

1. Gather your supplies: clean driftwood, screw-in hooks, a clear sealant (spray paint or polyurethane), acrylic paint, paint brush, stapler, staples, rope, and scissors.

2. If you want to decorate your driftwood, paint a design and allow it to dry.

3. Seal your driftwood and allow it to dry. This will make it darker and slightly glossy, but it will preserve it. (Note- be careful with woodworm. My piece of driftwood had shallow surface bites on it, but I kept it outside for months (away from other wood), where it could cook in the hot sun. When it doubt, throw it out or insecticide it.)

4. Screw your hooks into your wood. I followed the flow of my driftwood instead of placing them in a straight line.

5. Staple two short pieces of rope to the back of your wood- one on each end. This is how you will hang it. (You’ll probably notice that my wood is bright orange on the backside. This is because I sawed the back of it off, so it would be flush with the wall.)

6. Hang and enjoy!

driftwoodjewelry4

Driftwood Jewelry Organizer


For my second jewelry organizer, I used a flatter piece of driftwood and painted a more basic design.

Happy Crafting!

Fresh Cherry & Lemonade Muffins

Fresh Cherry & Lemonade Muffins

Hello World,

Back in the homesteading days, my now neighborhood was farm land full of fruit trees. Many of the fruit trees were removed to make room for homes and such, but my yard still has a few fruit trees. I have apple, pear, plum, quince, and cherry trees, that all look so beautiful when they bloom in the spring! As it is cherry season, I recently picked some and decided to switch it up and make something besides a pie.

I searched online, and found this recipe to make cherry lemonade donuts. I didn’t have a donut pan, so I went shopping to find one in my city. I looked for one at Target, Walmart, T.J.Maxx, and Ross. I didn’t find one, but I wouldn’t say I came back empty handed, because that is near impossible for me to do in Target (the clearance end caps get me almost every time!). Instead of buying a pan online, I used some silicon muffins pans I already had. I slightly modified the original recipe, and they turned out great!

Fresh Cherry & Lemonade Muffins

Head on over to Inside BruCrew Life for the full recipe. For my muffins, I used fresh cherries, and powdered lemonade concentrate. And since I used silicon muffin pans, I baked them for 18-20 minutes (original recipe said 10-12 minutes).

Have you baked anything delicious with cherries lately? If so, share a link in the comment section below!